
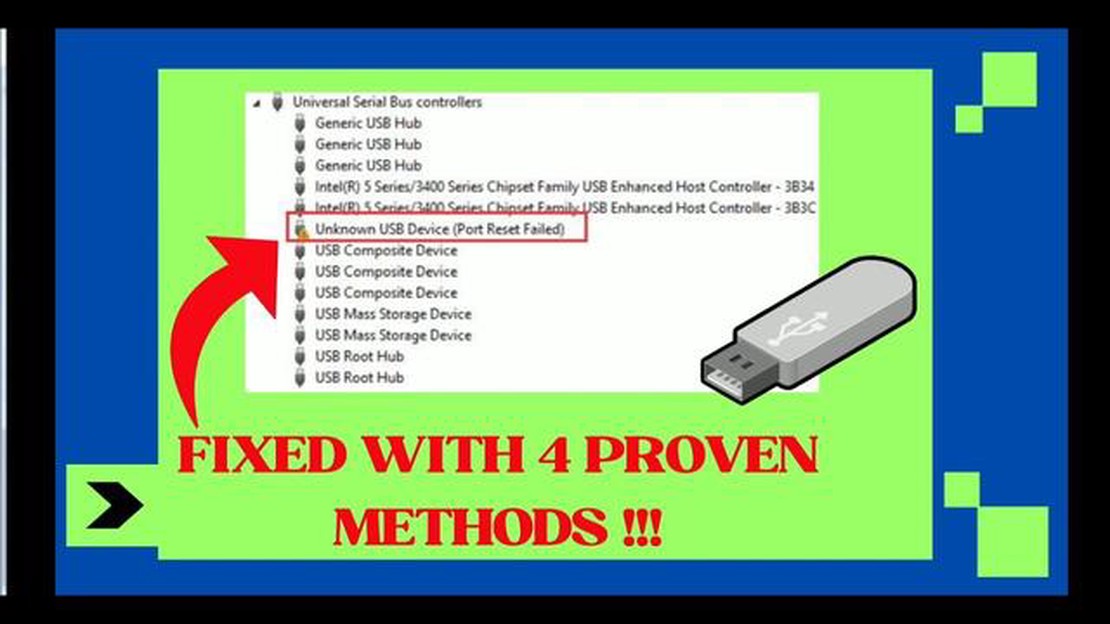

How to Resolve Unknown USB Device (Port Reset Failed) Error on Windows 10
How to Fix Unknown USB Device (Port Reset Failed) Error on Windows 10 Are you encountering an “Unknown USB Device (Port Reset Failed)” error on your …
Read Article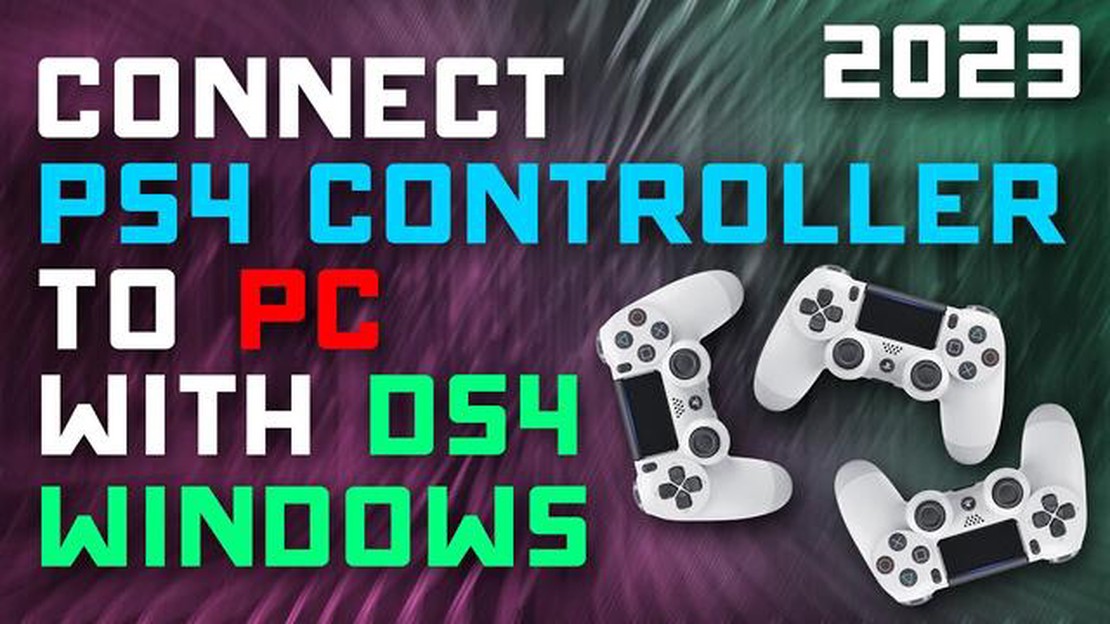
If you’re an avid gamer, you probably know the importance of having a good controller. The PlayStation 4 (PS4) controller is a popular choice for many gamers due to its sleek design and comfortable grip. Whether you’re playing on a PC or a console, using a PS4 controller can enhance your gaming experience and give you more control over your gameplay.
In this article, we will guide you through the updated steps on how to use a PS4 controller in 2023. With the advancements in technology and software updates, the process of connecting and using a PS4 controller has become easier and more seamless than ever before. So, whether you’re a beginner or an experienced gamer, read on to find out how you can make the most out of your PS4 controller.
Before we dive into the steps, it’s important to note that there are two main methods to connect a PS4 controller: wired and wireless. The wired method requires a USB cable to connect the controller directly to your device, while the wireless method utilizes Bluetooth technology to establish a wireless connection between the controller and your device. Both methods have their advantages and disadvantages, so choose the one that suits your needs and preferences.
Keep in mind that the following steps are for connecting a PS4 controller to a PC, but the process is similar for other devices, such as a PlayStation console. Make sure to have the latest driver software and firmware updates installed on your device for a seamless gaming experience.
If you’re an avid gamer, you might already know that the PlayStation 4 (PS4) controller is a popular choice for many PC gamers. The good news is that using a PS4 controller on your PC is easier than ever in 2023, thanks to advancements in technology and software compatibility. Follow the steps below to learn how to use a PS4 controller on your PC:
Read Also: How to Fix Spotify Application Not Responding Issue in Windows 10
Using a PS4 controller on your PC in 2023 has never been easier. With just a few simple steps, you can connect your controller and start gaming. Whether you prefer the feel of the PS4 controller or need it for specific games, this guide should help you get started.
Before you try to connect your PS4 controller to your device, it’s important to make sure that your device is compatible with the controller. While the PS4 controller is primarily designed for use with the PlayStation 4 console, it can also be used with other devices such as PC, Mac, and certain Android devices.
Here are a few things you should consider when checking the compatibility of your device:
Once you have confirmed that your device meets the compatibility requirements, you can proceed to the next steps to connect your PS4 controller.
Read Also: 15 key Windows startup commands that are important to know
Once you have installed the necessary software and drivers, you can now connect your PS4 controller to your device. Follow these simple steps:
Now that you have successfully connected your PS4 controller to your device, you can start using it to play games or navigate through applications. Enjoy the enhanced gaming experience with your PS4 controller!
After successfully connecting your PS4 controller to your PC, the next step is to configure its settings to ensure smooth and optimal gameplay. Here are the steps to configure the controller settings:
By following these steps, you can configure your PS4 controller settings on your PC and customize it to your preferences. Now you are ready to enjoy your favorite games using your PS4 controller!
How to Fix Unknown USB Device (Port Reset Failed) Error on Windows 10 Are you encountering an “Unknown USB Device (Port Reset Failed)” error on your …
Read Article
5 Best Racing Games For Kids On Android If your kids are looking for some fun and excitement, racing games on Android can provide endless …
Read Article
Vampire Survivors FPS Drop? Here’s how to fix it If you’re experiencing a significant drop in FPS while playing the Vampire Survivors game, you’re not …
Read Article
Fix steam disconnected by vac cannot play on secure servers. The virtual gaming world Steam offers its users a huge variety of games and opportunities …
Read Article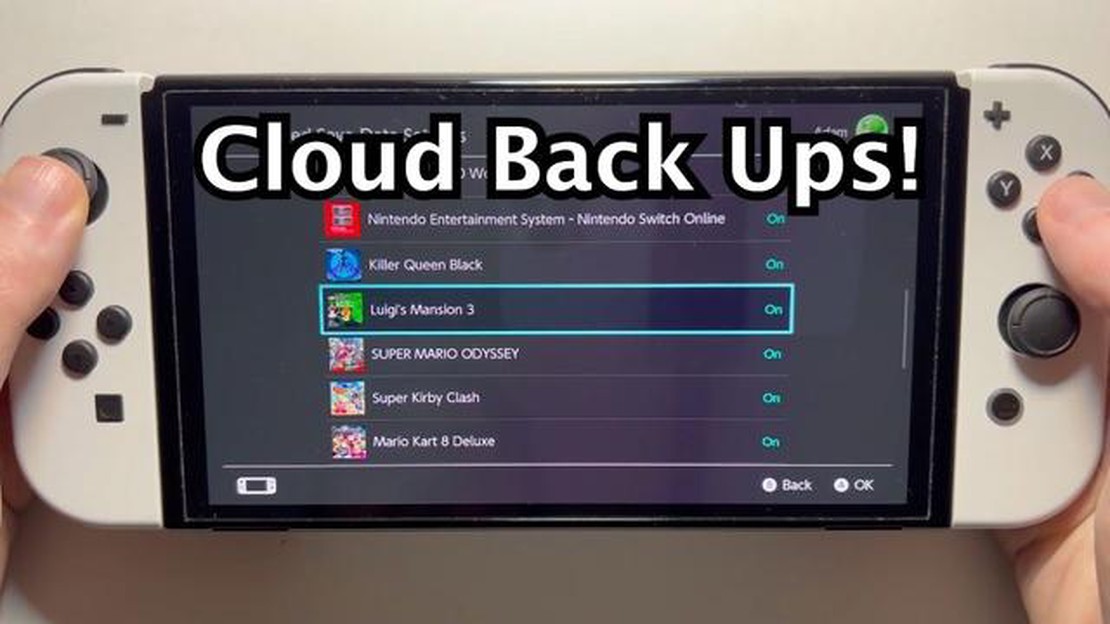
How To Download Nintendo Switch Save Files From Cloud | NEW in 2023 The Nintendo Switch, a popular gaming console, offers a convenient feature called …
Read Article
How To Remove A Virus On Samsung With Safe Mode Safe Mode is a feature available on Samsung devices that allows users to troubleshoot and fix …
Read Article


