

How to Fix Apex Legends 'Connection to Server Timed Out' Error - New in 2023
How To Fix Apex Legends Connection To Server Timed Out Error | New in 2023 Apex Legends is a popular online multiplayer battle royale game that has …
Read Article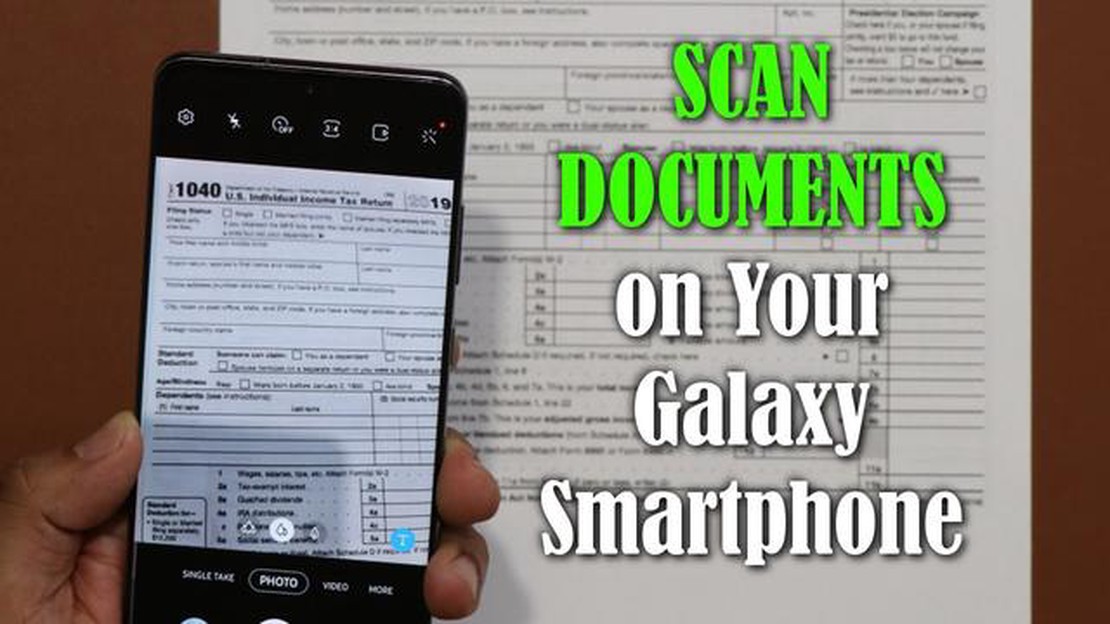
With the advancement of technology, scanning documents has become easier than ever. Gone are the days when you needed a bulky scanner to digitize your important paperwork. Now, you can simply use your Samsung phone to scan documents on the go. Whether you need to scan a receipt, a contract, or any other document, your Samsung phone can do it all.
In this step-by-step guide, we will take you through the process of scanning documents on your Samsung phone. You don’t need any additional hardware or software - just your Samsung phone and the built-in camera app. Follow these simple steps to start scanning your documents in no time.
The first step is to open the camera app on your Samsung phone. You can find it in your app drawer or on your home screen. Simply tap on the camera icon to launch the app.
Once you have opened the camera app, you need to switch to the document scan mode. Look for the different camera modes at the top or side of the screen. Tap on the document scan mode, which usually looks like a document icon. This mode is specifically designed for scanning documents and will optimize the settings accordingly.
Scanning documents on your Samsung phone can be a convenient and efficient way to digitize paper documents. Whether you need to send a signed contract, save a receipt, or store important documents, your Samsung phone can serve as a portable scanner. Follow these step-by-step instructions to learn how to scan documents on your Samsung phone.
By following these step-by-step instructions, you can easily scan documents on your Samsung phone and eliminate the need for physical copies. This can be a useful tool for organizing and managing your important paperwork, as well as reducing paper clutter. Experiment with different settings and lighting conditions to achieve the best results, and enjoy the convenience of having a portable scanner at your fingertips.
If you want to scan documents on your Samsung phone, you’ll need to download a document scanning app. Fortunately, there are several great options available for Android devices, including Samsung phones. These apps offer advanced scanning features and make it easy to digitize your physical documents.
Here are some popular document scanning apps that you can download on your Samsung phone:
Before downloading a document scanning app, make sure to read user reviews and check the app’s ratings. This will help you choose an app that suits your needs and is compatible with your Samsung phone.
Once you’ve downloaded a document scanning app, you’ll be able to easily scan and digitize your physical documents on your Samsung phone. Whether you need to scan receipts, contracts, or important paperwork, these apps make the process quick and hassle-free.
First, open the scanning app on your Samsung phone. This app may be called “Samsung Notes,” “Samsung Scanner,” or something similar, depending on the model of your phone.
Once you have opened the app, ensure that you are in the scanning mode. Look for an icon that resembles a camera or scanner on the app’s toolbar.
Position the document you want to scan on a flat surface. Make sure there is good lighting in the area to ensure clear and legible scans.
Read Also: How To Fix Camera and Screen Rotation Problems on Samsung Galaxy S5 (Part 1)
Pro Tip: If you have a document with multiple pages, it’s best to arrange them in the correct order before scanning.
Place the document within the camera’s view, making sure that all the content you wish to scan is visible within the frame.
Read Also: Top 5 Task Manager Apps for Android Phones in 2023
Pro Tip: If necessary, you can use your finger to adjust the corners of the document within the app to ensure that it is properly aligned within the frame.
Once the document is properly positioned within the camera’s view, tap the capture button to take a scan of the document. This button is typically represented by a camera shutter icon.
Repeat this process for any other documents you wish to scan.
Figure 1. An example of a scanning app interface on a Samsung phone.
Before capturing a document with your Samsung phone’s scanner, it is important to adjust the settings to ensure optimal image quality. Follow these steps to adjust the settings and capture the document:
After capturing the document, you can review it within the scanner app and make any necessary adjustments or retakes. Once you are satisfied with the scan, you can save it to your device or share it via various platforms such as email or messaging apps.
Yes, you can use your Samsung phone to scan documents. The article provides a step-by-step guide on how to do it.
To scan documents on your Samsung phone, you need to have the Samsung Notes app installed. You can download it from the Google Play Store if you don’t have it already.
Yes, scanning documents on a Samsung phone is easy. The article provides a detailed step-by-step guide that makes the process simple and straightforward.
Yes, you can save scanned documents as PDF files on your Samsung phone. The article explains how to do it using the Samsung Notes app.
There are some limitations to scanning documents on a Samsung phone. For example, the quality of the scanned document may not be as high as using a dedicated scanner. However, for basic document scanning needs, a Samsung phone is a convenient and useful tool.
Yes, you can use your Samsung phone to scan documents. Samsung phones come with a built-in scanning feature that allows you to easily capture and save documents as digital files.
How To Fix Apex Legends Connection To Server Timed Out Error | New in 2023 Apex Legends is a popular online multiplayer battle royale game that has …
Read Article
How To Add A Microsoft Account To Xbox Series X Or S | NEW in 2023! Setting up your Microsoft Account on your new Xbox Series X or S is a crucial step …
Read Article
How To Fix Samsung TV Screen Is Dim If you own a Samsung TV and notice that the screen is dim, it can be a frustrating experience. A dim screen can …
Read Article
11 Best Offline Action RPG Games For Android in 2023 Are you a fan of action RPG games? Do you love the thrill of battling enemies, exploring vast …
Read Article
Easy Ways To Fix PS4 Flashing Blue Light Issue | No Power If you’re a PlayStation enthusiast, there’s nothing worse than turning on your PS4 only to …
Read Article
4 best super nintendo roms for android devices. Many of us remember the times when gaming consoles were the main source of entertainment. And one of …
Read Article


