


Learn How To Lift FIFA 21 Account Suspension or Ban in 2023 with These Proven Methods
How To Fix FIFA 21 Account Suspension Or Ban | NEW in 2023! Being suspended or banned from your FIFA 21 account can be a frustrating experience for …
Read Article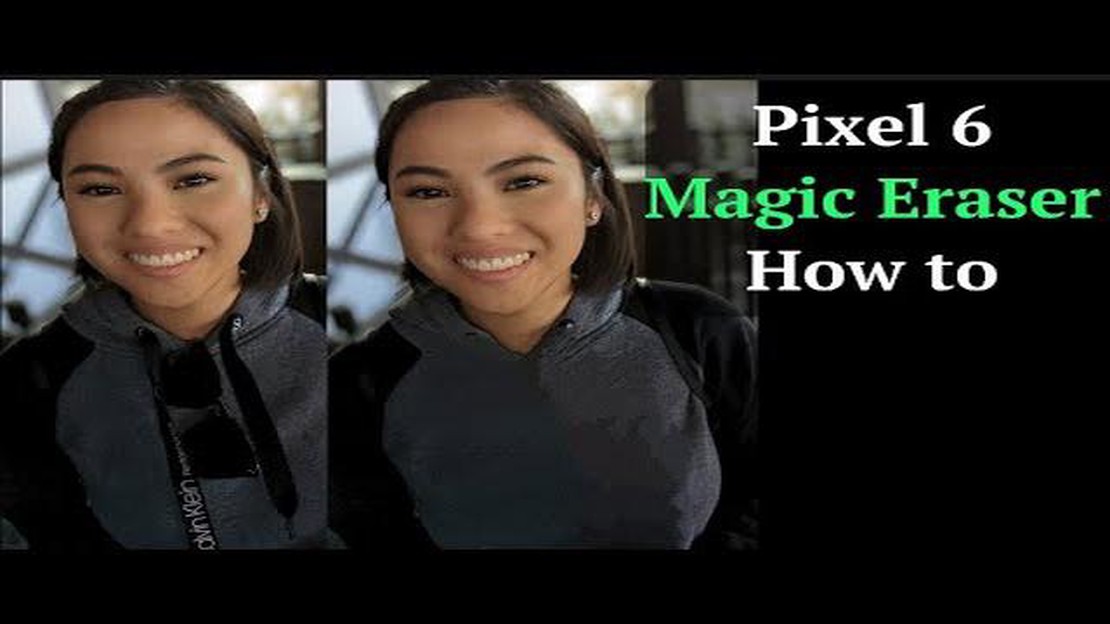
Google Pixel 4 and Pixel 5 offer many innovative photography features, including the new Magic Eraser feature. Google’s Magic Eraser lets you remove objects or items from a photo, which can be useful if you’ve taken a photo and find that something unwanted has gotten caught in the image.
Using the Magic Eraser feature on Pixel devices is simple. First of all, open the Google Photos app and select the photo where you want to remove the object. Then, tap on the “Edit” button and select the “Magic” tab at the bottom of the screen. From the list of available tools, select “Magic Eraser”.
You can then select the object you want to delete by simply swiping your finger across the screen. Google Pixel’s computer vision algorithms will try to determine what you want to remove and replace it with something suitable from the surrounding background. If the result isn’t perfect, you can go back to the original photo and try again. When you are satisfied with the result, click “Save”.
Magic Eraser feature on Google Pixel is an amazing tool that allows you to create disappearing objects effect in photos. It can be used to remove unwanted objects or annoying details from an image.
To use the Magic Eraser feature properly, follow these simple steps:
With Magic Eraser on Google Pixel, you can easily create impressive effects of disappearing objects in your photos. This tool gives you the ability to be creative and create stunning visual effects without the need for complicated editing programs.
To start using Magic Eraser, you first need to open the Camera app on your Google Pixel device. Follow these simple steps:
Keep in mind that Magic Eraser is only available on Google Pixel devices and can only be used if you have the latest version of the Camera app. If you have an older version of the app, you may need to update to the latest version to access the Magic Eraser feature.
Once you have successfully installed Google Pixel’s Magic Eraser app on your device, you can begin the photo editing process.
Read Also: Hackers are attacking the world's largest sovereign wealth fund: latest news and defense measures
First, select the “Edit” mode by opening the app on your device. This will allow you to access all the features and tools that Google Pixel’s Magic Eraser offers.
Once you’ve selected Edit mode, you’ll need to upload the photo you want to edit. To do this, click on the “Upload Photo” button or use drag and drop to add a photo from your device.
It’s important to make sure that the selected photo is in a format that is compatible with Google Pixel’s Magic Eraser. Standard image formats such as JPEG and PNG are usually supported.
It’s best to choose a photo with good resolution and bright colors so that you have the ability to edit the image more accurately and get the best results.
Once you’ve uploaded your photo, you’re ready to move on to the next step - using Google Pixel’s Magic Eraser tools to make certain items in the photo disappear.
When you already have a photo that has an unwanted item in it, you can move on to applying the Magic Eraser feature to make it disappear. Here are the steps to follow:
Read Also: Troubleshooting Guide: How to Fix Samsung Galaxy S6 Running Slow After Nougat Update
Using the Magic Eraser feature in Google Pixel’s app makes it easy to make unwanted items in your photos disappear and create a flawless composition effect. Have fun editing!
Google Pixel’s Magic Eraser is a feature of the Google-developed Pixel smartphone that lets you remove objects or items from photos to make them disappear.
To use Google Pixel’s Magic Eraser, you need to open a photo on your Google Pixel smartphone, then select the “Edit” function and find Magic Eraser in the list of tools. After that, you need to highlight the object in the photo that you want to disappear and simply click on the “Delete” button. The feature will automatically replace the deleted object with the background to make it invisible in the photo.
Yes, you can use Google Pixel’s Magic Eraser on any photos taken on your Google Pixel smartphone. This feature is available on all Google Pixel models.
Google Pixel’s Magic Eraser is great at removing objects in photos thanks to artificial intelligence technology. It automatically detects objects in your photo and removes them by replacing them with background elements, making object removal fast and efficient.
Yes, you can edit photos with multiple objects using Google Pixel’s Magic Eraser. Simply select and delete each object in turn to achieve the desired effect. You don’t need to delete all objects at once.
Google Pixel’s Magic Eraser is a tool available on Google Pixel smartphones that lets you remove objects or items from your photos.
How To Fix FIFA 21 Account Suspension Or Ban | NEW in 2023! Being suspended or banned from your FIFA 21 account can be a frustrating experience for …
Read Article
Microsoft used ai to create a bot that comments on news stories Microsoft has once again demonstrated its advancements in artificial intelligence by …
Read Article
Top 10 Smartwatches with Heart Rate Monitor Voted by Redditors as Must-Have Gadgets in 2023 With the rise of fitness-conscious individuals and the …
Read Article
Get a psn refund: how to get a full refund from playstation store? PlayStation Store is a digital store for PlayStation console owners where you can …
Read Article
Top 15 effective email extractors: an easy way to find valid email addresses in a short time Mail extractors are software that allow you to quickly …
Read Article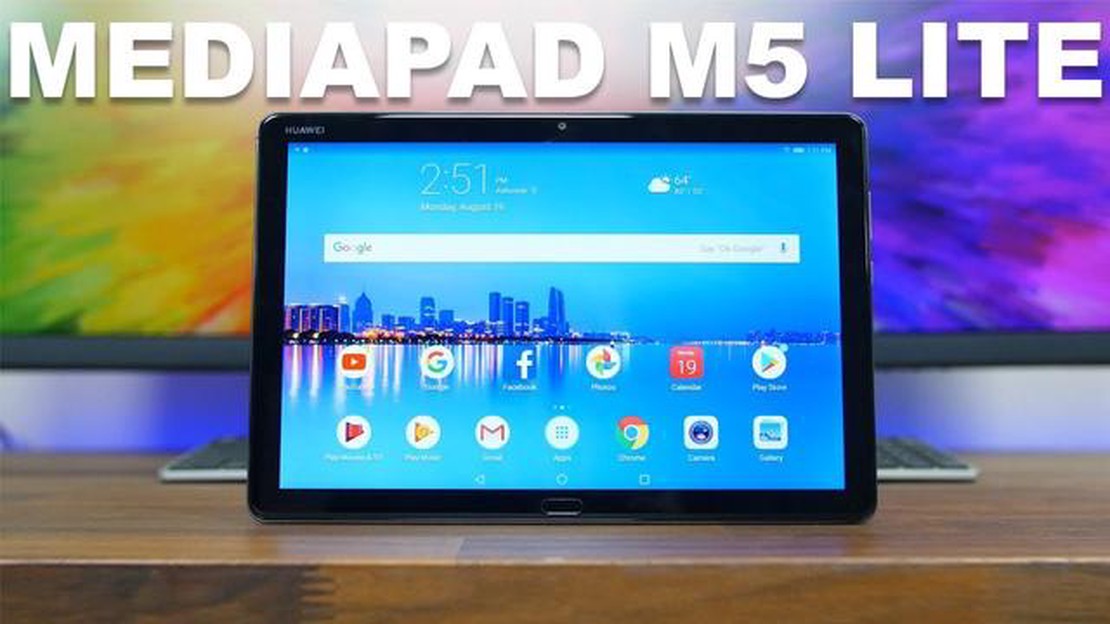
Review of huawei mediapad m5 lite, features and prices. If you are looking for a tablet that combines power and functionality, the Huawei MediaPad M5 …
Read Article


