


How To Fix Instagram Keeps Logging Out Issue - Helpful Tips and Solutions
How To Fix Instagram Keeps Logging Out Issue Are you tired of constantly being logged out of your Instagram account? If you find yourself frequently …
Read Article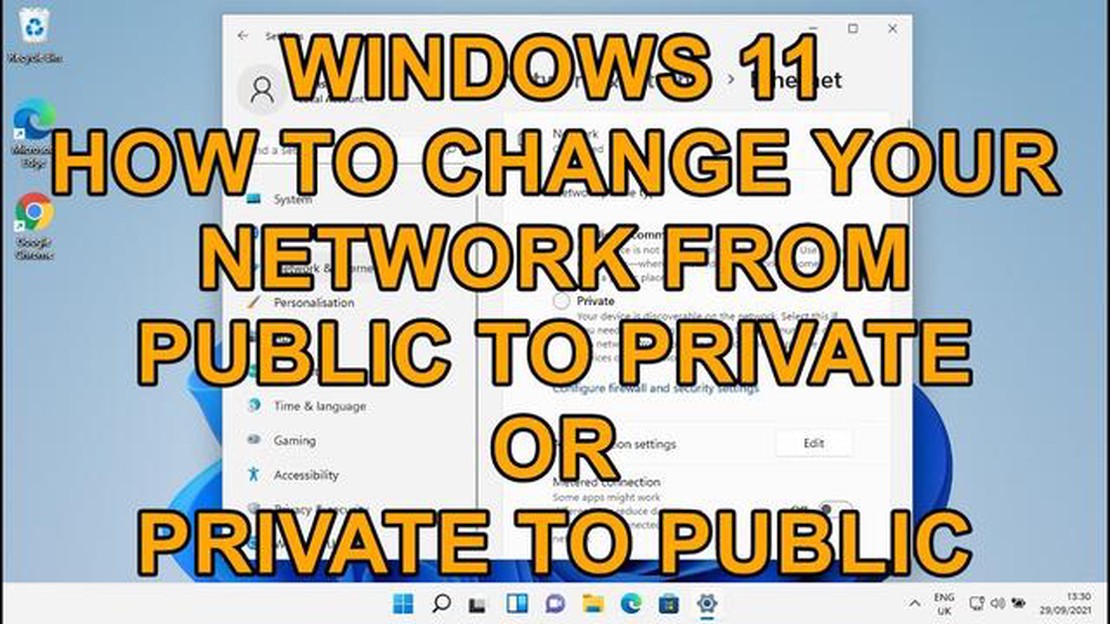
Windows 11 is the latest operating system released by Microsoft, offering several new features and improvements. One important aspect of managing your network connections on Windows 11 is ensuring that your network is set to the appropriate network type, whether it be public or private. Public networks are generally used for connections in public places, such as coffee shops or airports, while private networks are used for home or office connections.
If your Windows 11 computer is currently set to a public network but you want to change it to a private network for added security and convenience, this step-by-step guide will walk you through the process. Changing your network from public to private can help enhance your computer’s security by allowing it to share files and printers with other devices on your network, while also offering a safer connection.
The first step in changing your network from public to private on Windows 11 is to open the Settings app. You can do this by clicking on the Start button in the taskbar, then selecting the Settings icon. Alternatively, you can also press the Windows key + I on your keyboard to directly open the Settings app. Once the Settings app is open, navigate to the Network & Internet section.
Under the Network & Internet section, click on the Ethernet or Wi-Fi option, depending on the type of network connection you are using. This will open the settings for your network adapter. In the network adapter settings, you will find an option labeled “Network profile.” This option determines whether your network is set to public or private. To change your network from public to private, simply click on the dropdown menu next to Network profile and select Private.
If you’re using Windows 11, you might want to change your network from public to private for various reasons. A private network offers more security and allows you to connect to other devices on the same network easily. In this guide, we’ll show you how to change your Windows 11 network from public to private.
Click on the Network icon in the system tray and select “Network & Internet Settings” from the dropdown menu. This will open the Network & Internet settings page.
In the Network & Internet settings page, click on the “Advanced network settings” link. This will open the Network & Internet Status page. Scroll down and click on the network you want to change from public to private.
In the network details page, click on the “Properties” button. This will open the Properties dialog box.
In the Properties dialog box, look for the “Network Profile” section. By default, the network profile will be set to Public. Click on the dropdown menu and select “Private” as the network profile type.
Read Also: Acer Predator Triton 500 review with Intel 12th Gen Alder Lake processor - latest details
After selecting the “Private” network profile type, click on the “Close” button to save the changes. Windows will now recognize the network as a private network.
Congratulations! You have successfully changed your Windows 11 network from public to private. Your network will now be more secure and you will be able to connect to other devices on the same network easily.
Changing your network from public to private on Windows 11 is an important step to ensure the security and privacy of your computer and network. By default, Windows 11 assigns a network as public when it detects a new connection, and this may not provide the level of security you need.
When a network is set to public, Windows 11 applies stricter security settings to protect your computer from potential threats on public networks. However, these settings can also limit network functionality and prevent certain devices or services from connecting to your computer.
On the other hand, setting your network to private allows you to take advantage of additional network features and services, such as file sharing, printer sharing, and network discovery. This can be particularly useful in a home or office environment where you need to connect multiple devices and share resources.
Here are some reasons why changing your network from public to private is important on Windows 11:
Read Also: Top 5 Free Online Photo Storage Services in 2023: Store and Share Your Photos Hassle-Free!
In conclusion, changing your network from public to private on Windows 11 is important for enhanced security, improved network functionality, seamless device connectivity, and efficient network management. It allows you to take full advantage of your network and enables easier collaboration and resource sharing between devices.
In order to change your Windows 11 network from public to private, you will first need to access the network settings. Here’s how:
Once you have accessed the network settings and located the Network profile property, you can proceed to the next step to change your Windows 11 network from public to private.
After identifying the network you want to change, the next step is to choose the network profile type. There are two options available:
Choosing the correct network profile type is important, as it determines the level of security and network sharing capabilities for your computer. By default, Windows 11 assigns a network profile type based on its assessment of the network’s security. However, you can manually change the network profile type if needed.
Changing your network from public to private on Windows 11 can help improve security and privacy. When your network is set to public, your computer is more vulnerable to network attacks and unauthorized access. By setting your network to private, you are essentially telling Windows to treat the network as a trusted network and apply stricter security measures.
Yes, you can change your network from private to public in Windows 11. To do this, follow the same steps mentioned earlier, but instead of selecting “Private” in the network properties window, select “Public.” It’s important to note that changing your network from private to public may make your computer more vulnerable to security threats, so make sure to consider the implications before making the change.
If you don’t see the “Network profile” option in the network properties window, it is possible that your version of Windows 11 does not support changing the network profile. In some cases, the option may be hidden or unavailable due to certain network configurations or group policies set by your network administrator. If you are unable to change the network profile, you may need to contact your network administrator for further assistance.
How To Fix Instagram Keeps Logging Out Issue Are you tired of constantly being logged out of your Instagram account? If you find yourself frequently …
Read Article
Facebook acquires beat games, could be working on vr games soon Facebook has announced that it has acquired Beat Games, the studio that created the …
Read Article
Samsung Galaxy S7 Stopped Receiving Text Messages Issue & Other Related Problems The Samsung Galaxy S7 is a popular smartphone that offers a wide …
Read Article
How To Fix Call Of Duty Modern Warfare 2 Error Code TRAVIS – RILEA If you’re a fan of Call of Duty Modern Warfare 2, there’s a chance you may have …
Read Article
How To Fix Roomba Not Connecting To Wifi Having trouble connecting your Roomba to your Wifi? Don’t worry, you’re not alone. Many users experience …
Read Article
How To Fix S10 Notification Problems After Android 10 Update If you own a Samsung S10 and recently updated your device to Android 10, you may have …
Read Article


