

How to Fix Minecraft Failed Attempt to Join Realm Error on Windows 10
How to fix Minecraft Failed Attempt to Join Realm error on Windows 10 If you’re a Minecraft player on Windows 10 and have encountered the “Failed …
Read Article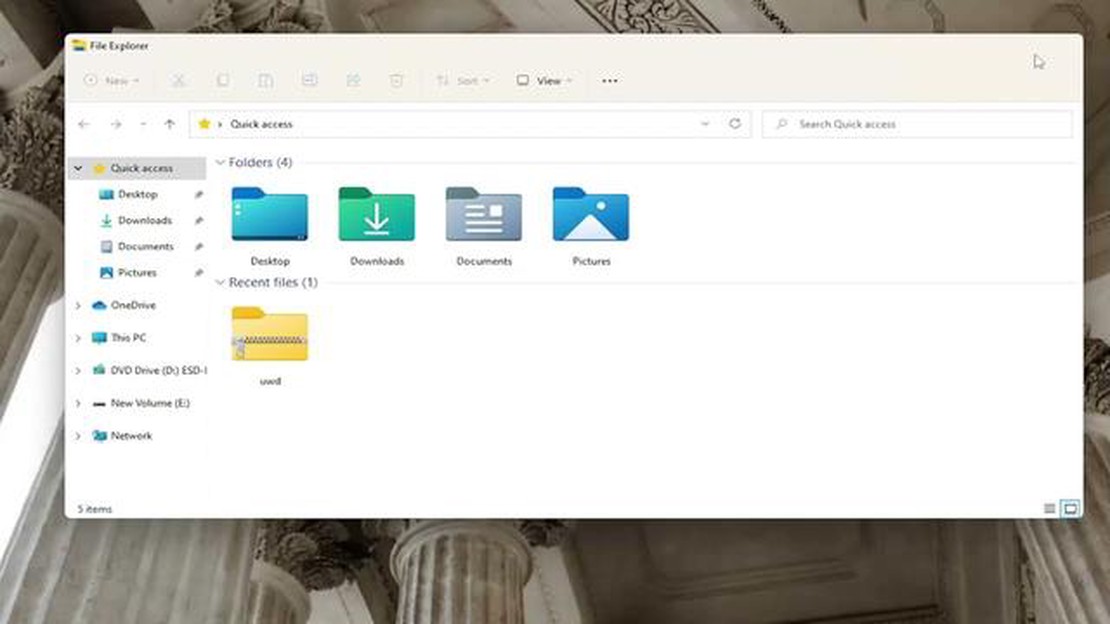
File Explorer is the primary tool for managing files and folders in the Windows operating system. When you open File Explorer, it usually opens in a special default folder called “User Folder”. However, in some cases, users may want to change the default folder in File Explorer to a different folder, such as favorites or computer.
In this article, we will look at how to change the default folder in File Explorer in Windows 11 and Windows 10 operating systems. This will allow you to immediately open the desired folder when you start File Explorer and save you time.
In order to change the default folder in File Explorer, you will need to follow a few simple steps. Below, we’ll take a closer look at these steps and provide step-by-step instructions for performing this operation in Windows 11 and Windows 10.
In File Explorer in Windows 11/10, you can change the default folder that opens when you start the program. This can be handy if you want to quickly navigate to a specific folder each time File Explorer opens.
Here’s how to change the default folder in File Explorer:
Now when you start File Explorer, the default folder you selected will open. You can repeat these steps to change the default folder at any time.
Note that setting the default folder in File Explorer does not change the default folder for other programs, such as browsers or text editors. Each program may have its own setting for the default folder.
Read Also: The Division 3: a new shooter on next-gen consoles
File Explorer in Windows opens a default folder each time you start it. If you want to change the folder that opens by default in File Explorer, you will need to change the appropriate setting.
Here’s how to change the default folder in File Explorer in Windows 11/10:
Now when you open File Explorer, the folder you selected will open by default, instead of the default folder.
Note that changing the default folder in File Explorer does not change the actual location of the folder on your computer. It only changes the folder that File Explorer opens when you start it.
Windows 11/10 offers the ability to customize default folders in the File Explorer program
To change the default folder in File Explorer, follow these steps:
Read Also: How to play the game 'aviator': a detailed guide and flyhacks
Now the folder you selected will open by default when you start File Explorer.
In addition, you can also customize other default folders by following the same steps.
For example, you can customize the default downloads folder, documents folder, or any other folder you use frequently.
To change the default folder in File Explorer, you will need to open File Explorer and go to the folder view settings. Depending on your operating system, the process may be slightly different. In Windows 11, you can change the default folder by going to folder properties and selecting a new destination. In Windows 10, you can change the default folder by going to folder view settings and selecting your desired folder from the list. Remember to save your changes so that the selected folder becomes the new default folder in File Explorer.
Yes, you can change the default folder in File Explorer on an external hard disk. To do so, open File Explorer, locate the desired folder on the external hard disk, right click on it and select “Properties”. In the “General” tab, click on “Change Destination Field” and select a new destination on the external disk. After saving the changes, the selected folder will become the new default folder in File Explorer.
How to fix Minecraft Failed Attempt to Join Realm error on Windows 10 If you’re a Minecraft player on Windows 10 and have encountered the “Failed …
Read Article
How to Fix Star Wars Jedi Survivor Crashing Issue on PC If you’re a Star Wars fan and you’ve been experiencing crashes while playing Star Wars Jedi …
Read Article
How To Fix The Error 0x87DD0017 On Xbox Series S When Playing If you own an Xbox Series S gaming console and encounter the Error 0x87DD0017 while …
Read Article
How To Cancel Xbox Game Pass If you’re a gamer who has been enjoying the benefits of Xbox Game Pass, but you’ve decided it’s time to cancel your …
Read Article
9 Best Android Programming Books in 2023 If you’re looking to level up your Android programming skills in 2023, you’ve come to the right place. The …
Read Article
Learn about ffxiv black mage rotation complete guide. The Black Mage is one of the most powerful and dangerous spellcasters in the world of Final …
Read Article


