
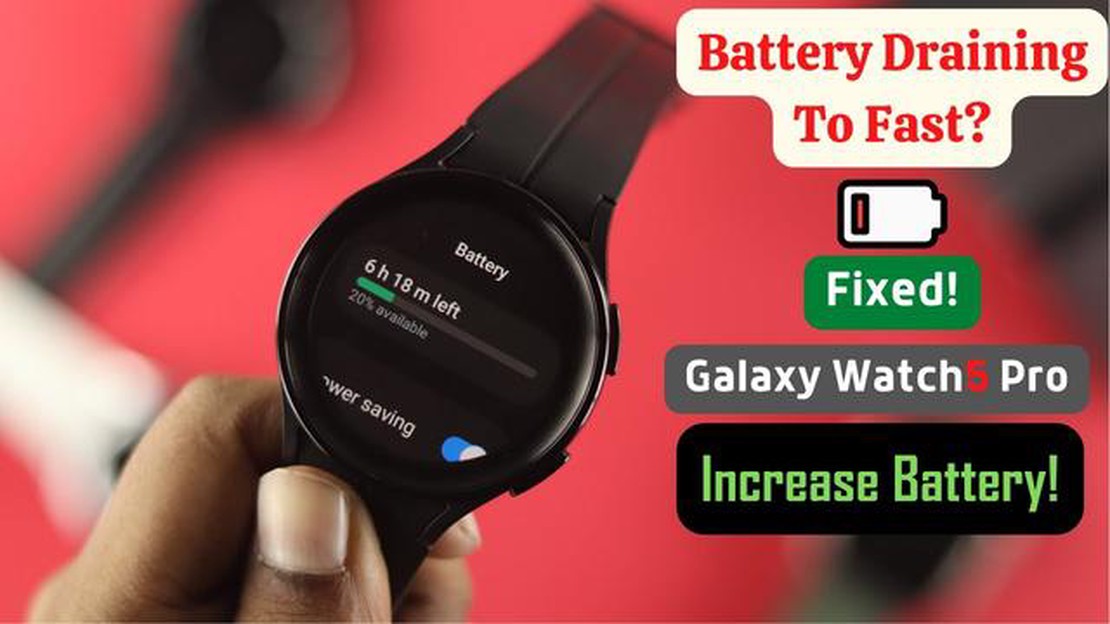

Fix Samsung Galaxy Watch 5 Battery Drain Issue with These Simple Steps
How To Fix Samsung Galaxy Watch 5 Battery Drain Issue Are you experiencing battery drain on your Samsung Galaxy Watch 5? Don’t worry, you’re not …
Read Article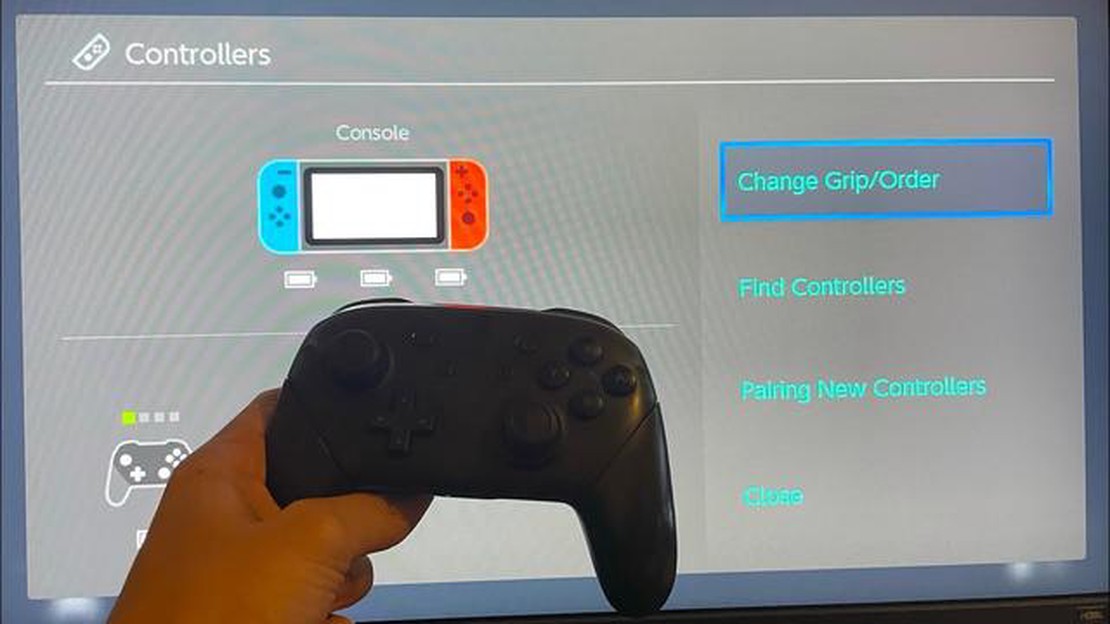
One of the key factors in enjoying a seamless gaming experience on the Nintendo Switch is having properly calibrated controllers. Calibration ensures that the input from the controllers is accurately translated into in-game actions, allowing players to have precise control over their characters and gameplay. Whether you’re experiencing lag, unresponsive buttons, or inaccurate movement on your controllers, recalibrating them can often solve these issues. In this guide, we’ll walk you through the easy steps to calibrate your Nintendo Switch controllers for optimal gaming performance.
Step 1: Enter System Settings
To begin the calibration process, start by navigating to the System Settings on your Nintendo Switch. This can be done by selecting the gear icon on the home screen and scrolling down to find the System Settings option.
Step 2: Select Controllers and Sensors
Once you’re in the System Settings, look for the Controllers and Sensors option. This can usually be found towards the middle of the settings menu. Select this option to access the controller calibration settings.
Step 3: Calibrate Control Sticks
Inside the Controllers and Sensors menu, you’ll find several options for calibrating different aspects of your controllers. To start, choose the Calibrate Control Sticks option. This will allow you to recalibrate the control sticks to ensure accurate movement and responsiveness in games.
Step 4: Follow On-Screen Instructions
Once you’ve selected Calibrate Control Sticks, the Nintendo Switch will display on-screen instructions to guide you through the calibration process. Follow these instructions carefully, as they may involve rotating the control sticks or performing specific movements. By following the on-screen instructions, you’ll be able to calibrate your control sticks effectively.
Step 5: Calibrate Motion Controls
In addition to control sticks, it’s also important to calibrate the motion controls of your Nintendo Switch controllers. This can be done by selecting the Calibrate Motion Controls option in the Controllers and Sensors menu. Follow the on-screen instructions to perform the necessary movements for motion control calibration.
Step 6: Test and Adjust
Once you’ve completed the calibration process for both control sticks and motion controls, it’s time to test them in-game. Load up a game that utilizes the specific controls you calibrated and ensure that the movements and button inputs are accurate. If you still experience any issues, you can repeat the calibration process or reach out to Nintendo Support for further assistance.
By following these easy steps, you can quickly and effectively calibrate your Nintendo Switch controllers to enhance your gaming experience. The precise control and accuracy provided by proper calibration will allow you to fully immerse yourself in your favorite games on the Nintendo Switch.
Calibrating your Nintendo Switch controllers is essential to ensure accurate and smooth gameplay. Whether you’re experiencing drift issues or simply want to recalibrate your controllers, follow these easy steps to calibrate your Nintendo Switch controllers.
Read Also: Wondershare Uniconverter: a tool for all your audio/video editing needs
Note: It’s recommended to repeat the calibration process periodically to ensure optimal performance of your Nintendo Switch controllers.
By following these simple steps, you can easily calibrate your Nintendo Switch controllers. Enjoy precise and accurate controls while gaming on your Nintendo Switch!
Calibrating your Nintendo Switch controllers is an important step to ensure optimal gameplay and accurate control inputs. Follow these simple steps to calibrate your controllers:
Read Also: Top 5 Kodi Alternatives for Streaming in 2021
It’s important to note that calibration may need to be performed periodically, especially if you notice any issues with control inputs or accuracy. By following these simple steps, you can ensure that your Nintendo Switch controllers are always calibrated for optimal gaming experiences.
When it comes to gaming on the Nintendo Switch, having controllers that are properly calibrated is essential for a smooth and accurate gaming experience. Whether you’re playing action-packed games or competitive multiplayer games, properly calibrating your controllers ensures that your inputs are accurately registered by the console.
Here are some easy steps to calibrate your Nintendo Switch controllers:
By calibrating your controllers, you can ensure that they are accurately registering your inputs, resulting in a more responsive and enjoyable gaming experience. It is recommended to calibrate your controllers regularly or whenever you notice any inconsistencies in the controls.
In addition to calibrating your controllers, it is also important to keep them clean and free from any debris or dirt. Regularly wipe down the controllers with a clean cloth to remove any build-up that may affect their performance.
Lastly, remember to keep your controllers charged or use fresh batteries to maintain optimal performance. Low battery levels can affect the responsiveness of the controller inputs.
Overall, by following these simple steps and taking care of your controllers, you can ensure a smooth and accurate gaming experience on your Nintendo Switch.
Controller calibration is the process of adjusting the settings on a Nintendo Switch controller to ensure accurate and precise inputs.
Calibrating controllers is important to ensure that the inputs are registered correctly by the console and to prevent any inaccuracies or delays in gameplay.
It is recommended to calibrate your controllers whenever you notice any issues with the inputs or at least once every few months to maintain optimal performance.
The easy steps to calibrate Nintendo Switch controllers are: 1. Go to the System Settings menu on your Switch. 2. Select “Controllers and Sensors” and then “Calibrate Control Sticks”. 3. Follow the on-screen instructions to recalibrate the control sticks. 4. Repeat the process for other controllers if needed.
No, Joy-Con controllers and Pro controllers need to be calibrated individually. You will have to follow the calibration steps for each controller separately.
Calibrating your Nintendo Switch controllers is important to ensure accurate and smooth gameplay. Over time, controllers may experience drift or inaccuracies in the way they register movements, and calibrating them helps to fix these issues.
How To Fix Samsung Galaxy Watch 5 Battery Drain Issue Are you experiencing battery drain on your Samsung Galaxy Watch 5? Don’t worry, you’re not …
Read Article
How to Create a Custom Netflix Profile Picture in Minutes Are you tired of using the default profile pictures on Netflix? Would you like to have a …
Read Article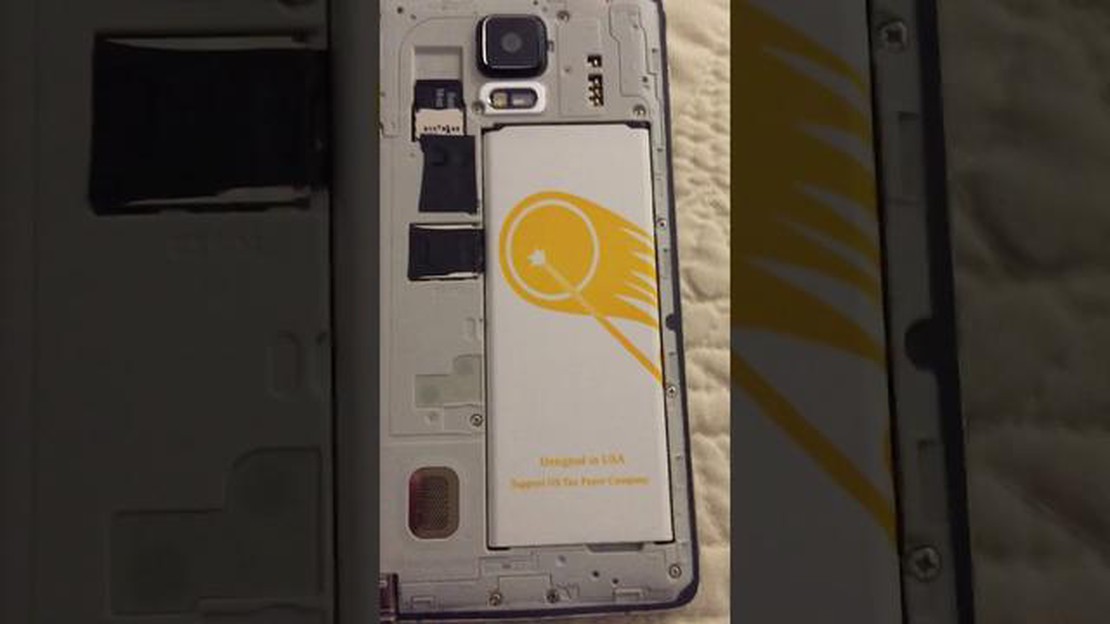
Galaxy Note 4 won’t recognize any SIM card, other issues If you own a Samsung Galaxy Note 4 and are experiencing issues with your SIM card not being …
Read Article
How to Wipe Cache Partition on Samsung Galaxy Devices Running Android 12 or Above If you’re experiencing performance issues or encountering strange …
Read Article
Multiversus crashing not loading on xbox Multiversus is an addictive game that allows players to engage in a battle between different characters from …
Read Article
How to Fix Mobile Suit Gundam Battle Operation 2 FPS Drop Mobile Suit Gundam Battle Operation 2 is a popular action-packed video game that allows …
Read Article


