


5 tips to improve focus for gamers
Attention, gamers: 5 tips to improve focus. In the world of video games, every year there are more and more participants. Players go through complex …
Read Article
If you’re experiencing performance issues or encountering strange glitches on your Samsung Galaxy device running Android 12+, clearing the cache partition can often help resolve these problems. The cache partition stores temporary system files and app data, and over time, it can accumulate unnecessary or corrupted data that may impact the device’s performance.
Clearing the cache partition is a simple process that can be done through the device’s recovery menu. However, it’s important to note that clearing the cache partition won’t delete any personal data or settings from your device.
To clear the cache partition on a Samsung Galaxy device running Android 12+, follow the steps below:
After your device restarts, the cache partition will be cleared, and you should notice improved performance and stability. It’s recommended to clear the cache partition periodically to maintain optimal device performance.
Clearing the cache partition is a safe troubleshooting step that can help resolve common issues on Samsung Galaxy devices running Android 12+. If you’re still experiencing problems after clearing the cache partition, you may need to consider other troubleshooting options or seek assistance from Samsung support.
If you’re experiencing performance issues on your Samsung Galaxy device running Android 12 or later, clearing the cache partition can often help resolve them. This tutorial will guide you through the steps to clear the cache partition on your Samsung Galaxy device.
To start the process, turn off your Samsung Galaxy device completely. You can do this by pressing and holding the power button, then selecting the “Power off” option from the menu that appears. Wait for the device to shut down completely before proceeding to the next step.
Next, you’ll need to boot your Samsung Galaxy device into recovery mode. To do this, press and hold the volume up and power buttons simultaneously until the Samsung logo appears on the screen. Release both buttons once the logo appears, and you should see the recovery mode menu.
Read Also: Top 10 high compression android games 2023: download and enjoy!
Once you’re in the recovery mode menu, use the volume buttons to navigate to the “Wipe cache partition” option. This option is usually located towards the bottom of the menu. Once you’ve highlighted the option, press the power button to select it.
After selecting the “Wipe cache partition” option, you’ll be asked to confirm your decision. Use the volume buttons to highlight the “Yes” option, then press the power button to confirm and start the cache partition wipe process.
Once you’ve confirmed the cache partition wipe, your Samsung Galaxy device will begin the process. This typically takes a few seconds to a minute, depending on the size of the cache partition. You’ll see a progress indicator on the screen while the process is ongoing.
Once the cache partition wipe is complete, you’ll be returned to the recovery mode menu. Use the volume buttons to navigate to the “Reboot system now” option, and press the power button to select it. Your Samsung Galaxy device will then reboot normally.
Read Also: Step-by-Step Guide: How to Rename or Change the Name of your Samsung Galaxy Tab S6
Congratulations! You have successfully cleared the cache partition on your Samsung Galaxy device running Android 12 or later. This can help improve performance and resolve any issues you may have been experiencing. If you continue to have problems, you may want to consider other troubleshooting steps or contacting Samsung support.
If you’re experiencing issues with your Samsung Galaxy device running Android 12 or higher, clearing the cache partition can often be a helpful troubleshooting step. The cache partition stores temporary files and data that can sometimes become corrupted and cause issues. Follow the steps below to easily clear the cache partition on your Samsung Galaxy device.
After your Samsung Galaxy device restarts, the cache partition will be cleared and you may notice improved performance and fewer issues. If you’re still experiencing problems, you may want to try other troubleshooting steps or contact Samsung technical support for further assistance.
Cache partition on Samsung Galaxy devices is a reserved space on the device’s storage that is used to store temporary files and app data. These files help speed up the performance of the device by reducing load times when accessing frequently used apps and data.
Clearing the cache partition on Samsung Galaxy devices can help improve the overall performance of the device. Over time, the cache partition can accumulate a large amount of temporary files and app data, which can slow down the device and take up valuable storage space. Clearing the cache partition helps free up space and allows the device to run more efficiently.
No, clearing the cache partition on a Samsung Galaxy device will not delete your personal data or settings. It only removes temporary files and app data stored in the cache partition. Your personal data and settings will remain intact and unaffected by the cache partition clearing process.
Attention, gamers: 5 tips to improve focus. In the world of video games, every year there are more and more participants. Players go through complex …
Read Article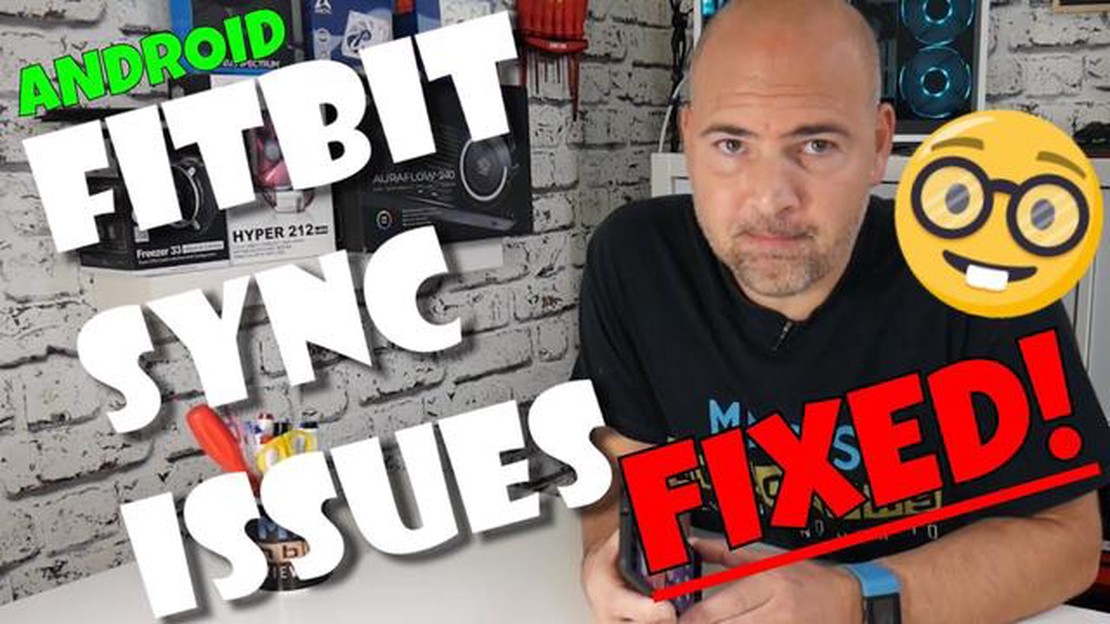
Fitbit Versa Syncing Issue: Connection with Android device keeps dropping If you own a Fitbit Versa and you’re experiencing syncing issues with your …
Read Article
Extratorrent proxy best extratorrent mirror sites. ExtraTorrent was one of the most popular torrent trackers, but after its closure, many users were …
Read Article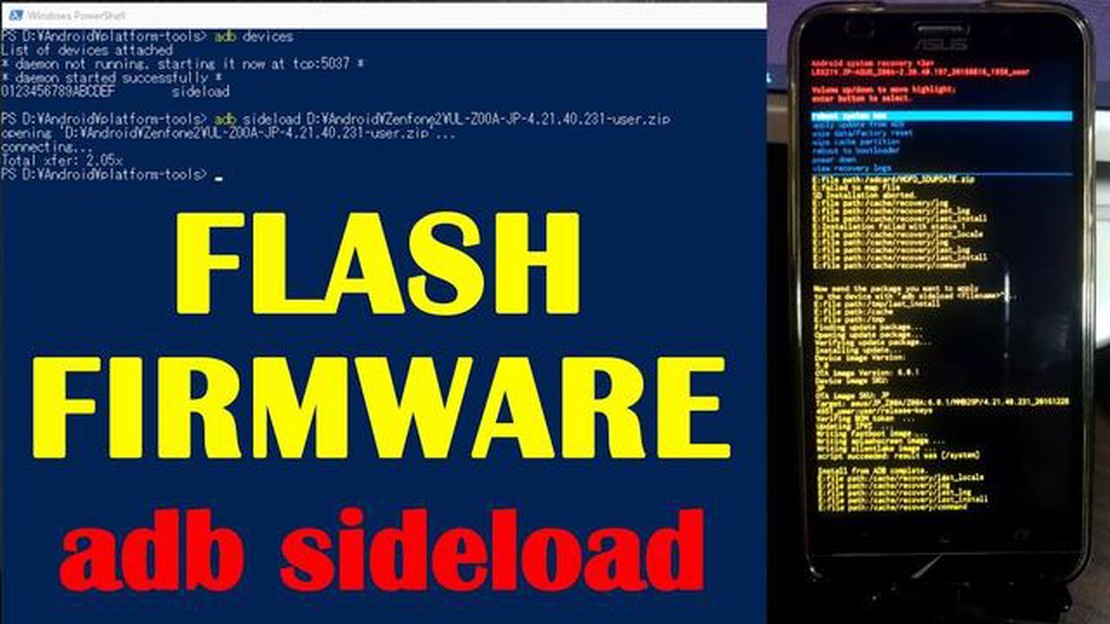
How to apply an update from adb sideload (windows mac). Updating the operating system on your device doesn’t always go smoothly, and sometimes you …
Read Article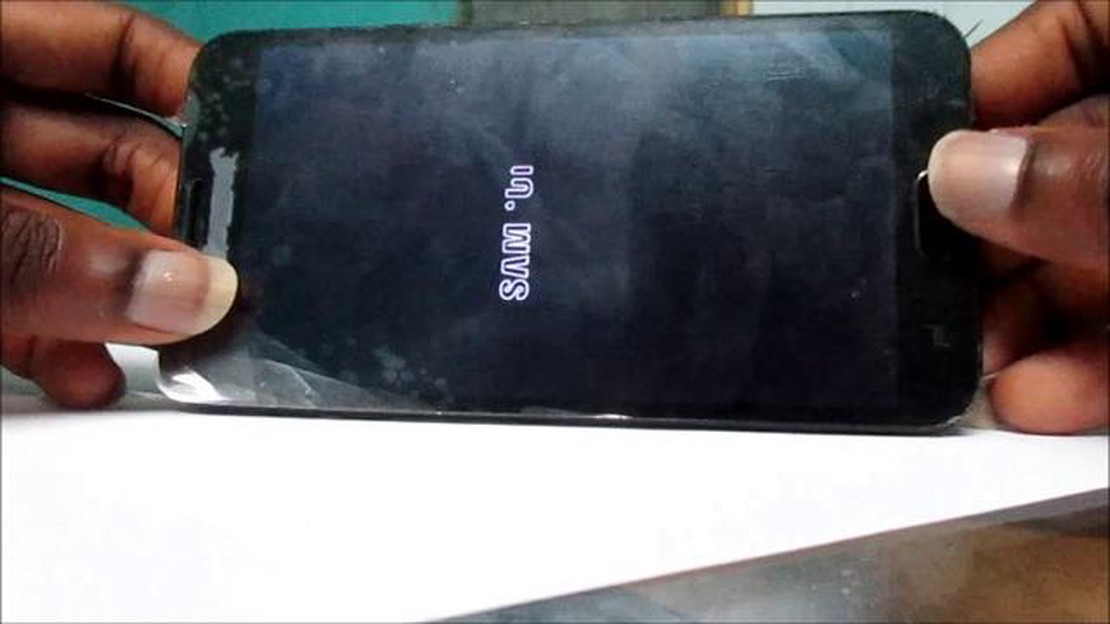
How To Fix Samsung Galaxy J4 Black Screen of Death If your Samsung Galaxy J4 is experiencing the black screen of death, don’t panic. This common issue …
Read Article
How to fix Galaxy S10 sending duplicate texts issue | SMS and MMS sent multiple times If you own a Samsung Galaxy S10 and have been experiencing the …
Read Article


