

Netflix Troubleshooting: How to Fix Netflix Not Working on Galaxy Note10+
What to do if Netflix is not working on Galaxy Note10+ | Netflix keeps crashing If you’re a Galaxy Note10+ user and you’re experiencing issues with …
Read Article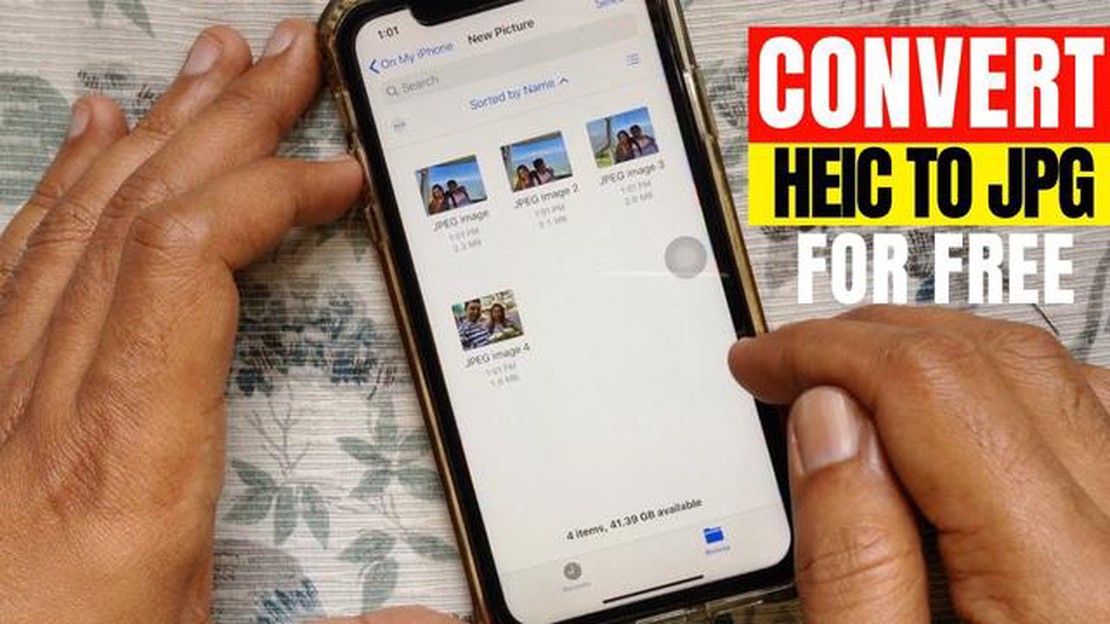
HEIC (High Efficiency Image Format) is a new file format used on Apple devices to save photos and images. It was introduced with the release of iOS 11 and replaced the older JPG format. HEIC offers more efficient compression and higher quality images compared to JPG.
However, using the HEIC format can create some problems for users, especially when sharing photos with devices that don’t support the format. Fortunately, there are ways to convert photos from HEIC to the more common JPG format, which can be opened on any device.
In this article, we’ll look at three easy ways to convert iPhone photos from HEIC to JPG format. You will learn how to use built-in iOS tools, third-party software and online converters to accomplish this task. This way, you can easily share your photos with friends and family, no matter which image format they prefer to use.
HEIC (High Efficiency Image Format) is an image format developed by Apple for use on devices running iOS 11 and above. HEIC uses a lossy image compression algorithm to produce smaller files without significant loss of quality.
The main advantages of the HEIC format include:
However, not all devices and programs support the HEIC format. Therefore, it may sometimes be necessary to convert HEIC files to a more common format, such as JPEG.
In the following sections, we will discuss three ways to convert iPhone photos from HEIC format to JPEG format.
HEIC (High-Efficiency Image Container) is an image file format used by Apple for photos taken on iPhone and iPad devices with iOS 11 and later. The HEIC format allows you to save images in high quality while taking up less space on your device than the JPG format.
However, not all programs and devices support the HEIC format, which can cause problems when sharing and opening photos. In such cases, you can use special tools to convert iPhone photos from HEIC to JPG format. Here are three popular ways:
If you have access to a personal computer or Mac, you can easily convert iPhone photos from HEIC format to JPG using iTunes or iMazing.
* Connect your iPhone to your computer with a USB cable.
* Open iTunes or iMazing on your computer.
* Select your device in iTunes or iMazing and find the photo or camera transfer section.
* Select all the photos you want to convert from HEIC format to JPG.
* Click the button to export or transfer the photos to a folder of your choice on your computer. The photos will be saved in JPG format.
If you do not have access to a computer, you can use online converters to convert HEIC format to JPG. Some popular online converters include HEICtoJPEG and Online-Convert.
* Open the online converter of your choice in a web browser.
* Select and upload your iPhone photos in HEIC format to the online converter.
* Select JPG as the output format.
* Click the button to convert the photos.
* Download the converted photos in JPG format from the online converter to your device.
If you prefer to work with your photos on your smartphone, there are mobile apps for converting HEIC to JPG format. Some of these apps include HEIC Converter and JPEGmini.
* Install the photo format conversion mobile app of your choice.
* Select the photos you want to convert from the app.
* Select the output format to be JPG.
* Tap the button to convert the photos.
* Save the converted photos in JPG format to your device.
No matter which method you choose, converting iPhone photos from HEIC to JPG format will allow you to share and open the images on a variety of devices and software platforms that do not support the HEIC format.
1. macOS and iOS
Apple offers two built-in programs that allow you to view and convert photos from HEIC format to JPG:
2. iCloud.
Read Also: Samsung Galaxy S4 Boots Up in Safe Mode - Troubleshooting Guide
If you have an iCloud account on your iOS device, you can enable “Auto Upload” to upload photos to Photos on your macOS Mac or Photos on iCloud.com. In this case, the photos will be uploaded in JPG format instead of HEIC format.
3. Software from the App Store
Read Also: Get iphone 14s dynamic island on any android phone Reviews, photos, prices for DynaIsland
Various apps are also available on the App Store to convert photos from HEIC to JPG format. Some popular apps include iMazing HEIC Converter, HEIC Converter Free, and iMazing.
With the help of these programs, you can easily convert photos saved in HEIC format on your iPhone to JPG format.
If you don’t feel like downloading software or don’t have access to a PC, you can use online converters. They allow you to quickly and easily convert photos from HEIC to JPG format right in your browser.
Here are some online services you can use for conversion:
Online converters are easy to use and do not require any additional software to be installed. However, they can be a bit slower than PC-based applications, especially when you have a large number of photos to convert. Also, keep in mind that using online services may not be safe for your data privacy, so choose trusted and reliable resources.
Mobile apps are a great tool for solving various tasks on iOS devices. They can be used not only to process photos and videos, but also to make purchases, exchange messages, listen to music and much more.
One of the popular features of mobile apps is converting photos from HEIC format to JPG format. HEIC (High Efficiency Image Format) is a new image format that is used on Apple devices running iOS 11 and above.
There are several ways to convert photos from HEIC to JPG using mobile apps:
The choice of conversion method depends on your preferences and needs. If you are comfortable using the built-in iOS features, you can use this method. If you prefer to use third-party apps, you can also find them in the App Store. Finally, if you don’t have the option to install additional apps, online services are a good solution.
It is important to keep in mind that converting from HEIC to JPG may result in some loss of image quality. Therefore, it is recommended that you save the original photos in HEIC format and do the conversion only when necessary.
HEIC (High Efficiency Image Format) is an image format used on Apple devices such as the iPhone and iPad. It was designed to compress images with high quality while taking up less space on the device compared to the standard JPG format.
The HEIC format has many advantages. First, it compresses images without loss of quality, which preserves the details and colors of images. Second, it takes up less space on the device, which is especially important for users with limited storage space. In addition, the HEIC format supports various additional features such as transparency and animations.
There are several reasons why you may need to convert your HEIC photos to JPG. First, not all programs and devices support the HEIC format, so you may need to convert to JPG to process or view images in other applications. Second, if you want to share your photos with people using devices or programs that are not compatible with the HEIC format, conversion will also be required.
There are several ways to convert photos from HEIC format to JPG. The first way is to use the built-in features in your iPhone. To do this, open the camera settings and select “Most Compatible” format. The second way is to use the Photos program on your Windows 10 computer. Just open the photo in the program and select the “Save As” option from the menu. The third way is to use online converters. Just upload the photo to the converter site, select the desired format and click “Convert”.
What to do if Netflix is not working on Galaxy Note10+ | Netflix keeps crashing If you’re a Galaxy Note10+ user and you’re experiencing issues with …
Read Article
What to do if your Garmin Fenix 5 Plus isn’t updating If you own a Garmin Fenix 5 Plus, you know how important it is to keep your smartwatch updated …
Read Article
5 Best Cheap Gaming Monitor in 2023 Gaming is becoming more popular than ever, and having the right gaming monitor can make all the difference in the …
Read Article
Samsung Galaxy Note 4 Shuts Off Randomly Issue & Other Related Problems If you own a Samsung Galaxy Note 4 and have been experiencing random …
Read Article
How To Update Fitbit Charge 5 Fitbit Charge 5 is a popular fitness tracker that offers a range of features to help you stay active and monitor your …
Read Article
Spotify Application Not Responding in Windows 10 Spotify is one of the most popular music streaming platforms, but like any other software, it can …
Read Article


