

7 best screen recording apps for Windows 11
7 best screen recording apps for windows 11 Recording your computer screen can be useful for various tasks, be it creating training videos, streaming …
Read Article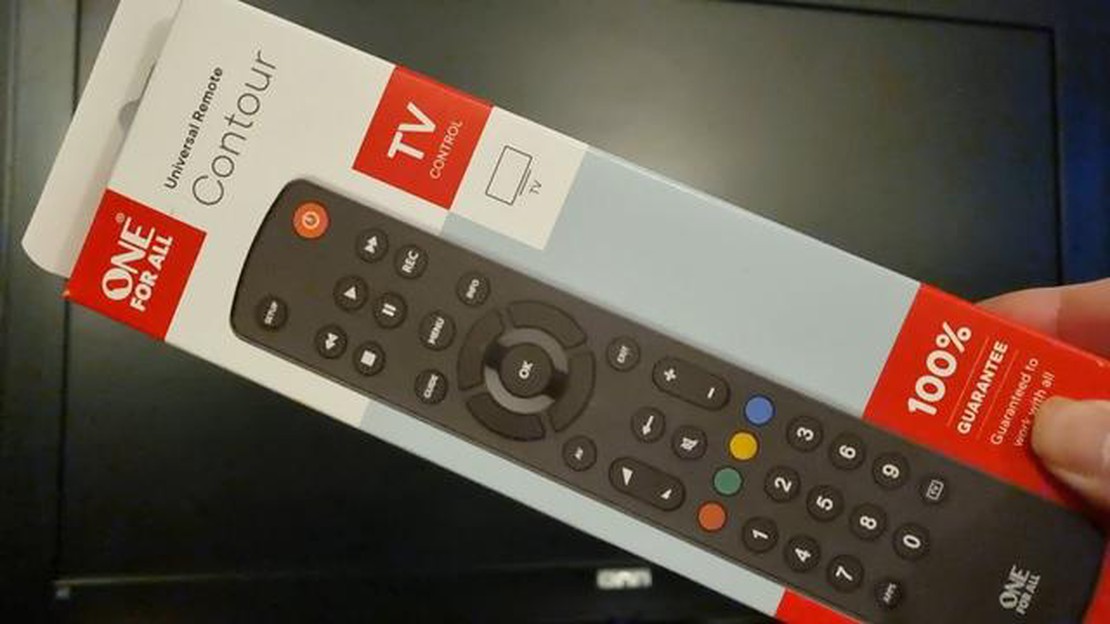
Are you tired of juggling multiple remote controls for your various electronic devices? Look no further than the ONE For All remote! This versatile device allows you to control all your devices with just one remote, making your life much easier. In this step-by-step guide, we will show you how to program your ONE For All remote so that you can start enjoying the convenience of a single remote control.
Step 1: Gather the necessary information.
Before you start programming your ONE For All remote, you will need to gather some information about your devices. Find the make and model numbers of all the devices you want to control with the remote. This information is typically found on the back or bottom of your devices. Write down this information as you will need it later in the programming process.
Step 2: Turn on the device you want to program.
To begin programming your ONE For All remote, turn on the device you want to control. For example, if you want to control your television, turn it on and make sure it is set to the correct input or channel.
Step 3: Enter the programming mode.
Press and hold down the magic button on your ONE For All remote for about 3 seconds until the light at the top of the remote turns on. This indicates that the remote is now in programming mode and ready to be paired with your device.
Note: The location of the magic button may vary depending on the model of your ONE For All remote. Refer to the user manual for the exact location.
Step 4: Enter the device code.
Using the number buttons on your ONE For All remote, enter the 4-digit device code for your device. The device codes can be found in the instruction manual that came with your ONE For All remote, or on the ONE For All website. Once you have entered the code, the light on your ONE For All remote will blink twice to confirm that the code has been accepted.
Step 5: Test the remote.
After entering the device code, test the remote to see if it is working properly. Point the ONE For All remote at your device and press the power button. If the device turns off, congratulations! Your ONE For All remote is now programmed to control that device. If the device does not turn off, repeat steps 3 and 4 with a different device code until you find the correct one.
By following these simple steps, you can easily program your ONE For All remote to control all your devices. Say goodbye to the hassle of multiple remote controls and start enjoying the convenience of a single remote today!
Programming the ONE For All remote allows you to control multiple devices with a single remote. Whether it’s a TV, DVD player, or sound system, follow these simple steps to program your remote.
Before programming the remote, make sure you have the correct codes for your devices. These codes can usually be found in the instruction manual or on the ONE For All website. Write down the codes for each device you want to program.
Turn on the device you want to program and make sure it’s in the correct mode for programming. For example, if you’re programming a TV, make sure it’s on the TV input.
Locate the Magic button on your ONE For All remote. Press and hold this button until the LED indicator on the remote turns on. This indicates that the remote is ready for programming.
Using the number buttons on the remote, enter the first code for the device you want to program. The LED indicator on the remote should blink once to confirm that the code was entered correctly.
Read Also: How to fix cod warzone pacific blzbntbna00000012 error on pc
After entering the code, point the remote at the device and press the Power button. The device should turn off if the code was entered correctly. If it doesn’t, repeat steps 4 and 5 with the next code on your list until you find the correct one.
Once you’ve found the correct code, press the Magic button again to lock it in. The LED indicator on the remote will turn off to confirm that the code has been saved.
If you have other devices you want to program, repeat steps 2-6 for each device. Make sure to enter the correct code for each device.
Once you’ve finished programming all your devices, you can now enjoy the convenience of controlling them with a single remote. Experiment with the different features and functions of your ONE For All remote to get the most out of your devices.
Following this step-by-step guide will help you easily program your ONE For All remote and simplify your entertainment experience.
Before you begin programming your ONE For All remote, make sure you have the following materials:
Read Also: Quick Tips: Adjusting Pointer Speed on Google Pixel 7 - Step-by-Step Guide
Note: It’s important to have the manual for your specific ONE For All remote model as the programming instructions may vary.
Once you have gathered all the necessary materials, you can proceed to the next step of programming your ONE For All remote.
Before you start programming your ONE For All remote, make sure to gather the necessary information. Here’s what you’ll need:
Once you have the necessary information, follow these steps to set up your ONE For All remote:
Setting up your ONE For All remote may require some trial and error, but once you have programmed it for all your devices, you’ll have a convenient and easy-to-use universal remote.
Programming the ONE For All remote is a simple process that allows you to control multiple devices with just one remote. Follow these steps to program your remote:
With these simple steps, you can easily program your ONE For All remote to control all your devices in one convenient remote.
A ONE For All remote is a universal remote control that can be programmed to operate multiple devices, such as TVs, DVD players, and audio systems.
Yes, you can program your ONE For All remote to operate multiple devices. Simply follow the programming steps for each device you want to control. Make sure to find the correct code for each device in the manual or on the ONE For All website.
7 best screen recording apps for windows 11 Recording your computer screen can be useful for various tasks, be it creating training videos, streaming …
Read Article
Samsung Galaxy S7 Power Saving modes and how to extend its battery life The Samsung Galaxy S7 is one of the most popular smartphones on the market, …
Read Article
10 instagram private browsing apps that work Instagram is one of the most popular social networks where you can share your photos and videos. However, …
Read Article
How to get started and advance your career in product management Product management is a rapidly growing field that offers many career opportunities. …
Read Article
How To Fix FIFA 23 “Unable To Connect To EA Server” Error? Are you a passionate FIFA 23 player who is encountering the frustrating “Unable to Connect …
Read Article
5 Best MP3 Cutter Apps Whether you are a podcaster, a musician, or just someone who loves tweaking audio files, having a reliable MP3 cutter app is …
Read Article


