


2023 Valorant Restart Error Fix Guide | Easy Solutions
How To Fix Valorant Game Requires Restart Error | NEW in 2023 Are you experiencing the Valorant restart error? You’re not alone. Many players have …
Read Article
If you are experiencing issues with your Galaxy Tab A 10.1 tablet or simply want to start fresh, performing a hard reset and restoring it to factory settings can help. This guide will walk you through the process of resetting your device to its original state.
Step 1: Backup your data
Before proceeding with a hard reset, it’s important to backup any important data or files on your tablet. This can be done by connecting your device to a computer and transferring the files, or by using a cloud storage service to store your data.
Step 2: Power off your tablet
To begin the hard reset process, turn off your Galaxy Tab A 10.1 by pressing and holding the power button until the power menu appears. From the menu, select “Power off” to shut down your tablet completely.
Step 3: Enter recovery mode
To enter recovery mode, press and hold the volume up button and the power button simultaneously until the Samsung logo appears. Release both buttons and the recovery menu should appear.
Step 4: Navigate the recovery menu
Use the volume up and volume down buttons to navigate through the recovery menu. Highlight the “Wipe data/factory reset” option and press the power button to select it.
Step 5: Confirm the reset
In the next screen, navigate to and select the “Yes” option to confirm the hard reset. This will erase all data and settings on your tablet and restore it to its original factory state.
Step 6: Reboot your tablet
Once the reset process is complete, navigate to and select the “Reboot system now” option to restart your tablet. Your device will now be restored to its factory settings and you can set it up as a new device.
Note: Performing a hard reset will erase all data on your tablet, including apps, contacts, and personal files. Make sure to backup your data before proceeding.
By following these steps, you can easily hard reset your Galaxy Tab A 10.1 and restore it to factory settings. This can be useful if you are experiencing software issues or want to prepare your tablet for resale. Remember to backup your data before performing the reset to avoid losing important files.
Read Also: What is VRAM? Explanation of video memory
Before proceeding with a hard reset, please note that this process will erase all data and settings on your Galaxy Tab A 10.1. It is recommended to backup all important data before performing a hard reset.
Note: If you encounter any issues or the device does not respond during the hard reset process, it is recommended to contact Samsung Support or bring your Galaxy Tab A 10.1 to an authorized service center.
Read Also: How to fix 'failed to open session for virtual machine in VMware' error
Before performing a hard reset on your Samsung Galaxy Tab A 10.1, it is important to back up your data to prevent any loss. By creating a backup of your data, you can easily restore it after the reset process is complete.
Here are the steps to back up your data:
After you have successfully backed up your data, you can proceed with the hard reset process to restore your Galaxy Tab A 10.1 to its factory settings.
To hard reset your Galaxy Tab A 10.1 and restore it to factory settings, you need to start by powering off the device. Follow the steps below:
Note: Make sure to save any unsaved data or files before proceeding with the hard reset, as this process will erase all data on your device.
To perform a hard reset and restore your Galaxy Tab A 10.1 to its factory settings, you will need to enter the Recovery Mode. This mode allows you to access a set of options that are not available in the regular operating system.
Here are the steps to enter Recovery Mode on the Galaxy Tab A 10.1:
Once you have successfully entered Recovery Mode, you can navigate through the options using the Volume Up and Volume Down buttons, and select an option by pressing the Power button.
In the next step, we will look at how to navigate the Recovery Mode menu and perform a factory reset on your Galaxy Tab A 10.1.
Once you have backed up your important data and have prepared your Galaxy Tab A 10.1 for a hard reset, you can proceed with the following steps:
Your Galaxy Tab A 10.1 will now be restored to its factory settings. All your personal data, settings, and apps will be erased, so make sure you have backed up everything important before proceeding with the hard reset.
A hard reset is a process that restores your device to its original factory settings. You might need to do a hard reset if your Galaxy Tab A 10.1 is not functioning properly, experiencing software issues, or if you want to erase all the data on your device.
Yes, performing a hard reset will erase all the data on your Galaxy Tab A 10.1. It is recommended to back up any important data before proceeding with the hard reset.
Yes, you can perform a hard reset on your Galaxy Tab A 10.1 if you forgot the lock screen password. However, keep in mind that performing a hard reset will erase all the data on your device. If you have a backup of your data, you can proceed with the hard reset. Otherwise, you might lose all your data.
How To Fix Valorant Game Requires Restart Error | NEW in 2023 Are you experiencing the Valorant restart error? You’re not alone. Many players have …
Read Article
How To Fix Instagram Lag On iPhone And Android Are you tired of experiencing lag and slow performance while using Instagram on your iPhone or Android …
Read Article
How to fix Samsung Galaxy Watch that won’t update Updating your Samsung Galaxy Watch is an essential task to ensure that you have the latest features, …
Read Article
How To Check If COD Vanguard Servers Are Down | Updated 2023 If you’re a fan of Call of Duty Vanguard and you’re experiencing issues connecting to the …
Read Article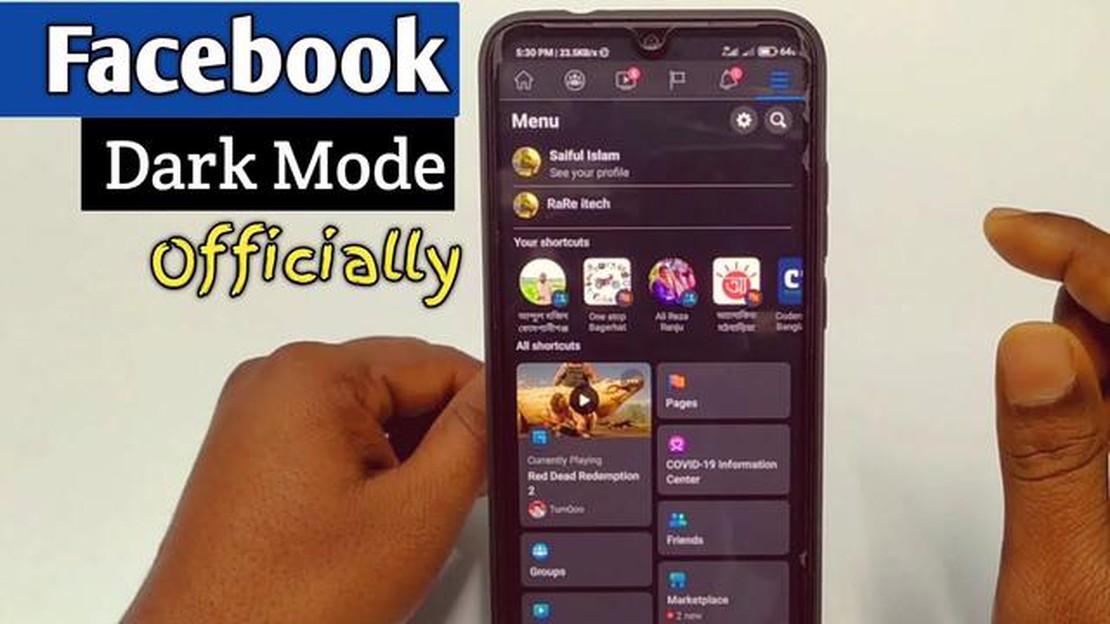
How to use facebook dark mode. Facebook is one of the most popular social networking sites that is used by millions of people around the world. And …
Read Article
8 best infrared camera apps for android ios. An infrared camera is a device that can see objects that emit infrared radiation. An infrared camera on …
Read Article


