


Play online in Forza Horizon 5: Multiverse Survival, garrys mod!
Play online forza horizon 5 open multiplayer. Forza Horizon 5 is an exciting racing game that allows players to experience all the speed and …
Read Article
Windows 10 is one of the most popular operating systems in the world, used by millions of people. However, even modern computers may not always run at full capacity. If you want your computer to run as efficiently as possible, you’ll have to install and configure Windows 10 correctly.
In this guide, we’ll detail the steps you need to follow to make your computer run faster and better. You’ll learn how to uninstall unnecessary programs and services, tweak autoloading, optimize power saving settings and drivers, and learn about other useful tools to help improve your system’s performance.
Don’t spend too much time on your computer - read our guide and make your computer even more efficient and faster. Don’t skip any important steps and your system will be running at full capacity, allowing you to enjoy games, work without lags and spend time at your computer much more efficiently!
Installing the Windows 10 operating system is a process that you can do on your own. To do this, you will need the official operating system distribution, a USB drive or DVD with the recorded distribution and a license key to activate the operating system.
Before starting the installation, make sure you have all the necessary materials as well as a backup of all important data. It is also recommended that you check the manufacturer’s website for drivers for your computer.
It is important to remember that the burned USB drive or DVD disk must be created in boot mode.
At this point, you can choose your installation language, time zone, keyboard layout type, and so on. Just follow the on-screen instructions.
Once you have successfully installed the operating system, you will need to activate it with a license key. If you have a key, enter it in the appropriate field in the activation window.
If you don’t have a key, you can choose to activate later and use Windows 10 with limited features.
After activating Windows 10, it is recommended that you update all drivers on your computer to fix possible compatibility issues and maximize performance.
You can also customize your system by installing necessary programs, security settings, network connection and more.
Finally, don’t forget to periodically check and install Windows 10 updates to stay up-to-date with the latest security changes and patches.
Before you start configuring Windows 10 for maximum performance, there are a few preliminary steps to follow:
After making these preliminary settings, you can move on to the basic steps to customize Windows 10 for maximum performance.
To maximize the performance of your system with Windows 10, you will need to perform a few tweaks. In this section, we’ll go over the basic steps to customize Windows 10 for optimal performance.
Before you begin customization, make sure your Windows 10 operating system is updated to the latest version. Regular updates may include bug fixes and performance updates.
Use the built-in Disk Manager utility to delete unnecessary files and free up disk space. Remove temporary files, recycle garbage can files, and other unnecessary items.
Disable all unnecessary autorun programs and services that can slow down your system. To do this, open “Task Manager”, click on the “Boot” tab and disable unnecessary programs.
Set your system’s power plan to “High Performance” to ensure maximum performance while gaming. To do this, open “Power Management Center” and select the appropriate setting.
Adjust your graphics card settings to maximize performance. You can change the screen resolution, disable vertical synchronization, and enable “High Performance” in the video driver settings.
Make sure you have the latest drivers installed for your video card, sound card, and other devices. New driver versions may contain performance optimizations.
Configure your system to use DirectX 12 to get better performance in games that support this technology. You can enable DirectX 12 in the game settings or in the operating system settings.
If your antivirus software is slowing down your system while you play a game, consider temporarily disabling it. But be careful not to forget to turn it back on after playing a game.
Enable Windows 10’s special “Game Mode” that optimizes your system for gaming. This mode can improve performance and reduce lag in games.
Examine your game settings and enable settings that will improve performance. This could be reducing screen resolution, disabling complex graphics effects, and other options.
Regularly check your computer for malware, update software, and perform system cleanup to keep your computer in good condition and maximize performance.
By following these steps, you’ll be able to tune Windows 10 for maximum performance and enjoy lag-free gaming.
Read Also: 6 ways to identify user pain points: find out what makes your customers uncomfortable
Optimizing your system settings can significantly improve the performance of your Windows 10 operating system. In this section, we will look at a few of the most effective ways to tune your system to maximize performance.
Before you start optimizing your system, it is recommended that you close all open programs and applications except those that are necessary for work. You can then proceed to the following steps.
Read Also: 7 Best Police Scanner App for Free on Android The Apps Review
Autoloading programs at system startup can slow down your system. To manage autoloading, follow these steps:
Regular disk cleanup helps to remove temporary files and free up space on your hard disk. To perform a disk cleanup, follow these instructions:
You can disable or reduce some Windows visual effects to maximize system performance. To do this, follow the steps below:
Updating your drivers can help maximize system performance. You can update drivers manually or use programs to update drivers automatically. The manual update option is chosen when you know exactly which drivers need to be updated. For automatic updates, you can use professional programs such as Driver Booster or Driver Easy.
Optimizing power consumption can help extend your notebook’s battery life as well as improve performance. To optimize power consumption, follow these steps:
Uninstalling unnecessary programs and applications can help free up hard disk space and improve system performance. To uninstall unnecessary programs, follow the steps below:
Optimizing your hard disk drive can significantly increase the speed of your system. To optimize your hard disk, follow the steps below:
By following these tips, you will be able to significantly optimize Windows 10 system settings and achieve maximum performance of your PC.
Windows 10 offers many ways to maximize your computer’s performance. In this guide, we’ll go over a few important steps to help improve the operating system’s performance and make your PC more responsive.
One of the first steps to improving Windows 10 performance is to optimize your power saving settings. To do this, go to “Control Panel,” select “Power Options,” and choose “High Performance.” This will allow your computer to run at full power and not limit its performance to save energy.
Windows 10 comes with a number of pre-installed programs and services that can slow down your system. To disable unnecessary auto-run programs, open Task Manager (press Ctrl + Shift + Esc) and click on the “Autostart” tab. Here you can disable applications that you don’t want to run immediately after the system boots.
To disable unnecessary services, type “services.msc” in the Start menu search bar and press Enter. In the Manage Services window, you can disable services that are not needed for your work but consume system resources.
The NTFS file system in Windows 10 can slow down the read and write speed of your hard disk. To improve disk performance, you can defragment your disk. To do so, go to “Control Panel” and select “System and Security”, then “Disk Defragmenter”. Select the hard disk you want to defragment and start the process.
Drivers are the software that enables the operating system to communicate with your computer’s hardware devices. Installing the latest versions of drivers can greatly improve the performance of your PC. The best way to update your drivers is to visit device manufacturers’ websites and download the latest drivers for your devices.
Uninstalling unnecessary programs and files can free up hard disk space and improve system performance. To uninstall programs, go to “Control Panel” and select “Uninstall Programs”. Select the programs you want to uninstall and follow the instructions.
To remove unnecessary files, type “Disk Cleanup” in the Start menu search bar and select the appropriate result. Select the drive you want to clean up and leave “Temporary Files” and “Recycle Bin Files” checked. Click “OK” and then “Delete Files”.
Windows 10 offers many visual effects that can degrade system performance. To disable unnecessary visual effects, right-click the “This Computer” icon on the desktop, select “Properties”, then “Advanced System Settings”. In the “Accessibility” section, click “Customize” and select the “Customize for better performance” option.
Regular operating system updates may include fixes for bugs and performance improvements. Make sure your computer is set to update automatically. To check for updates, go to Settings -> Update & Security -> Check for updates.
By following these tips, you can maximize Windows 10 performance and make your PC more responsive when working.
There are certain steps you need to follow to install Windows 10 for maximum performance. First, make sure you have the current version of the operating system. Then, set up power saving settings and disable unnecessary services and programs. It is also recommended to adjust visual effects, run system diagnostics and optimize your hard drive. All these actions will help to improve the performance of your operating system.
Setting up power saving in Windows 10 is pretty simple. First, open “Control Panel” and go to the “Power Options” section. Then select the power saving mode that works best for you. There are several options available, including “High Performance,” “Balanced,” and “Power Saving.” Choose the one that suits your needs. You can also set the time to automatically turn off your monitor and hard drive.
To disable unnecessary services and programs in Windows 10, you need to go to “Control Panel” and select “Programs and Components”. Then go to “Enable and disable Windows components”. Here you can disable some services and programs that you don’t need. However, be careful when disabling services as some of them may be necessary for the operating system to work properly.
Visual effects in Windows 10 are various animations, transparency effects, and other visual elements that can slow down your system. To customize visual effects, open “Control Panel”, select “System”, go to the “Advanced System Preferences” tab and click on the “Customize” button under “Other Preferences”. Here you can select specific effects or disable them completely to improve system performance.
There are several ways to install Windows 10: you can upgrade from a previous version of Windows or install the system on a clean hard disk.
There are several steps you can take to optimize Windows 10 performance. For example, you can disable unnecessary services and applications, customize the task scheduler, clean up temporary files, and more.
Play online forza horizon 5 open multiplayer. Forza Horizon 5 is an exciting racing game that allows players to experience all the speed and …
Read Article
10 hilarious memes about dungeons and dragons. Playing Dungeons and Dragons always evokes a wide range of emotions in players, from excitement to …
Read Article
The shenmue 4 release date: everything you need to know. Shenmue 4 is the anticipated sequel to the famous series of games created by Japanese …
Read Article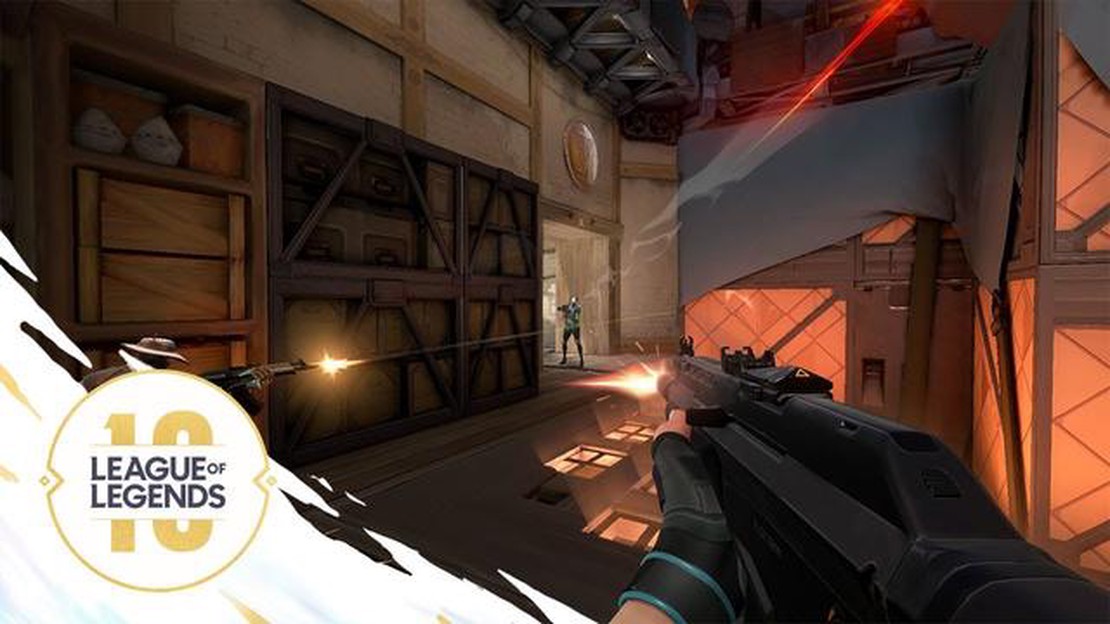
Riot games has announced its tactical fps game Riot Games, known for developing the popular League of Legends game, has unveiled its new project - a …
Read Article
How to restore windows 11 using iso file? Windows 11 is the latest operating system from Microsoft, which has a number of new features and …
Read Article
How to fix Nexus 6P that slowed down and keeps restarting on its own (Troubleshooting Guide) The Nexus 6P, manufactured by Huawei, is a powerful …
Read Article


