


15 best location changing apps on Android and iOS
15 location changing apps for android ios. Modern smartphones with Android and iOS operating systems provide ample opportunities to use geolocation. …
Read Article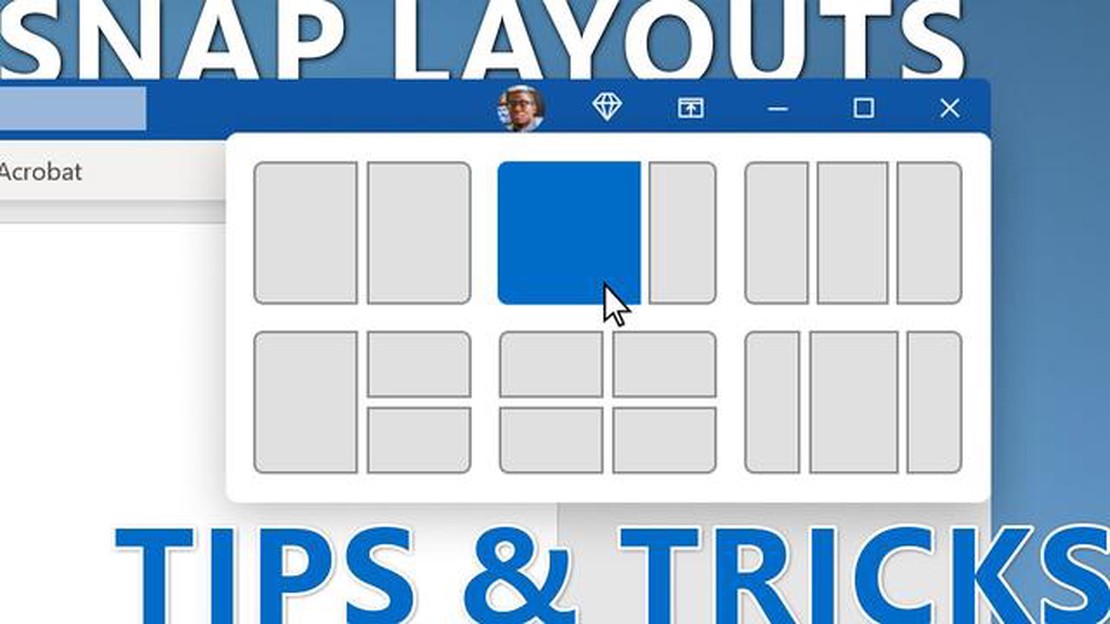
Windows 11 is a new operating system that offers many innovative features and improvements. One of the most important innovations in Windows 11 is the ability to use snap layouts and snap groups to better organize your workspace.
Snap layouts in Windows 11 allow you to organize application windows on the screen. They allow you to quickly and conveniently place windows where you want them, creating an optimal work environment. Snap layouts can be pre-defined or manually created by the user. Each snap layout can contain one or several application windows, and each window can occupy a certain area of the screen.
Binding groups are a collection of binding layouts. They allow you to group different application windows together for more efficient operation. For example, you can create a binding group for a text editor that includes an editor window and a help window. You can quickly switch between these windows and organize their locations on the screen with a single swipe.
Windows 11 offers new snap layouts and snap groups that make working with different applications much easier and faster. You can use them to efficiently organize your workspace and increase the productivity of your tasks. In this tutorial, we will take a closer look at how to use snap layouts and snap groups in Windows 11.
Windows 11 introduces new functionality for managing windows, including snap layouts and snap groups. These features allow you to easily organize and switch between different window arrangements on your desktop.
Snap layouts are sets of window arrangements that you can save and use later. To create a new snap layout, follow these steps:
You now have a new snap layout that you can use to quickly restore your preferred window locations.
To use a snap layout, follow these steps:
Snap groups allow you to link multiple snap layouts and easily switch between them. To create a new snap group, follow these steps:
You now have a new snap group to which you can add the desired snap layouts.
To use an anchor group, follow these steps:
Now you know how to work with snap layouts and snap groups in Windows 11. These features can make organizing the workspace on your computer much easier.
In Windows 11, you can use snap layouts to organize the workspace on your computer. Snap layouts allow you to organize application windows and quickly switch between them. To set up a snap layout, follow these steps:
In this section, you can browse the available snap layouts and select the one that best suits your needs. You can use pre-made snap layouts or customize your own.
To set a snap layout, hover your mouse over it and click the “Apply” button. Your application windows will be automatically rearranged according to the selected snap layout.
If you want to create your own snap layout, select “Create Snap Layout” from the “Snap Layouts” menu. You will be able to customize the sizes, positions and anchors of application windows according to your preferences.
Snap layouts can greatly enhance your productivity by allowing you to quickly and conveniently organize and switch between application windows in Windows 11. Try out different snapping layouts and choose the one that works best for your work!
Windows 11 offers a handy tool for organizing your workspace - snap groups. Snap Groups allow you to group and organize the open windows on your desktop. In this section, we will look at how to customize snap groups in Windows 11.
Step 1: To open the snap group menu, right-click on the taskbar and select “Show Window Views”.
Step 2: After opening the snap group menu, you will see a list of all open windows. To create a new binding group, click on the “Create New Group” button.
Step 3: After creating a new snap group, you will be able to drag and drop windows from the list of open windows into this group. To do this, simply click and hold the left mouse button on a window and drag it to the desired group.
Read Also: Unlock Your TMobile Phone: Step-by-Step Guide
Step 4: You can also add a window to a binding group by right-clicking on the window title and selecting “Add to Group”. Then select the desired group from the list.
Step 5: To switch between binding groups, click on the group label in the binding group menu. You can switch between binding groups either by clicking on the group label or by using the “Win + Tab” key combination.
Step 6: If you want to delete an anchor group, hover over the group label in the anchor group menu and click the “Delete” button.
Step 7: To open all windows in a particular binding group, right-click on the group label in the binding group menu and select “Open All Windows”.
Read Also: How To Fix Vizio TV Stuck On Logo Screen - Step-by-Step Guide
Step 8: You can also change the order of windows in a binding group. To do this, select the anchor group, click on the group label in the anchor group menu, and select “Move Forward” or “Move Backward”.
Step 9: To organize the snap group, you can drag and drop them in the desired order. Just click and hold the left mouse button on the group label and drag it to the desired location in the list.
Now you know how to customize binding groups in Windows 11. Use this tool to easily manage your windows and improve your productivity.
Windows 11 offers a new feature called snap layouts, which allow users to create and save customizations for the layout of windows on the desktop. Snap layouts help simplify working with multiple windows and applications, especially if you have multiple monitors.
To use snap layouts in Windows 11, you can use the following steps:
Snap layouts also allow you to create and use snap groups. Snap groups allow you to organize multiple layouts into a single layout, making it easier to switch between different work environments. For example, you can create a binding group for work, a binding group for entertainment, and a binding group for study.
To use snap groups in Windows 11, follow these steps:
Using snap layouts and snap groups in Windows 11 can help you organize your workflow and improve your efficiency when working with multiple applications at the same time.
Binding Groups in Windows 11 allow you to organize your workspace by dividing applications into groups as you see fit. This allows you to quickly switch between different sets of windows, simplifying multitasking and increasing productivity.
To create and manage snap groups in Windows 11, follow these steps:
You can use the following functions to manage binding groups:
Using these features, you can easily create and manage binding groups in Windows 11 to organize your workspace to your liking and improve your work efficiency.
Snap layouts in Windows 11 are based on the principle of placing windows in a special Snap Assist mode. Snap Assist layouts allow you to conveniently organize windows on the screen, and snap groups allow you to quickly switch between different layouts.
To create a new snap layout in Windows 11, you need to place the windows on the screen in the desired order, then open the snap layouts menu by pressing Win + Z and select the “Save Current Layout” option. The new layout will be saved and available for future use.
Snap Groups in Windows 11 allow you to save sets of snap layouts for quick switching between them. To use snap groups, you can open the snap layout menu by pressing the Win + Z key combination, then select the “Create Group” option and specify a group name. Once the group is created, you can add different snap layouts to it and easily switch between them.
To delete a snap layout or snap group in Windows 11, open the snap layout menu by pressing the Win + Z key combination, then select the desired layout or group and click the trash can icon next to it. After confirming the deletion, the selected layout or group will be deleted.
There is no way to import or export snap layouts directly in Windows 11. However, you can save snap layouts or snap groups as screenshots or specific window positions so that you can manually restore them later. This can be useful, for example, when reinstalling the operating system.
To work with snap layouts in Windows 11, you will need to use the built-in Snap Assist feature. To open it, simply drag a window to one edge of the screen and release it. Once you do, you’ll be presented with suggestions on how to place the window. Choose the layout you want and it will be applied. If you want to save the snapping layout for future use, right-click on the window and select the “Add this layout” option.
Snap Groups allow you to easily organize and manage multiple windows at the same time. To create a snap group, simply drag and drop one window onto another. This will bring up a small window with placement suggestions. Select the location you want for the snap group. You can then add additional windows to the group by dragging and dropping them onto the small window. If you want to break the snap group, simply drag one of the windows to the other side of the screen.
15 location changing apps for android ios. Modern smartphones with Android and iOS operating systems provide ample opportunities to use geolocation. …
Read Article
Follow these 4 easy steps to turn your live photos into videos in ios 13. One of the standout features of iOS 13 is the ability to turn live photos …
Read Article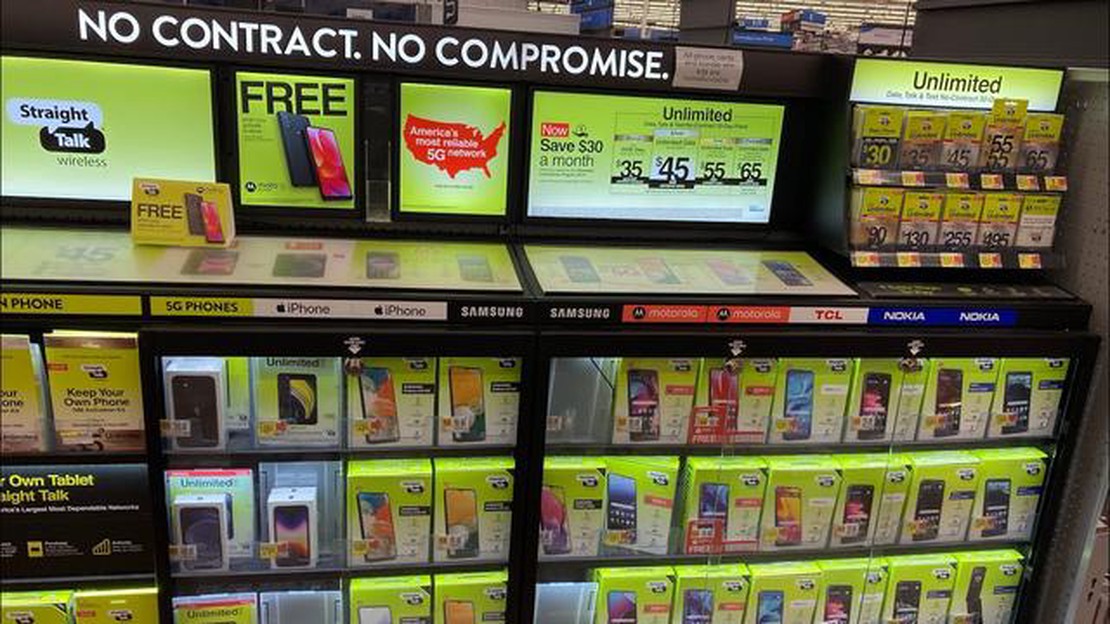
8 Best Straight Talk Phone in 2023 Are you looking for the best Straight Talk phone in 2023? Well, you’re in luck! We’ve compiled a list of the top 8 …
Read Article
How To Fix Omegle Error Connecting To Server Omegle is a popular online platform that allows users to chat with strangers from around the world. …
Read Article
Apple pay and google pay can now be paid in cryptocurrency with a coinbase virtual card Coinbase, the largest US-based cryptocurrency platform, has …
Read Article
4 best super nintendo roms for android devices. Many of us remember the times when gaming consoles were the main source of entertainment. And one of …
Read Article


