


How Android malware steals Google's 2FA authenticator codes
Malware for android can steal google’s 2fa authenticator codes In the world of modern technology, when no sphere of life can do without the use of …
Read Article
One of the standout features of iOS 13 is the ability to turn live photos into videos. This feature allows you to bring your static images to life by adding motion and animation to them. In this article, we will show you how to quickly and easily convert your live photos to videos on your iOS 13 device.
Step 1: Open the Photos app on your iOS 13 device. Select the live photo you want to convert to video. Tap on it to open it in full screen mode.
Step 2: In the bottom right corner of the screen, you will see a play icon. Click on it to start viewing the live photo in video format. You can also use finger gestures to rewind or zoom in.
Step 3: To save the video, tap on the “Share” icon at the bottom left of the screen. Select the “Save Video” option. Your live photo will be saved as a video file in your photobucket.
Step 4: Now you can share your converted live photo with your friends and family. You can send it through messages, emails or post it on social media.
Converting live photos to video in iOS 13 is a great way to add life and dynamism to your static photos. This simple process allows you to create unique and memorable moments that can be easily saved and shared with others.
Live Photos in iOS 13 is an interesting and fun feature that allows you to capture small video clips before and after each photo you take. However, instead of only viewing these snippets, you can also turn them into videos that you can share with your friends and family. In this article, we’ll show you how to turn live photos into videos in iOS 13 in just 4 easy steps.
Now you know how to turn live photos into videos in iOS 13 in just 4 easy steps. Enjoy creating and sharing your amazing video clips with friends and family!
One of the new features in iOS 13 is the ability to convert live photos into videos. This is useful if you want to share your live photos with friends who don’t use iOS.
To get started, open the Photos app on your device. It’s usually on the home screen and has a camera icon.
You can also use the “Spotlight Search” feature to find the Photos app. Just swipe down from the home or app screen to open the search and start typing “Photos”. The Photos app should appear in the list of results.
Once you open the Photos app, you’ll be taken to the Photos section where all of your photos and videos are stored. Here you can see all of your albums and photos.
Now you are ready to start converting your live photos into videos.
The process of converting live photos to videos in iOS 13 is very simple and easy. You only need a few steps to convert your live photo to video and enjoy it full screen or share it with your friends.
Read Also: Rage 3 release date: everything we know about the FPS
Here is what you will need to do:
From the context menu, you will be able to select the “Convert to Video” option, which will convert your live photo to video format. After tapping on this option, iOS 13 will automatically create a video from your live photo.
Read Also: Top 10 best mods for WhatsApp in 2023: updated list and new features
You now have a video created from your live photo that you can save, send or share.
It’s important to note that the process of converting live photos to videos is only available on iOS 13 and later devices.
To convert live photos to video in iOS 13, you will need to tap on the “Share” button in the bottom right corner of the screen. This button is usually represented by a square icon with an arrow pointing up.
The “Share” button opens a menu with various options for processing and sharing your live photo. From this menu, you can select the “Save as Video” or “Save to Photo Album” option.
If you choose the “Save as Video” option, the live photo will be converted to video format. You will be able to set the video parameters such as resolution, format and quality.
If you choose the “Save to Photo Album” option, the live photo will be saved as a separate item in your photo album where you can view it as a photo or video.
Either way, by selecting the “Share” option and following the appropriate steps, you’ll be able to convert live photos to video format in iOS 13.
Once you’ve opened a live photo in the Photos app on your iOS 13 device, you’ll be presented with various options to act on it. To convert a live photo into a video, you need to select the “Save as Video” option.
To do so, follow the steps below:
Please note that you must have a device running iOS 13 or newer to perform these steps.
To convert live photos to video in iOS 13, follow these 4 simple steps.
Converting live photos to video allows you to bring your photos to life, adding movement and emotion. It’s a great way to create beautiful and memorable videos from your photos.
To select a live photo to convert to video, open the photo album on your device and find the photo with the “Live” icon.
You can change the duration of the live photo in a converted video by selecting the duration you want when creating a video in iOS 13.
To save the converted video on your device, tap on the “Save Video” button when it loads. It will be saved in the photo album on your device and will be available for viewing at any time.
To convert live photos to videos in iOS 13, you need to open the photo, swipe up and select “Constant Motion” mode. Then, you need to tap on the “Share” button and select the “Create Video” option.
To convert live photos to videos in iOS 13, you first need to open the live photo in the Photos app. Then, swipe up on the screen and select “Constant Motion” mode. After that, you need to tap on the “Share” button and select the “Create Video” option. In the last step, you can customize the display time of each frame photo and apply filters or effects to the video before saving it.
Malware for android can steal google’s 2fa authenticator codes In the world of modern technology, when no sphere of life can do without the use of …
Read Article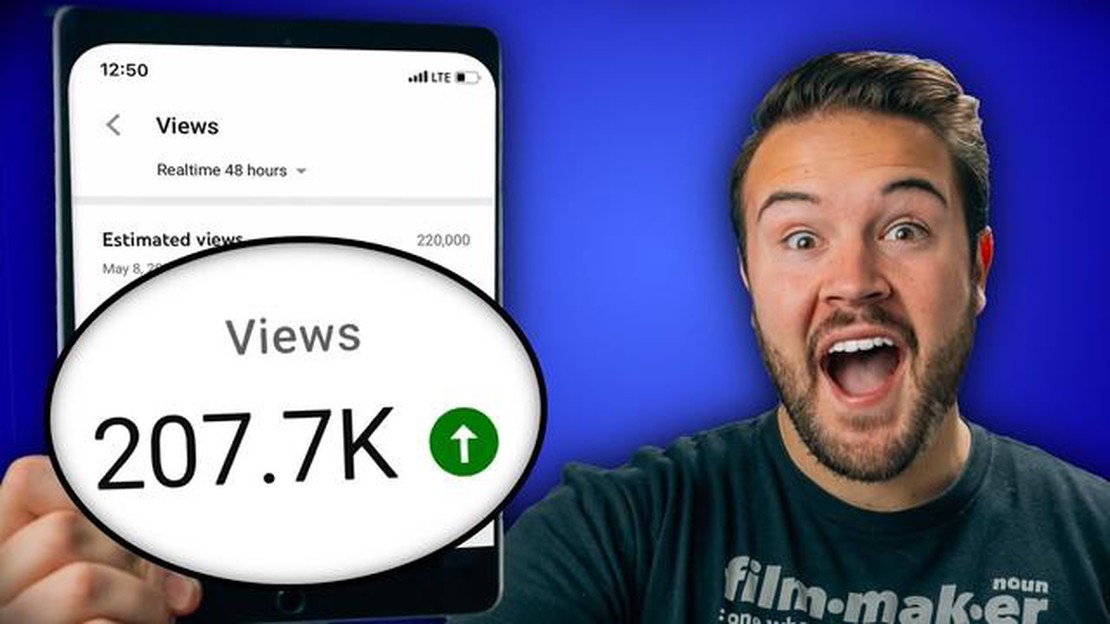
How to attract more viewers with video ads Video advertising is one of the most effective ways to grab attention and attract more viewers to your …
Read Article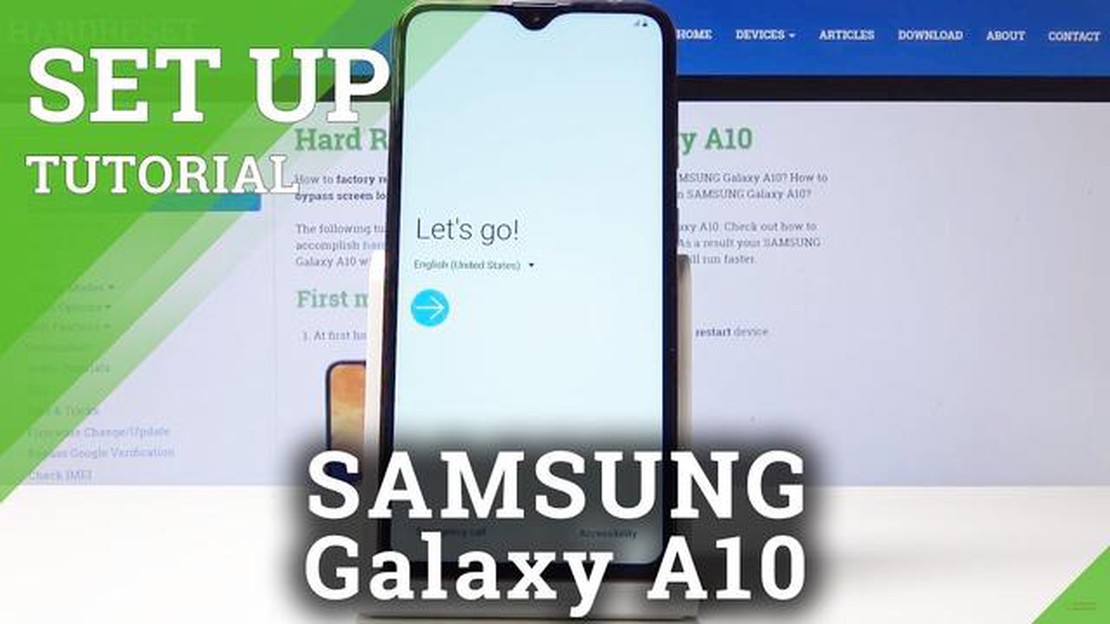
How to Reset Accessibility Settings on Galaxy A10 Accessibility settings on smartphones play a crucial role in making devices more user-friendly for …
Read Article
Samsung Galaxy S5 Constant Update Issue & Other Related Problems The Samsung Galaxy S5 is a popular smartphone that offers a range of features and …
Read Article
Galaxy S9 voice calling issue: callers can’t hear me but i can hear them (when on speaker mode) If you’re a proud owner of the Samsung Galaxy S9 and …
Read Article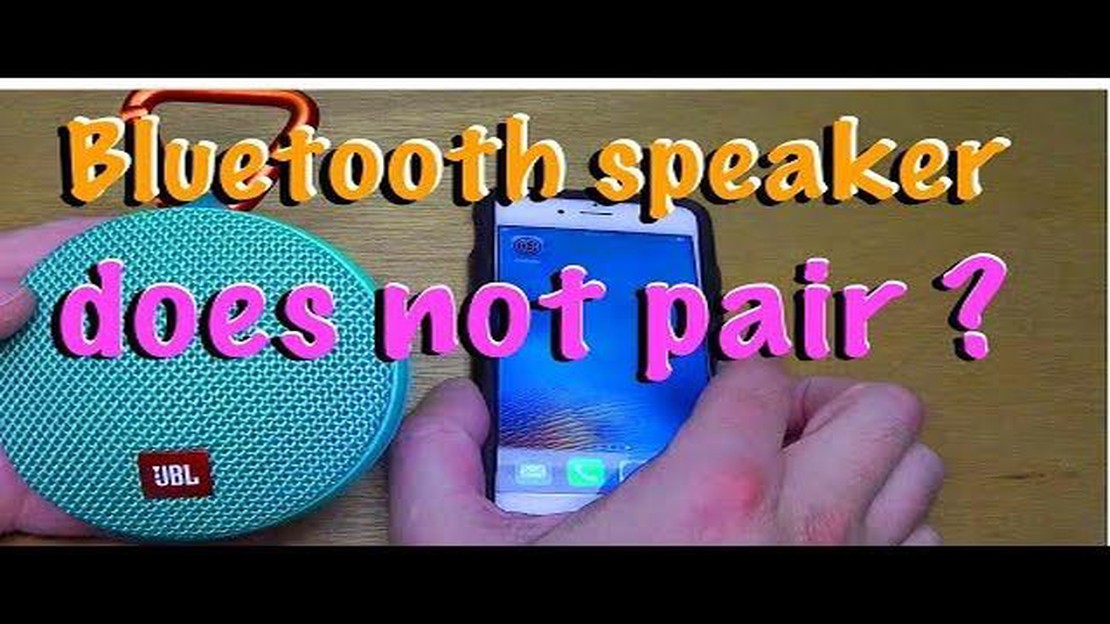
How To Fix JBL Jr Pop Not Connecting To Bluetooth Problem JBL Jr Pop is a popular wireless speaker that is known for its compact size and powerful …
Read Article


