
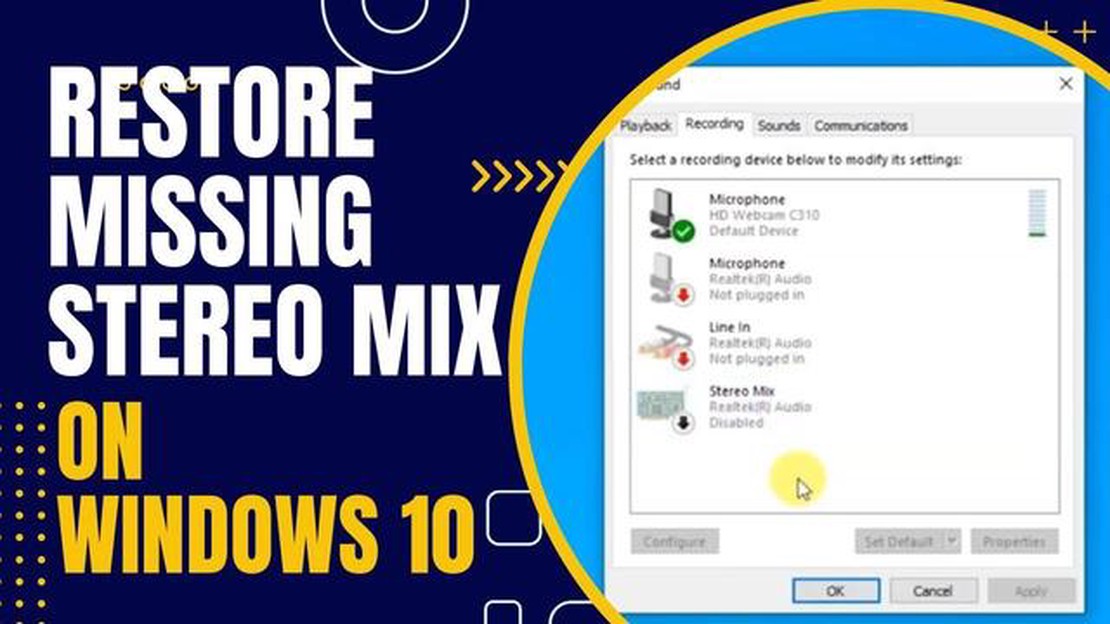

Restore Missing Stereo Mix on Windows 10: A Step-by-Step Guide
How To Restore Missing Stereo Mix On Windows 10 Windows 10 is known for its wide range of audio settings and features that allow users to customize …
Read Article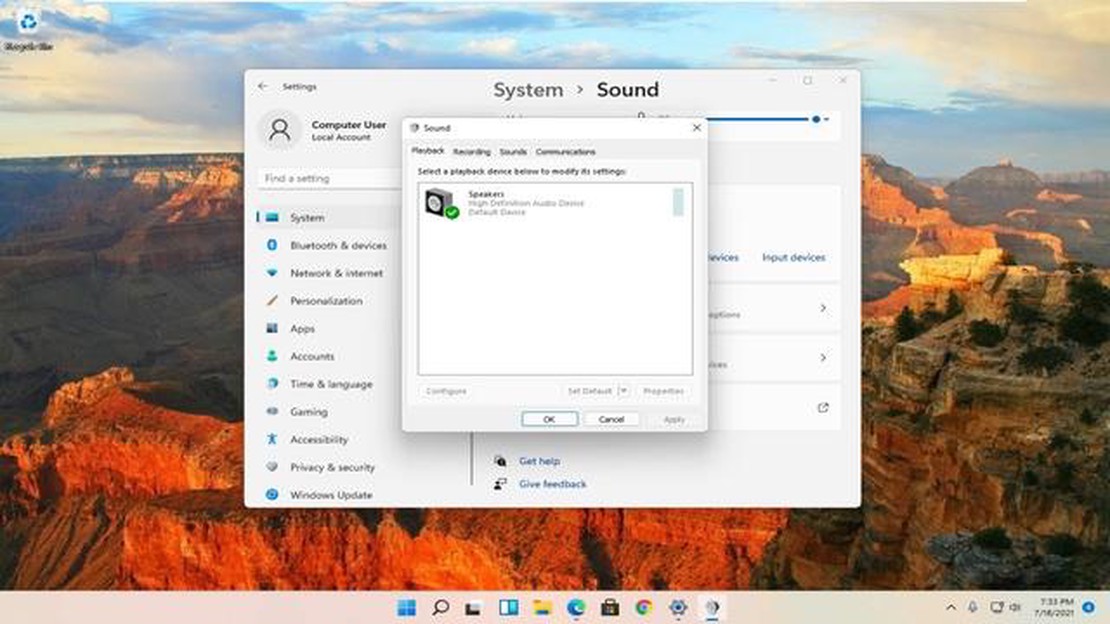
Windows 11 Firewall is a built-in security feature that helps protect your computer from unauthorized access and potentially harmful network traffic. However, there may be situations where you need to disable the firewall temporarily or permanently, either to troubleshoot network issues or to allow certain applications or services to connect to the internet.
Temporarily disabling the Windows 11 Firewall can be useful when you need to test network connectivity or when you want to determine if the firewall is causing issues with specific programs or services. Keep in mind that disabling the firewall temporarily will leave your computer vulnerable to potential security threats, so it’s important to re-enable it once you’re done with the troubleshooting process.
On the other hand, permanently disabling the Windows 11 Firewall should only be done if you have another reliable firewall solution in place or if you’re sure that your network environment is secure enough without it. Disabling the firewall permanently can open up your computer to various risks, such as unauthorized access or malware infections, so proceed with caution.
In this guide, we will walk you through the steps to both temporarily and permanently disable the Windows 11 Firewall. It’s important to note that these steps may vary slightly depending on the specific version of Windows 11 you are using, but the overall process should be similar.
If you need to temporarily disable the Windows 11 Firewall for any reason, you can do so by following these simple steps:
Read Also: How to Recover Missing Galaxy S5 Weather Widget and Solve Other System Issues
Once you have followed these steps, the Windows 11 Firewall will be temporarily disabled for the selected network profile. Please note that disabling the firewall can leave your computer vulnerable to security risks, so it is important to re-enable it as soon as you are done with the necessary tasks.
If you want to permanently disable the Windows 11 Firewall, follow the steps below:
Once you have completed these steps, the Windows 11 Firewall will be permanently disabled for the selected network profile.
Note: Disabling the Windows Firewall can leave your computer vulnerable to network security threats. It is recommended to only disable the firewall temporarily for troubleshooting or specific purposes, and re-enable it once the task is complete.
Disabling the firewall in Windows 11 can be useful in certain situations, such as troubleshooting network connectivity issues or when using a third-party firewall solution. Here is a step-by-step guide on how to disable the Windows 11 firewall:
Once the Firewall is disabled, keep in mind that your computer will be more vulnerable to network threats. It is important to only disable the firewall temporarily and enable it again once you have resolved the issue or completed the task that required the firewall to be disabled.
Read Also: Step-by-Step Guide: How to Make a Private Twitch Stream
If you want to enable the Windows 11 firewall again, simply follow the same steps mentioned earlier and toggle the switch next to “Windows Defender Firewall” to the “On” position.
This step-by-step guide should help you easily disable the Windows 11 firewall when needed. Remember, it is crucial to take appropriate security measures and not leave your computer unprotected for an extended period of time.
Permanently disabling the Windows 11 firewall is not recommended unless you have another reliable firewall solution in place. The firewall acts as a barrier between your computer and the network, protecting it from unauthorized access and potential threats. Disabling it permanently can leave your computer more vulnerable to network attacks, malware, and other security risks. It is advised to keep the firewall enabled for optimal protection.
How To Restore Missing Stereo Mix On Windows 10 Windows 10 is known for its wide range of audio settings and features that allow users to customize …
Read Article
Update minecraft? here’s how you can update it on windows Minecraft is a popular computer game that is actively developed by its creator Markus …
Read Article
How To Fix It When Galaxy Watch 3 Won’t Turn On If you own a Samsung Galaxy Watch 3 and it suddenly won’t turn on, it can be frustrating. However, …
Read Article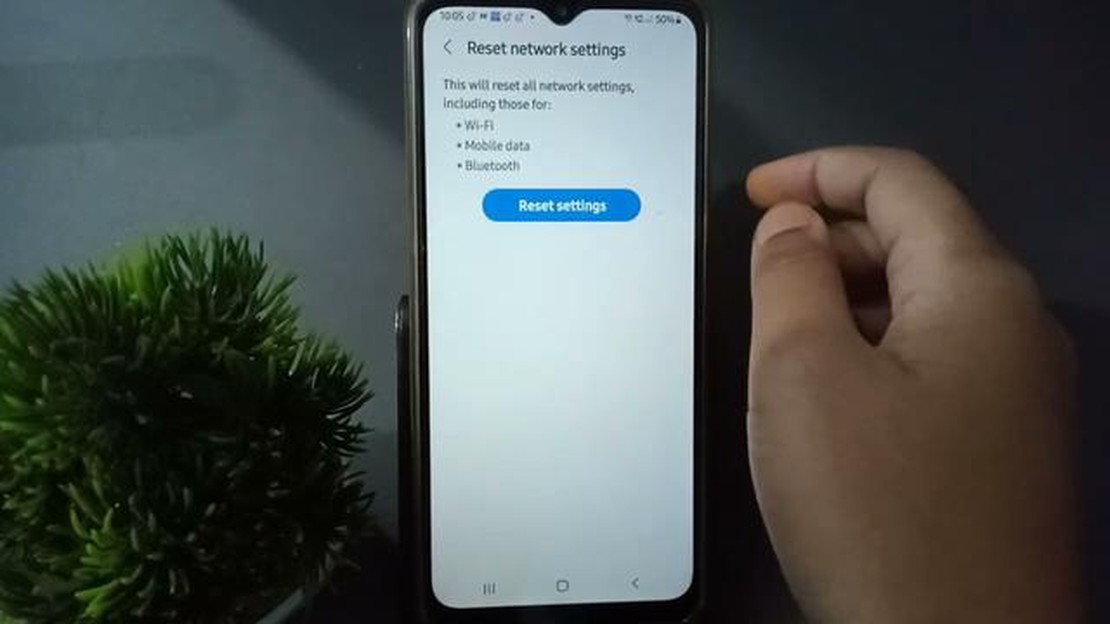
Samsung Galaxy A10 won’t connect to WiFi. Here’s the fix. If you own a Samsung Galaxy A10 and are experiencing WiFi connection problems, you’re not …
Read Article
Call of duty shoot the ship 24/7 shipping and drop shipping. Call of Duty: Modern Warfare introduces a new game mode called Shoot the Ship 24/7, which …
Read Article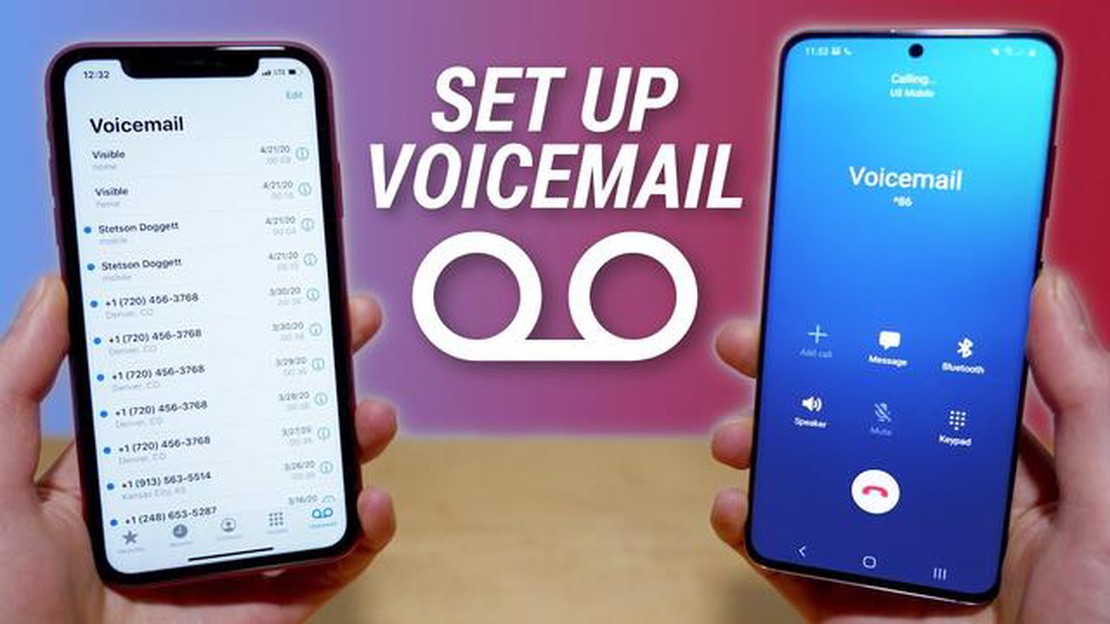
How To Set Up Voicemail On Galaxy S9 The Samsung Galaxy S9 is a versatile smartphone that offers a range of features, including the ability to set up …
Read Article


