
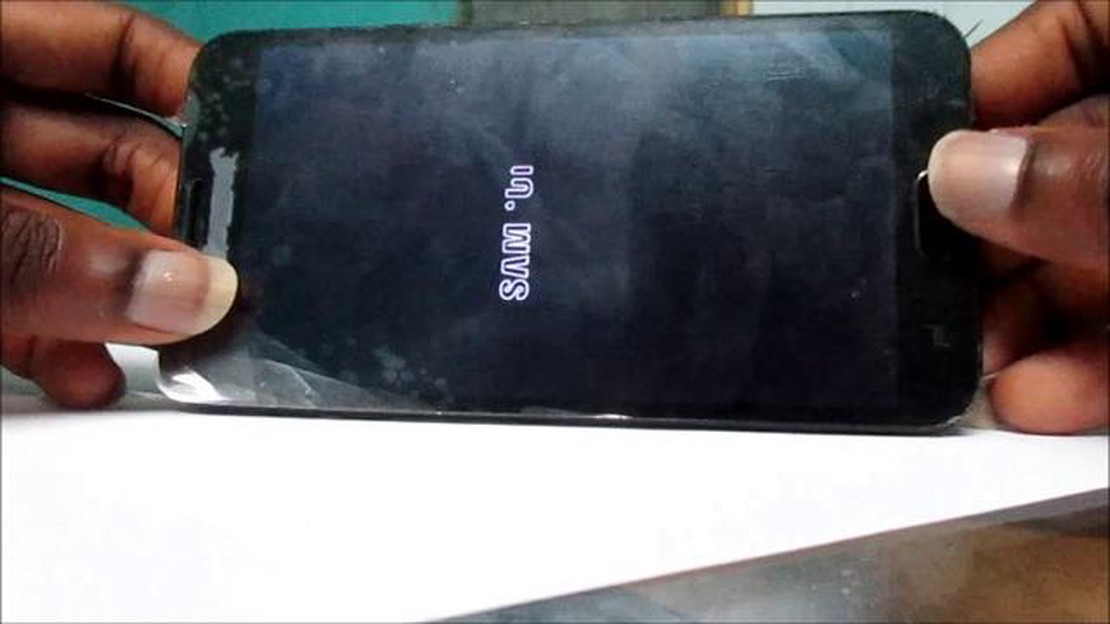

How to Fix Samsung Galaxy J4 Black Screen of Death - Step-by-Step Guide
How To Fix Samsung Galaxy J4 Black Screen of Death If your Samsung Galaxy J4 is experiencing the black screen of death, don’t panic. This common issue …
Read Article
Step 1: Select the email you want to schedule to send later.
Step 2: Click the three-dot button in the upper right corner of the screen.
Step 3: Select the “Schedule to Send” option from the drop down menu.
Step 4: In the window that appears, select the date and time you want to send the email.
Step 5: Click on the “Done” button to save the email sending settings.
Step 6: The email will be automatically sent on the scheduled date and time.
Note: If you want to cancel sending a scheduled email, you can go back to it, click on the three dots button and select the “Cancel Scheduled Send” option.
Sending scheduled emails is a useful feature that helps improve your organization and efficiency in your email efforts. Here are a few reasons why it’s important and how it can help you:
Thus, the scheduled sending feature in Gmail is a powerful tool that will help you focus on more important tasks and improve your communication with all your stakeholders.
Scheduling sending emails in Gmail can be a useful feature to manage your working time and communicate effectively with others. There are various tools and features that will help you in scheduling sending emails.
Using these tools and features will give you more flexibility in scheduling your Gmail emails. You will be able to manage your time and ensure effective communication with your contacts.
Sending emails at your convenience can be a very useful feature. Scheduled email sending allows you to manage the timing of your messages and ensure they are delivered at the right time. In this guide, we will show you how to schedule an email to be sent in Gmail on Android devices.
Before you get started, make sure you have the Gmail app installed on your Android device. If you don’t have it, download and install it from Google Play Store.
Open the Gmail app on your Android device and go to your email list. You will see a list of all the emails you have received, sent and saved.
Read Also: Top 5 Calendar Apps for OnePlus 6T: Enhance Your Productivity
On the very bottom screen of the Gmail app, you will see a “write” icon, which is a round icon with a plus sign in the bottom right corner. Long press on this icon.
In the window that appears, compose the email with the recipient, subject, and body of the email. You can add attachments if necessary.
On the top toolbar of the email, you will see an icon representing a clock. Click on this icon to open the “Schedule Send” option.
After tapping on the clock icon, you will be prompted to select a time to send the email. Use the touch screen to select the date and time to send. When you have selected the time, tap on the “Done” button.
Read Also: Fixing Error 0x80040900 on Xbox Series X: A Comprehensive Guide
Confirm the date and time to send the email by tapping the “Done” or “Confirm” button. The email will be automatically scheduled to be sent at the time you selected.
Now you know how to schedule emails to be sent in Gmail on Android devices. This feature is very handy, especially if you want to send an email at a specific time or in a different time zone. Use this feature to improve your email experience and make sure that your messages are delivered on time.
Scheduling emails in Gmail offers a number of benefits, making it easier to organize your business correspondence and more efficient. Here are a few key benefits and examples of how you can use scheduling your emails:
One of the key benefits of scheduling emails in Gmail is that you can choose the optimal time to send your messages. Scheduling a send allows you to determine when the recipient is most likely to read your email. For example, if you are sending an email with important information, you can schedule it to be sent in the morning so that it appears in the recipient’s inbox before they start their work day.
Scheduling emails in Gmail also helps you regulate the flow of incoming and outgoing emails so that you can streamline your workflow. You can schedule emails so that they hit the recipient’s inbox at the right time. This is especially useful if you want to make sure your message doesn’t get lost among others and gets the recipient’s attention.
Scheduling emails in Gmail gives you the ability to automate the process of sending emails. You can schedule emails to be sent in advance, for example, for holidays or weekends when you won’t be able to send messages manually. This way, you can be sure that important emails will be delivered on time, even if you are on vacation or out of the office.
Scheduling emails in Gmail also helps to improve the professionalism of your business correspondence. You can pre-create and prepare emails in advance to make them look more structured and considered, instead of sending messages in a rush. This can include proper formatting, checking spelling and grammar, and including the right documents or links.
Scheduling emails in Gmail is useful when you are communicating with people in other time zones. You can generate an email and then schedule it to be sent so that it reaches the recipient’s inbox at a convenient time, taking into account the time difference.
Overall, scheduling emails to be sent in Gmail is a tool that can help you more soberly estimate your time and organize your business correspondence, making you more efficient. It also allows you to look more professional and improve your interactions with clients and colleagues.
Yes, you can schedule an email to be sent at a specific time. When you create a new email in Gmail, you will be prompted to select a date and time to send the email. You can specify any time you want and the email will automatically be sent at that time.
Yes, you can schedule an email to be sent on a specific date without specifying a time. When you create a new email in Gmail, you can select only the send date without specifying a specific time. If you do so, the email will automatically be sent on that date, but the exact time it will be sent will be undefined.
Yes, you can schedule an email to be sent on a future date. When you create a new email in Gmail, you can select any future date to send the email. The email will automatically be sent on the future date you set at the time you specify.
To schedule an email to be sent in Gmail, you need to open a new email or go to edit a previously created email. Then, click on the down arrow icon next to the “Send” button and select “Schedule Send”. Select the date and time to send the email and click “Schedule”. The email will automatically be sent at the specified time.
How To Fix Samsung Galaxy J4 Black Screen of Death If your Samsung Galaxy J4 is experiencing the black screen of death, don’t panic. This common issue …
Read Article
How To Fix Fire TV Stick Remote Won’t Pair Issue The Fire TV Stick is a popular device for streaming media content to your television. However, like …
Read Article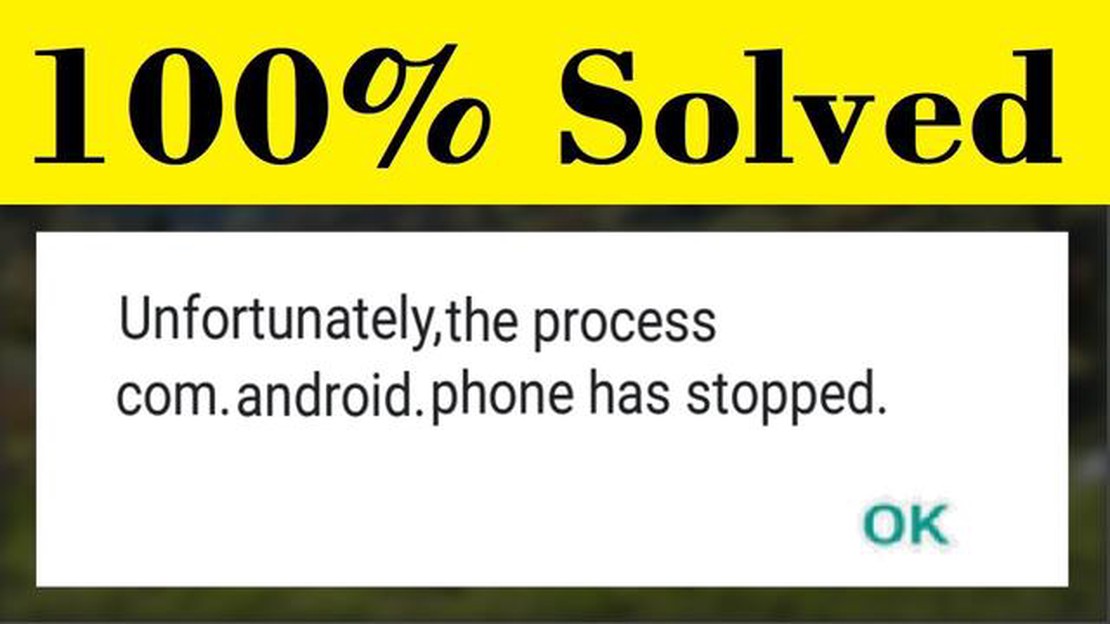
How to fix Samsung Galaxy S5 “Unfortunately, com.sec.imsservice has stopped” error If you own a Samsung Galaxy S5 and you are facing an error message …
Read Article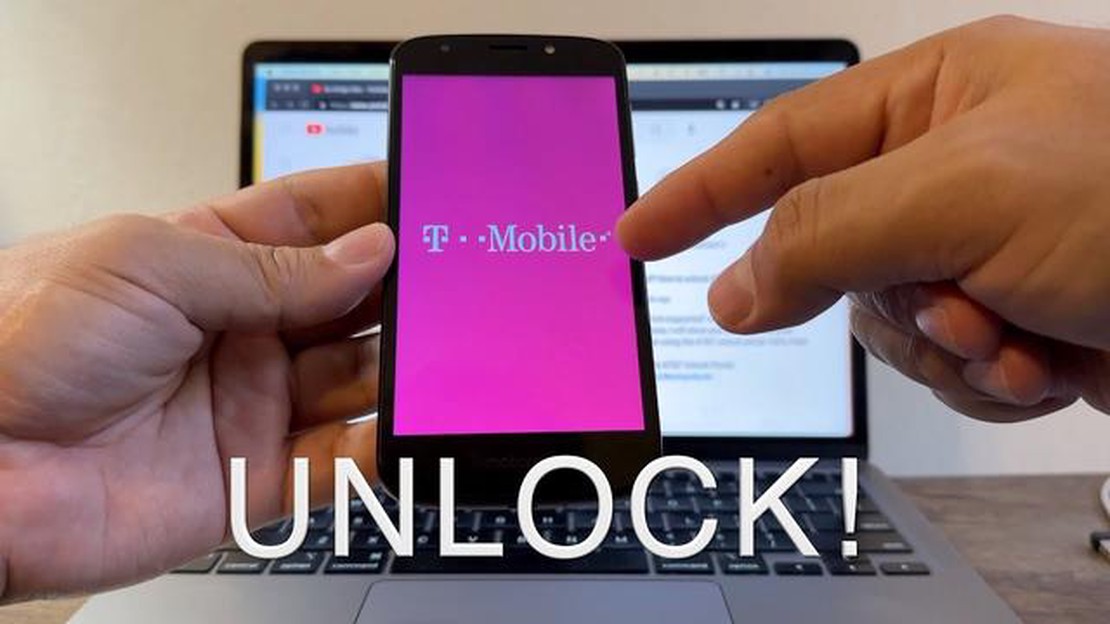
How To Unlock A TMobile Phone Unlocking your TMobile phone can be a great way to save money and gain the freedom to choose a new carrier. Whether …
Read Article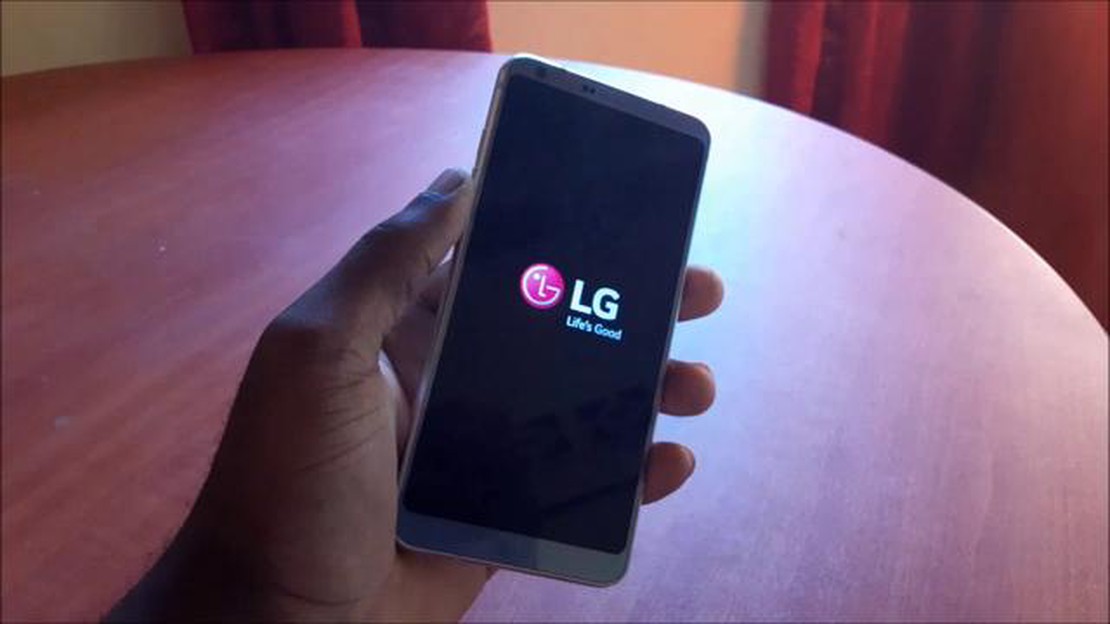
How To Fix LG G5 Wont Turn On Having a smartphone that won’t turn on can be frustrating, especially when you rely on it for various tasks throughout …
Read Article
5 Best Bluetooth Audio Receivers in 2023 Are you tired of tangled wires and limited mobility while enjoying your favorite music? Look no further! In …
Read Article


