

Simple Steps to Clear Recently Used Emojis on Your Samsung Phone
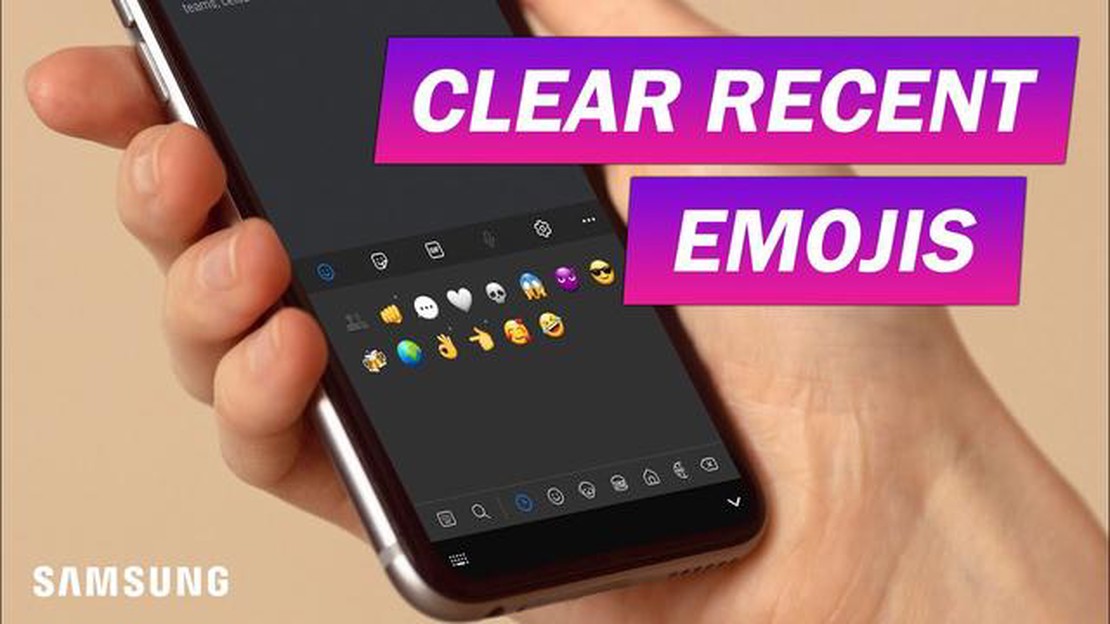
How to Delete Recently Used Emojis on Samsung Phone Emojis have become an integral part of our digital communication. From expressing emotions to …
Read Article
Minecraft is a popular computer game that allows players to build and explore virtual worlds. However, the standard graphics of the game do not always meet the requirements of users. The ability to use shaders allows you to improve the visual experience of the game by adding additional effects such as dynamic shadows, reflection and light distortion.
Installing shaders in Minecraft is a fairly simple and affordable way to improve the quality of graphics. To do this, you need to follow a few steps. First, you need to download and install a special mod for shaders. Second, you need to choose a suitable shader and download it. And then, you should perform some customization so that the shaders work correctly on your computer.
However, you may encounter some problems and errors while installing shaders. For example, the game may not run properly after installing shaders or may not start at all. If you encounter such problems, don’t despair! There are several ways to solve these problems and enjoy beautiful graphics in Minecraft.
In this article, we will go through the detailed process of installing shaders in Minecraft and give you tips on how to solve common errors. By following these tips, you will be able to enjoy improved graphics in Minecraft and play for fun.
If you’re ready to start installing shaders in Minecraft and fixing bugs, let’s get started with a detailed look at the process. Let’s start by selecting and installing the necessary mod, and then move on to customizing and fixing possible problems.
Shaders are special modifications for the game Minecraft, which allow you to improve graphics and add various visual effects. Installing shaders can be a bit tricky for beginners, so in this step-by-step instruction we will tell you how to do it.
Note that some shaders may require higher performance from your computer, so if you have performance issues or the game starts to slow down, try using less demanding shaders or disable them completely.
Now you know how to install shaders in Minecraft. Enjoy improved graphics and new visual effects in your game!
OptiFine is an extension for Minecraft that allows you to improve the graphics and performance of your game. Shaders for Minecraft generally require OptiFine to be installed.
Note: It is recommended to back up your game and saves before installing OptiFine.
Congratulations! You have successfully installed OptiFine, and now you can start installing and customizing shaders for Minecraft.
Shaders are sets of textures, effects and lighting settings that can change the appearance of Minecraft and create more realistic graphics. Before you can install shaders, you will need to find the right one for you.
There are many options of shaders for Minecraft, and each offers its own unique style and effects. To find the right shader for you, you can use the following resources:
Once you find the right shader, you will need to download it to your device. Usually, shaders come as files with a .zip or .jar extension. You will need to download this file and save it to a convenient location on your device.
Downloading the shaders to your device is complete. Now you are ready to move on to the next step - installing shaders in Minecraft.
Read Also: Gaming laptop vs MacBook Pro: which one to choose?
Once you have downloaded the shaders you need for Minecraft, you need to copy them to the game folder so that they are available in the settings menu.
Android: /sdcard/games/com.mojang/
iOS: /Applications/Minecraft/
Read Also: Oneplus 7T: renders and details of the expected new smartphone
Note: If you downloaded the archive with shaders, you need to unzip it into the shaderpacks* folder.
Now you can select and apply shaders from the game settings menu and enjoy improved graphics and effects in Minecraft.
Shaders are additional graphical effects that allow you to change the appearance of Minecraft and add colorful and realistic lighting and reflection effects.
To activate shaders in Minecraft, follow these steps:
Some errors may occur during the shader activation process. Here are some of the most common errors and their possible solutions:
In summary, activating shaders in Minecraft can greatly improve the visual experience of the game. However, before installing and activating shaders, make sure your computer meets the system requirements to avoid performance and stability issues with the game.
To install shaders in Minecraft, you will need a special mod called OptiFine. First download and install OptiFine for the appropriate version of your Minecraft. Then go to the .minecraft folder on your computer, find the shaders folder and copy the shaders file there. You will then be able to enable shaders in the game by selecting the appropriate shader pack in the settings menu.
Black screen when using shaders in Minecraft can be caused in different problems. First, check that your version of Minecraft and shaders are compatible. You may need to update OptiFine or the shaders to the latest version. Also, make sure your computer has enough power to run the shaders. If these steps don’t help, try disabling other mods or textures that may conflict with the shaders.
The “OpenGL Error” error usually indicates problems with your graphics drivers. First, make sure your graphics card and drivers support shaders. Then update the drivers to the latest version. If that doesn’t work, try installing an older version of the drivers. If the error still persists, it may be due to a conflict with other mods or textures. Try disabling them to check.
To change the shader settings in Minecraft, you need to go to the settings menu, select the “Shaders” tab and click on the “Shader Settings” button. You will then be able to customize various shader settings such as lighting, shadows, textures, etc. After making changes, remember to save the settings and reload the game to apply them.
To select and download shaders for Minecraft, you will need to turn to specialized sites and forums where users share their shader packs. Some popular resources for finding shaders are Planet Minecraft, CurseForge, and Shader Packs. Once you find shaders you like, download them from the author’s official website or download page. Then follow the instructions for installing the shaders described in the previous question.
To install shaders in Minecraft, you must first install the OptiFine mod optimizer. Then download the shader files (usually .zip or .rar files) from official websites or forums, and then move them to the “.minecraft/shaderpacks” folder in the game directory. After that, open the game, select the required shaders in the settings and enjoy the new graphical quality.
Sometimes errors can occur when installing shaders in Minecraft. To fix them, first make sure you have the latest version of OptiFine installed. Then make sure the shader files are properly unzipped and placed in the “.minecraft/shaderpacks” folder. If you have checked all of this and the error still occurs, try deleting the “shaderpacks” folder and installing the shaders again. If you still can’t solve the problem, seek help on the official Minecraft forums or on specialized resources for modding the game.
How to Delete Recently Used Emojis on Samsung Phone Emojis have become an integral part of our digital communication. From expressing emotions to …
Read Article
How To Fix Steam Deck Not Charging The Steam Deck is a highly anticipated handheld gaming device that allows users to play their favorite Steam games …
Read Article
How To Activate Twitch On PS4, PS5, Xbox One and Xbox Series X|S If you’re a gamer and love to share your adventures with the world, Twitch is the …
Read Article
How To Fix PS4 CE-30774-1 Error | NEW & Updated in 2023 Are you experiencing the PS4 CE-30774-1 error? Don’t worry, we’ve got you covered. This error …
Read Article
Galaxy S7 Google Assistant keeps popping up when playing Netflix, other issues Google Assistant has quickly become an integral part of the Android …
Read Article
Samsung Galaxy S3 Problems, Errors, Glitches and Ways to Fix Them (Part 54) Welcome to part 54 of our ongoing series on Samsung Galaxy S3 problems and …
Read Article


