


Fix Your Samsung Galaxy S5 SD Card Problems: Step-by-Step Guide (Part 1)
How To Fix SD Card Problems on Samsung Galaxy S5 (Part 1) Having a Samsung Galaxy S5 can be a great experience, but sometimes you may encounter issues …
Read Article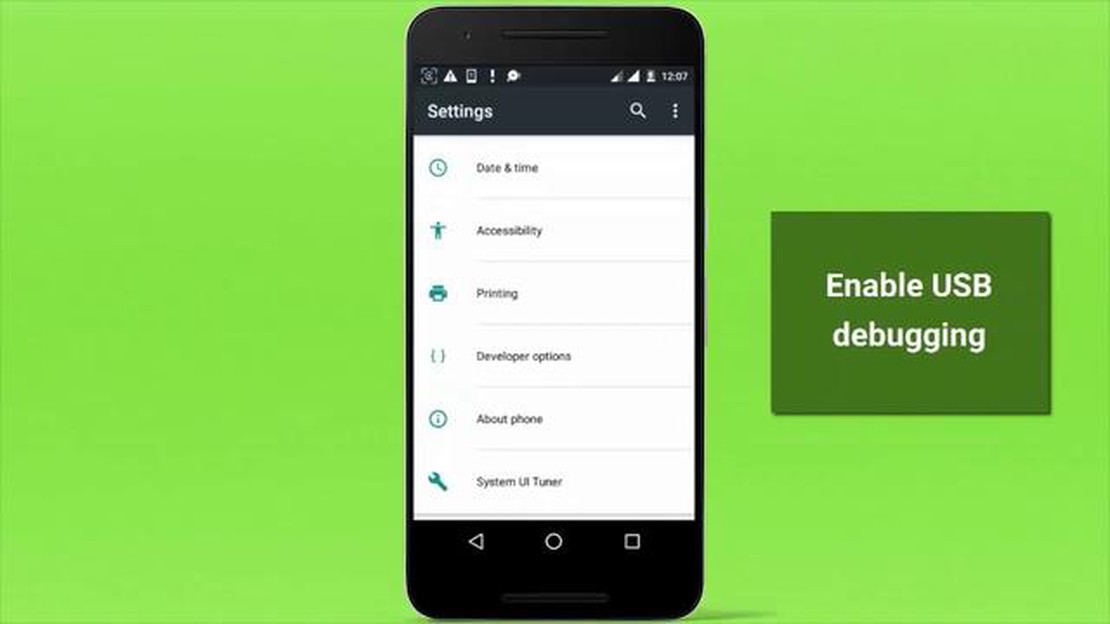
Installing apps on Android devices can be done not only through Google Play Store, but also by using Android Debug Bridge (adb). Adb is a command line tool that allows you to interact with your Android device through your computer. If you want to install an apk file on your device using adb, you will need some technical understanding and basic command line skills.
The process of installing an apk file using adb starts with setting up your Android device for developer. In the device settings, go into the “About Phone” or “About Tablet” section and tap either the “Build Number” or “Android Version” item a few times to unlock developer mode. Once that’s done, go back to settings and find the “Advanced Features”, “Developers” or “For Developers” section. Turn on enabling USB debugging.
After enabling developer mode and USB debugging, connect your Android device to your computer using a USB cable. Download and install the Android SDK on your computer to access the adb tool. After installing the SDK, run a command prompt and navigate to the directory where adb is installed (usually the path to the “platform-tools” folder).
ADB (Android Debug Bridge) is a command line tool that allows you to interact with Android devices connected to your computer. One of the basic skills involved in using ADB is installing APK files (Android Package) on your Android device using the command line.
Here are the step-by-step instructions on how to install APK in Android using ADB:
Now you know how to install APK to Android with ADB using the command line. This method is especially useful for developers and those who want to install apps from outside the Google Play Store.
To install an apk using adb, you need to follow a few preliminary steps. In this section, we will cover the preparation for installing an apk on your device using adb.
The first step is to install the Android SDK (Software Development Kit) on your computer. Android SDK provides a set of tools and libraries for developing applications for Android platform. You can download Android SDK from the official Android developer website.
After installing the Android SDK, make sure that the path to the Android SDK folder has been added to your system’s PATH environment variable. This will allow you to run adb from the command line without having to specify the full path to the adb executable. 2. Enable Developer Mode
To use adb to install apk, you need to enable developer mode on your Android device. To enable developer mode, follow the steps below:
1. On your Android device, open Settings.
2. Scroll down to the "About phone" or "About tablet" section and tap on it.
3. In the "About Phone" section, find "Build Number" and tap on it a few times (usually 7 times) until you see a notification that you are a developer.
4. After that, go back to Settings and you will see a new "Development" section.
5. In the "Development" section, look for "USB Debugging" and turn it on.
Connect your Android device to your computer using a USB cable. Make sure your computer recognizes the device and has installed the appropriate drivers.
To check if the drivers are properly installed, open a command prompt or terminal on your computer and enter the following command:
adb devices
If your device is properly connected, you should see a list of connected Android devices.
After following the above steps, you are ready to install the apk using adb on your Android device.
Read Also: The 10 best apps for Instagram private browsing
Before you can start installing apk files using adb, you need to connect your device to your computer. To do this, follow the instructions:
After completing all these steps, you can proceed to the next step of installing apk files using adb in Android.
Once you have prepared everything you need and connected your Android device to your computer, you can proceed to install the apk using adb.
Read Also: How to Fix Game Crashing on PS4: Resolving Unresponsive and Freezing Issues2. Type the following command:
adb install path_to_apk.apk.
Here path_to_apk.apk is the path to the apk file you want to install on your device. Make sure the file path is correct.
Now you can launch the installed app on your device and start using it.
An APK file is an installation package file for Android applications. To install an APK on your Android device, you can use the ADB (Android Debug Bridge) command. Connect your device to your computer, open a command prompt and run the command adb install path_to_file.apk.
You need to use a USB cable to connect your Android device to your computer. Make sure your device has developer mode enabled and USB debugging is enabled. Connect the device to your computer, open a command prompt and run the adb devices command. If the device is connected correctly, it will be listed.
To open the command line on your computer, you need to press Windows key + R, type cmd and press Enter. This will open a command prompt where you can enter and execute ADB commands to install APK on your Android device.
To install APK on Android device using ADB command, you need to open command prompt, connect your device to computer, execute adb install path_to_file.apk command, where path_to_file.apk is the path to the APK installation package file on your computer. After executing the command, the APK will be installed on your device.
Yes, you can install APK on Android device without using ADB. To do so, you need to open the file manager on your device, find the APK file and run it. You may need to allow installation from unknown sources in the device settings.
ADB (Android Debug Bridge) is a tool for debugging and testing applications on Android devices. It allows you to install APK files on your device from the command line of your computer.
How To Fix SD Card Problems on Samsung Galaxy S5 (Part 1) Having a Samsung Galaxy S5 can be a great experience, but sometimes you may encounter issues …
Read Article
Best Smartphones With Physical Keyboard in 2023 Welcome to our comprehensive review of the top smartphones with physical keyboards in 2023! While …
Read Article
How to remove your number from the truecaller list (permanent deletion) Truecaller is one of the most popular applications for call identification and …
Read Article
Nintendo Switch Gameshare | How To Play A Game On 2 Switch Consoles Sharing games with friends and family has become easier than ever with the …
Read Article
5 Best Free VPN For Dark Web In today’s digital age, privacy and security have become increasingly important. With the rise of the Dark Web, it’s …
Read Article
How To Fix Google Chrome Using Too Much Memory On Windows 10 If you’re a Windows 10 user and you often find that Google Chrome is using up too much …
Read Article


