


How To Fix PS4 CE-34054-6 Error | Updated Guide 2023!
How To Fix PS4 CE-34054-6 Error | NEW And Updated in 2023! If you are a gamer, you might have encountered the PS4 CE-34054-6 Error at some point. This …
Read Article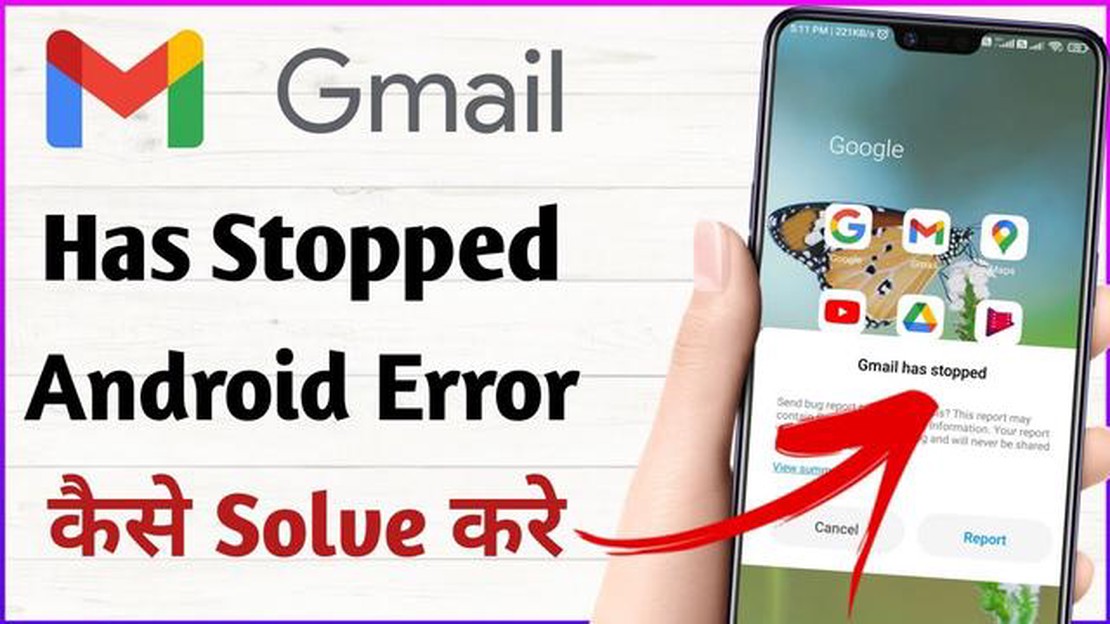
If you own a Galaxy J5 and recently installed a software update, you may have encountered an annoying error message that says “Gmail has stopped.” This error can be frustrating, as it prevents you from accessing your emails and using this important app. Luckily, there are several steps you can take to fix this issue and get Gmail working properly again.
First, try restarting your Galaxy J5. Sometimes, a simple restart can solve software glitches and temporarily resolve the “Gmail has stopped” error. To restart your device, simply press and hold the Power button, then tap on “Restart” when the option appears on the screen.
If restarting your Galaxy J5 doesn’t solve the problem, you can try clearing the cache and data of the Gmail app. To do this, go to the Settings menu of your device, then tap on “Apps” or “Applications.” From there, find and select “Gmail,” then tap on “Storage.” Finally, tap on the “Clear cache” and “Clear data” buttons to delete the app’s cache and data files. Keep in mind that clearing data will remove your saved emails and settings, so make sure to back up any important information before proceeding.
If clearing the cache and data doesn’t fix the error, you can try uninstalling and reinstalling the Gmail app. To uninstall the app, go back to the Apps menu in Settings, find and select Gmail, then tap on “Uninstall.” Once the app is uninstalled, you can reinstall it from the Google Play Store. Simply search for “Gmail” in the Play Store, select the app from the search results, then tap on “Install.”
By following these steps, you should be able to fix the “Gmail has stopped” error on your Galaxy J5 and get back to using your email app without any issues. If the problem persists, you may need to contact Samsung support or your service provider for further assistance.
If you are experiencing the “Gmail has Stopped” error on your Samsung Galaxy J5 after installing an update, there are several troubleshooting steps you can try to fix the issue. Here are some methods that might help you resolve the problem:
If the error still persists after trying all of the above methods, it is recommended to contact Samsung support or visit a service center for further assistance.
Remember to always keep your device updated with the latest software versions, as updates often contain bug fixes and improvements that can resolve such issues.
If you are experiencing the “Gmail has Stopped” error on your Galaxy J5 after installing an update, there are a few steps you can take to try and resolve the issue.
If none of these steps resolve the “Gmail has Stopped” error, you may need to consider contacting Samsung support or performing a factory reset on your device. Keep in mind that a factory reset will erase all data on your phone, so be sure to back up any important information before proceeding.
If you are experiencing the “Gmail has stopped” error on your Samsung Galaxy J5 after installing an update, try following these troubleshooting steps:
Read Also: Epic Games Launcher IS-FC06 Unable To Write Error - Troubleshooting Guide
Hopefully, one of these troubleshooting steps will resolve the “Gmail has stopped” error on your Samsung Galaxy J5. If not, you may need to consider performing a factory reset or seeking professional help.
If you’re facing the “Gmail has stopped” error on your Galaxy J5 after installing an update, one of the possible solutions is to clear the cache and data of the Gmail app. Here’s how you can do it:
Read Also: Learn How to Troubleshoot and Fix a Flashing Filter Light on Your Samsung Dryer | [Website Name]
This should resolve the “Gmail has stopped” error on your Galaxy J5. If the issue persists, you can try other troubleshooting methods or contact Samsung or Gmail support for further assistance.
If you are experiencing the “Gmail has Stopped” error on your Galaxy J5 after installing an update, you can try force stopping and restarting the Gmail app to resolve the issue. Follow the steps below:
By force stopping and clearing the cache and data of the Gmail app, you essentially reset the app to its default state, which can often resolve various issues, including the “Gmail has Stopped” error.
One of the possible reasons why you are experiencing the “Gmail has Stopped” error after installing an update on your Galaxy J5 is that the update may not have been installed correctly or may contain bugs. To resolve this issue, you can try checking for software updates with the following steps:
If there are no updates available or if the error still persists after installing the updates, you can try other troubleshooting methods to fix the issue.
This error usually occurs when there is a conflict between the Gmail app and the latest software update. It could be due to a compatibility issue or a software glitch.
There are a few troubleshooting steps you can try to fix this error. First, restart your phone and see if the error persists. If it does, you can try clearing the cache and data of the Gmail app, or uninstalling and reinstalling the app.
No, uninstalling and reinstalling the Gmail app will not delete your emails. Your emails are stored on Google’s servers, so you will be able to access them again after reinstalling the app.
If clearing the cache and data doesn’t work, you can try updating the Gmail app to the latest version. If that doesn’t work either, you may need to contact Google support or visit a service center for further assistance.
The “Gmail has stopped” error is not extremely common, but it can occur on any Android device, including the Galaxy J5. It is usually a minor issue that can be resolved with some simple troubleshooting steps.
How To Fix PS4 CE-34054-6 Error | NEW And Updated in 2023! If you are a gamer, you might have encountered the PS4 CE-34054-6 Error at some point. This …
Read Article
How To Fix COD Warzone 2.0 Crashing On PC Call of Duty Warzone 2.0 has become one of the most popular battle royale games on PC, but it’s not without …
Read Article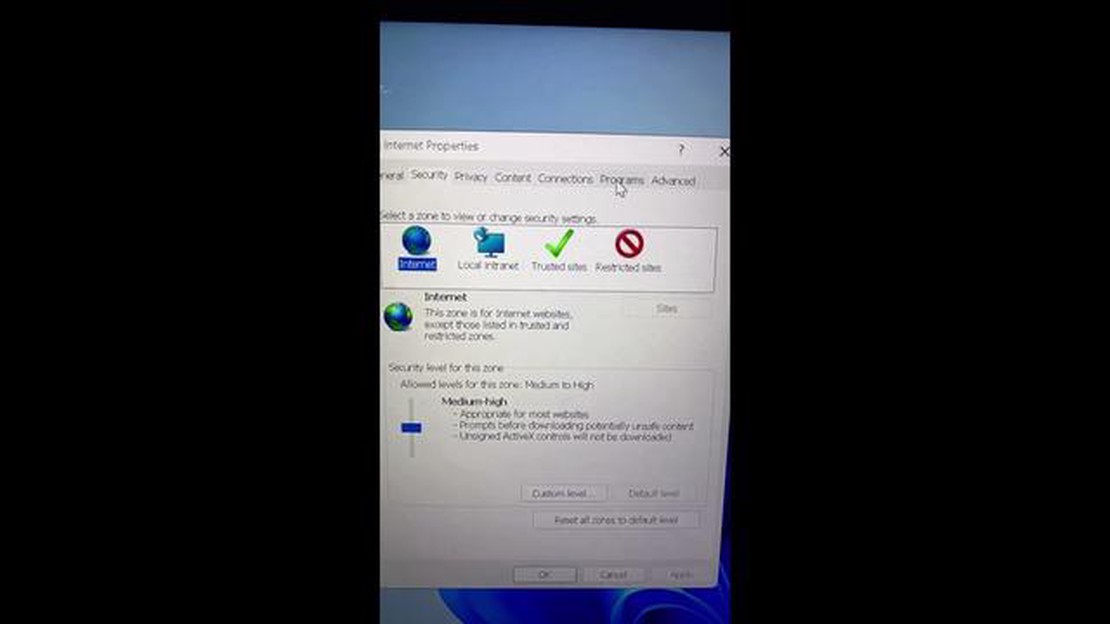
Internet explorer in windows 11. Windows 11 is a new operating system from Microsoft that includes many updated features and tools. One of the key …
Read Article
How To Fix Netflix Not Working On Fire TV Stick Issue If you are a Netflix enthusiast and own a Fire TV Stick, you may have encountered a frustrating …
Read Article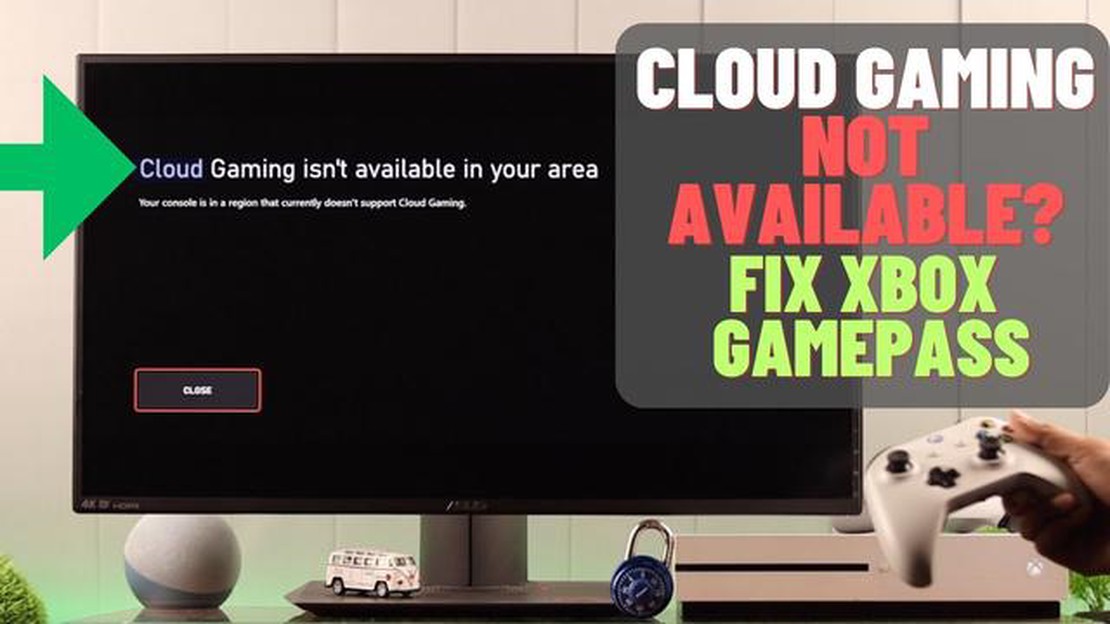
How To Fix Xbox Series X Cannot Access Game Pass Problem If you’re experiencing issues with accessing Game Pass on your Xbox Series X, you’re not …
Read Article
How To Watch FX Live Online Without Cable If you’re a fan of FX shows but don’t have cable, don’t worry - you can still watch your favorite shows …
Read Article

