

How to Fix Microsoft Surface Not Turning On - Troubleshooting Guide
How to Fix Microsoft Surface Not Turning On Is your Microsoft Surface tablet not turning on? Don’t worry, you’re not alone. Many Surface users have …
Read Article
The keyboard shortcut for Snipping tool in Windows 11/10 is a handy way to quickly create a screenshot or highlight an area of interest. However, sometimes users face a problem when this keyboard shortcut stops working. There are several reasons why this can happen:
If you have encountered a Snipping tool keyboard shortcut not working, don’t despair. In this article, we will look at a few ways to fix the problem and get you back to using this handy tool.
Before proceeding to fix the problem, first make sure that you have the Snipping tool installed on your operating system. In Windows 11/10, this tool may be available in different editions of the operating system and vary in functionality. If you do not find the Snipping tool in your operating system, you may need to upgrade your operating system or install additional components.
The Snipping tool in Windows 11 and 10 operating systems provides convenient features for creating and processing screenshots. However, some users may encounter a problem when the keyboard shortcut to activate Snipping Tool does not work.
This article presents several methods to solve this problem:
In case the issue with Snipping Tool keyboard shortcut not working in Windows 11/10 persists, it is recommended to contact Microsoft Support or reach out to the user community for further assistance and resolution.
While using the Snipping Tool in Windows 11/10 operating systems, various errors may occur. Below are some types of errors and their possible causes:
The reasons for this error may be as follows:
1. Insufficient access rights to save the screenshot to the selected directory.
2. The selected directory does not exist or contains invalid characters in the name.
3. There is not enough disk space to save the screenshot.
4. The Snipping Tool itself is malfunctioning.
The reasons for this error may be as follows:
1. Incorrect Snipping Tool settings.
2. Another program is running that blocks access to the screen.
3. Operating system updates are installed incorrectly.
The reasons for this error may be as follows:
1. The screenshot file has been corrupted or deleted.
2. The settings of the image viewer are incorrect.
3. Problems with the graphics card drivers.
To resolve problems using the Snipping Tool, the following steps are recommended:
If problems persist after following the above steps, it is recommended that you contact Microsoft Support or contact a professional.
If you are having a problem using the keyboard shortcut in the Snipping Tool in Windows 11/10, here are some possible solutions:
If none of the above solutions helped, the problem may be related to your system’s software or settings. In such a case, it is recommended that you contact a professional or Windows Support for assistance.
In Windows 11/10, you don’t have to use the Snipping tool alone to capture screenshots. In this article, we’ll look at a few additional ways that can be useful when creating screenshots.
1- Using the Win + Print Screen key combination:
Read Also: 4 amazing tips for buying emi without a credit card New ways to make installment payments without credit
Read Also: 10 Best Sprint Flip Phones in 2023 - Top Picks for Cellphone Users!
Apart from the built-in tools, there are many free and paid programs available online that offer advanced screenshot creation capabilities. Some of them are: Lightshot, Greenshot, Snagit, etc.
So, even if the Snipping tool shortcut doesn’t work in your operating system, you can always use alternative ways to create screenshots in Windows 11/10.
Snipping Tool is a handy tool in Windows 11 and Windows 10 operating systems that allows you to take screenshots and set precise areas for a screenshot. However, despite its usefulness, there are ways to improve its functionality.
1. Interface Improvement
The first suggestion is to improve Snipping Tool’s interface. Instead of a standard window, a more intuitive and simple interface with settings and screenshot tools could be added.
2. Improved editing capabilities
The next suggestion is to add improved editing capabilities to Snipping Tool. The ability to draw or highlight certain areas, add text or arrows to explain the screenshot will be useful for users.
3. Expanding the save and export functions
The third suggestion is to expand the save and export functions in the Snipping Tool. Users would be able to choose which file format to use when saving screenshots, and be able to export them to other applications without having to save to a file first.
4. Adding a background removal feature
The fourth suggestion is to add a background removal feature to the Snipping Tool. This would allow users to easily highlight certain objects on the screen without having to edit in a separate software.
5. Ability to do video capture
One last suggestion is to add the ability to do video capture to the Snipping Tool. This would be useful for users who need to record videos of the screen to share or make instructions for other users.
Proposal Comparison:
| Offerings | Benefits | | Improved interface | Improved usability | Improved usability | | Improved editing capabilities | More flexible and functional tool | | Enhanced save and export functions | Easier sharing of screenshots with other applications | | Add background removal | Improved accuracy of object selection | | Ability to capture video | Enhancement of Snipping Tool functionality |
Incorporating these suggestions into the Snipping Tool functionality in Windows 11/10 will help improve the user experience and make the Snipping Tool even more useful for all Windows users.
There are several possible reasons why the keyboard shortcut for the Snipping tool may stop working. One reason could be that the keyboard shortcut conflicts with other programs or functions in Windows. It is also possible that the Snipping tool has been disabled in your system settings or removed altogether.
To check if the Snipping tool is enabled in Windows, open the Start menu and type “Snipping Tool” in the search box. If the tool appears in the search results, then it is installed and enabled. If the tool does not show up, then it means it needs to be installed.
To reinstall the Snipping tool in Windows, you need to open the “Program Control Center” in your system settings. Under “Programs and Components”, locate the Snipping tool and right-click on it. From the context menu, select the “Uninstall” option and follow the on-screen instructions to complete the removal process. Then you need to download and install the latest version of Snipping tool from the official Microsoft website.
Yes, you can change the keyboard shortcut for the Snipping tool in Windows. To do so, open the Start menu, type “Snipping Tool Options” in the search box and select the appropriate result. In the options panel that opens, select the “Change the Shortcut key” option and specify the new keyboard shortcut. Then save your changes and check if the new shortcut works.
If you have a keyboard shortcut conflict between the Snipping tool and other programs in Windows, you can change the keyboard shortcut for one of the programs. To do this, open the program causing the conflict and find the keyboard shortcut or hotkey settings. Change the keyboard shortcut to another one that doesn’t conflict with the Snipping tool and save the changes. Once you have done this, check to see if the keyboard shortcut for the Snipping tool works.
How to Fix Microsoft Surface Not Turning On Is your Microsoft Surface tablet not turning on? Don’t worry, you’re not alone. Many Surface users have …
Read Article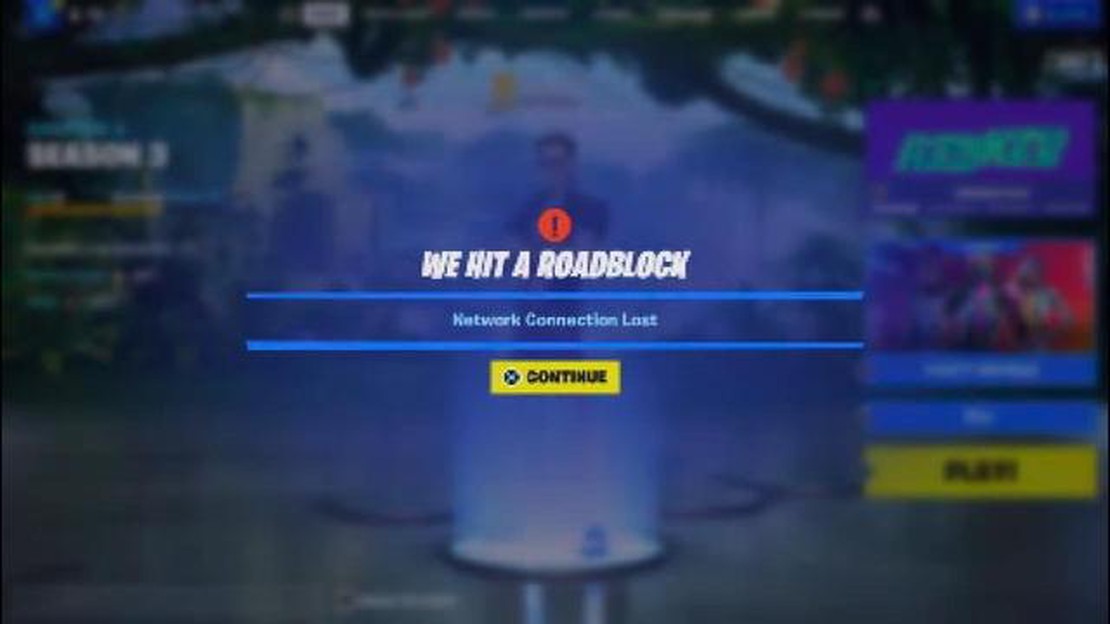
How-to-Fix: Fortnite Battle Royale Network Connection Lost error on Windows 10 If you are a Fortnite Battle Royale player on Windows 10 and frequently …
Read Article
What does the future hold for cryptocurrency? Cryptocurrencies have become a part of our lives, turning many industries and processes upside down. …
Read Article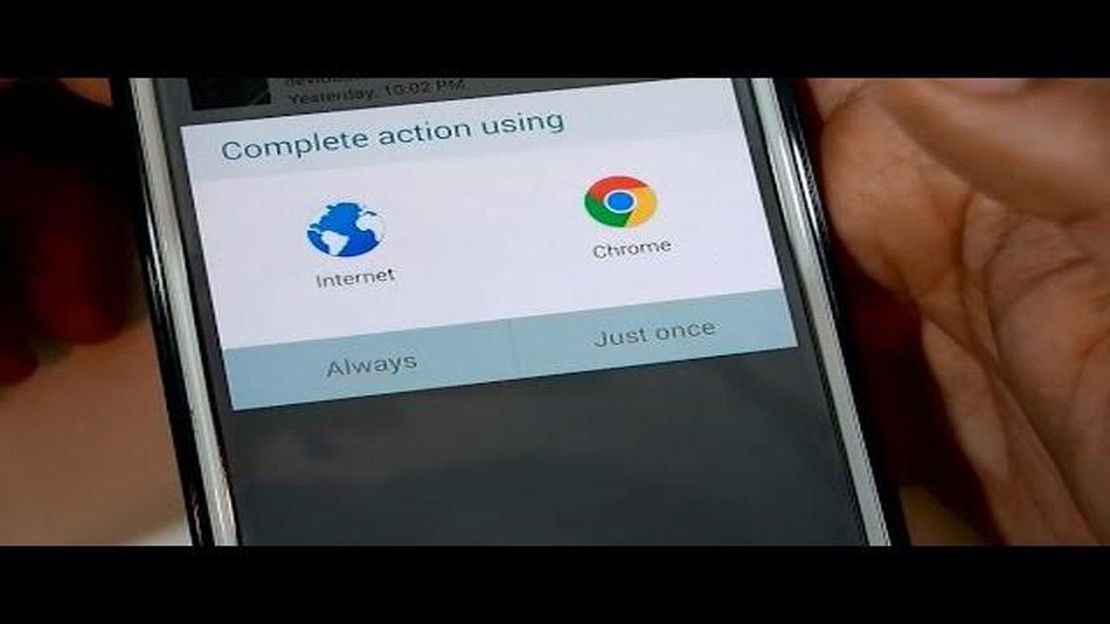
How To Fix The Samsung Galaxy Note 4 Apps Not Working Properly Issue Is your Samsung Galaxy Note 4 experiencing issues with apps not working? If …
Read Article
Best Refurbished Android Phones Available Today If you’re on a budget but still want a high-quality Android phone, buying a refurbished device can be …
Read Article
The 10 best tasker profiles for beginners Tasker is a powerful automation app on Android that allows you to create various automatic actions based on …
Read Article


