


Evolution of playing cards: from antiquity to modern times
The evolution of playing cards. Playing cards are one of the most popular gaming materials used all over the world. They have a rich history and have …
Read Article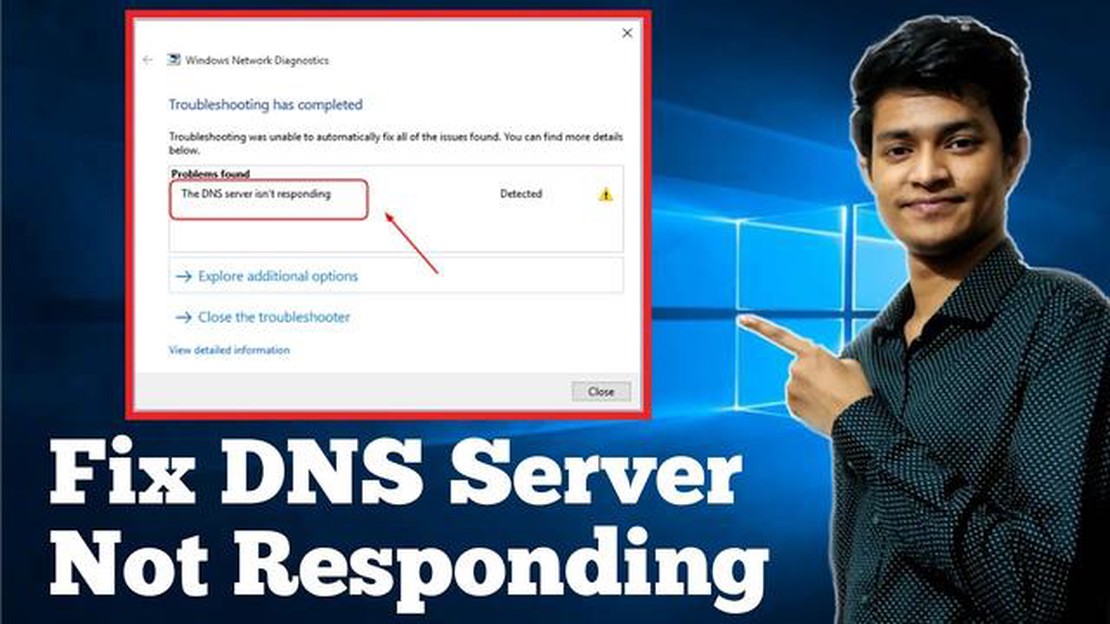
DNS server not responding issue is common among Windows 10 users and can cause internet connection problems. When the DNS server is not responding, the computer cannot resolve the domain name to an IP address, which makes it impossible to access websites. This problem can be caused by a variety of reasons including incompatible network settings, router malfunctions, or network adapter configuration issues.
There are several ways to resolve the DNS server not responding issue in Windows 10. One of the easiest ways is to reboot your router and computer. Sometimes this can help to reconnect with the DNS server and fix the problem. If rebooting didn’t help, you can try changing the DNS server settings manually.
To change DNS server settings in Windows 10, you need to go to Settings -> Network and Internet -> Network and Sharing Center. Then you need to select the active Internet connection, right-click and select “Properties”. In the opened window you should select “Internet Protocol version 4 (TCP/IPv4)” and click “Properties”. In the “DNS Setup” section, you can enter the addresses of your preferred and alternate DNS servers. Some popular public DNS servers include Google DNS (8.8.8.8.8), OpenDNS (208.67.222.222.222), and Cloudflare DNS (1.1.1.1.1).
DNS server not responding problem in Windows 10 can occur due to various reasons and result in no internet access. This article presents several methods to help you fix this problem.
The first thing you should try is to reboot your router and computer. Sometimes DNS server problems can be caused by temporary hardware failures. After rebooting, check to see if the problem is resolved. 2. Change the DNS server
If rebooting does not help, try changing the DNS server used by your computer. To do this, follow these steps:
* Right-click the network icon in the system tray and select "Open Network and Sharing Center".
* Right-click on the active connection and select "Properties".
* In the list of available network protocols, look for "Internet Protocol version 4 (TCP/IPv4)" and select it.
* Click the "Properties" button and select "Use the following DNS servers" in the window that opens.
* In the "Preferred DNS server" and "Alternate DNS server" fields, enter the following values:
    + Preferred DNS server: 8.8.8.8.8
    + Alternative DNS server: 8.8.4.4
* Click "OK" to save the changes.After that, check if the problem is solved.
If the DNS server problem is not resolved, try to clear your computer’s DNS cache. To do this, follow these steps:
* Open a command prompt by pressing Win + X and selecting "Command Prompt" (administrator).
* Type the command ipconfig /flushdns and press Enter.
* Wait for a while while the DNS cache is cleared.After that, check if the problem is solved.
If the problem persists after the previous steps, you may have software installed on your computer that blocks access to DNS servers. Check for such software and temporarily disable it for testing. 5. Contact your Internet Service Provider
If all of the previous methods have failed, the problem may be with your Internet Service Provider. Contact them for additional support and a solution to the problem.
Hopefully, one of these methods will help you fix your DNS server issue and get Internet access back on your Windows 10 computer.
Before you can start fixing your DNS server problem, you need to make sure that your device is properly connected to the network. Here are a few steps you can follow to check the connection:
Read Also: The 9 best gambling software developers: 2022 review
If all these steps fail to restore your network connection, the problem may not be related to your device, but to your ISP. In this case, contact your ISP’s support team to find out about possible network issues.
If your DNS servers are unresponsive or slow, you can try changing them manually. In this section, we’ll look at how to do this in Windows 10:
Read Also: How to choose and buy a used ultrasound machine of high quality? Our tips for a successful purchase
You can use either public DNS servers (for example, 8.8.8.8.8 and 8.8.4.4 from Google Public DNS) or specialized DNS servers provided by your Internet Service Provider.
After making changes to your DNS server settings, you may need to restart your computer or network connection for the changes to take effect.
One possible cause of a DNS server not responding problem in Windows 10 could be an outdated or corrupt network adapter driver. To fix this problem, you need to update the network adapter drivers on your computer.
You can use the following steps to update your network adapter drivers:
After restarting your computer, check to see if the problem with the DNS server not responding in Windows 10 has been fixed. If the problem persists, you can try updating other network adapter drivers from the list of available drivers in Device Manager.
Updating your network adapter drivers may help fix the DNS server not responding issue in Windows 10 if they are the cause of the problem. However, if the problem persists after updating the drivers, you may need to apply other methods to fix it.
The problem can be caused by a variety of reasons, such as incorrect DNS server settings, internet connection issues, or malfunctions in the DNS server itself.
There are several ways to fix this problem. First, try rebooting your router and computer. Second, check the DNS server settings in your operating system. If they are incorrect, change them to automatic or manually specify a different DNS server. If these steps don’t help, the problem may be related to your ISP. Contact them for additional support.
To find out which DNS server is being used in Windows 10, open “Network and Sharing Center”, then right-click on the active Internet connection and select “Properties”. Then find and select “Internet Protocol version 4 (TCP/IPv4)” and click on “Properties”. In the window that opens, you will see the current DNS server listed under “DNS Server Settings”.
Yes, using public DNS servers such as Google DNS or OpenDNS can help fix a DNS server not responding issue in Windows 10. To do this, in your operating system’s network settings, select “Use the following DNS servers” and enter the addresses of the public DNS servers.
The evolution of playing cards. Playing cards are one of the most popular gaming materials used all over the world. They have a rich history and have …
Read Article
How To Fix Samsung Galaxy Watch 5 Battery Drain Issue Are you experiencing battery drain on your Samsung Galaxy Watch 5? Don’t worry, you’re not …
Read Article
How To Fix Avast Not Opening Issue On Windows 10 If you’re experiencing difficulties with Avast not opening on your Windows 10 computer, you’re not …
Read Article
How to Reset Access Point Names (APN) Settings on Galaxy S20 If you’re having trouble with your mobile data connection on your Samsung Galaxy S20, it …
Read Article
How To Fix It If Galaxy Tab S7 Keeps Lagging If you own a Galaxy Tab S7 and are experiencing lagging issues, don’t worry, you’re not alone. Lagging …
Read Article
How To Fix PS4 Controller Won’t Turn On | PlayStation 4 If you’re a gaming enthusiast, you know how frustrating it can be when your PlayStation 4 …
Read Article


