


How To Fix The Rocket League Packet Loss Issue
How To Fix The Rocket League Packet Loss Issue on If you’re a fan of the popular video game Rocket League, you may have encountered the frustrating …
Read Article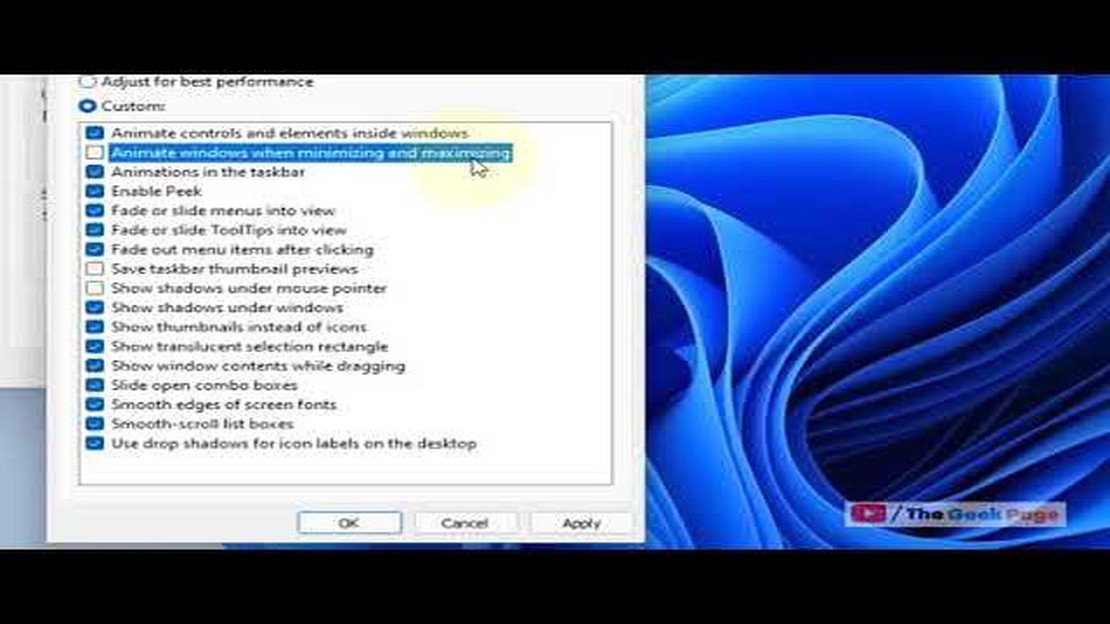
Windows 11, the latest operating system from Microsoft, offers its users many new features and improvements. One such feature is animation, which adds visual effects when launching applications and transitions between windows. But not all users like these animations, they can be annoying or cause discomfort.
In this article, we will tell you how to disable animations in Windows 11 and customize your system to run faster and smoother. Follow our detailed instructions to disable animations and customize Windows 11 to your preferences.
Step 1: Open Windows 11 Settings
The first step to disable animations in Windows 11 is to open Settings. To do this, right-click on the Start button, and then select “Settings” from the context menu..
Step 2: Go to “System “
- *When the Settings window opens, select System. This section contains the basic settings for the Windows 11 operating system.
Step 3: Disable animations
In the System section, locate and select Display in the top navigation bar. Then scroll down to the “Animation” section and toggle the animation effects to the “Disabled” position. *
After following these steps, animation will be disabled in Windows 11. You’ll notice that applications launch faster, windows switch instantly, and all operations will be more responsive. Don’t forget that you can always go back to the settings and enable animation again if you want to.
Animations in Windows 11 can add beauty and smoothness to your interaction with the operating system. However, some users may find it inconvenient or annoying to see animations when performing various actions such as opening and closing windows, transitions between applications, and others.
If you want to disable animations in Windows 11, follow these steps:
After following these steps, window animation when opening and closing will be disabled. If you change your mind and want to bring back the animation, simply repeat this procedure and check the “Window animation when opening and closing” option again.
Disabling animation can help increase your computer’s performance on Windows 11, especially if you have old or slow hardware. It can also make the interface more responsive and easier to use for some users.
Windows 11 has many built-in animations that give the operating system an aesthetically pleasing look and make it more interactive. However, some users prefer to disable these animations for the following reasons:
Read Also: How to apply an update from adb sideload (Windows/Mac) - detailed instructions
Keep in mind that disabling animations can change the visual experience of using Windows 11 and may not appeal to some users. However, if you want to increase performance or speed up your system, disabling animations can be helpful.
After performing these steps, the open application and taskbar animation will be disabled, which may help to speed up the operating system or improve gaming performance.
Read Also: How to choose the perfect chair for programmers: tips and recommendations
Disabling animations in Windows 11 can have both positive and negative effects on system performance. It all depends on your specific usage conditions and computer settings.
On the one hand, disabling animations can speed up the operating system, especially on weak or older computers. Animations consume certain CPU and video card resources, so releasing them will allow the system to utilize them more fully for other tasks.
On the other hand, some users may notice that disabling animations makes the interface less smooth and attractive. For example, without animation, windows may appear instantly, without a smooth manifestation. This can make it feel stiff and unnatural when interacting with the system.
In addition, some applications and operating system functions may use animation to convey information or to indicate processes. Therefore, disabling animation may make working with some applications less convenient.
In general, it is recommended to experiment with animation settings and find the best balance between performance and visual appeal of the interface. If you have a powerful computer, you could keep some animation effects to make working with the system more pleasant and comfortable.
In any case, disabling animations is one way to optimize Windows 11 performance and can be useful when you need to maximize the use of your computer’s resources for other tasks.
To disable animation in Windows 11, you need to go to System Preferences. Next, select the “Personalization” section, then “Tasks and Multitasking”. In this section, find the “Task and Window Animation” subsection and disable the switch next to the animation you want.
In Windows 11, you can disable various types of animations, such as the animation of windows appearing and disappearing, the animation of the Start menu opening, the animation of switching between applications, and more.
Disabling animations can improve your computer’s performance and speed up the operating system. In addition, some users may find animations unnecessarily slow or annoying.
In Windows 11, there is no way to select specific animations to disable. However, you can disable all animations at once or leave only the ones you want enabled.
To enable animations in Windows 11, you need to go to System Preferences. Next, select the “Personalization” section, then “Tasks and Multitasking.” In this section, find the “Task and Window Animation” subsection and turn on the toggle next to the animation you want.
To disable animations in Windows 11, you need to follow a few simple steps. First, open Windows 11’s Settings, then select System and go to the Experimental Features section. Here, you will need to find and disable the “Animation” option under “Desktop”. Once you do this, animation will be disabled and windows and apps will appear instantly.
How To Fix The Rocket League Packet Loss Issue on If you’re a fan of the popular video game Rocket League, you may have encountered the frustrating …
Read Article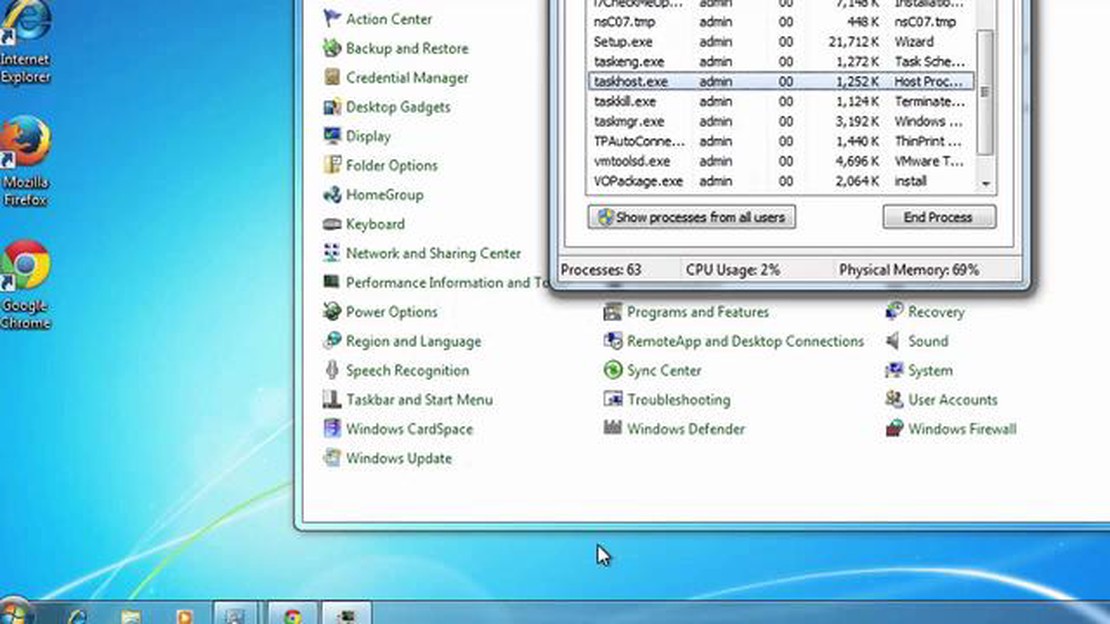
How to solve the error internet explorer has stopped working The Internet is an integral part of modern life, and many of us use the Internet Explorer …
Read Article
How to Fake GPS location on a Galaxy S23 Are you looking for a way to fake your GPS location on a Galaxy S23? Whether you need to deceive …
Read Article
10 best online games with chat (games with chat) Online games have become a popular way to spend time among players around the world. Not only do they …
Read Article
Get the best tips and advice on cs: go boosting. Counter-Strike: Global Offensive (CS:GO) is a multiplayer team-based game that is one of the most …
Read Article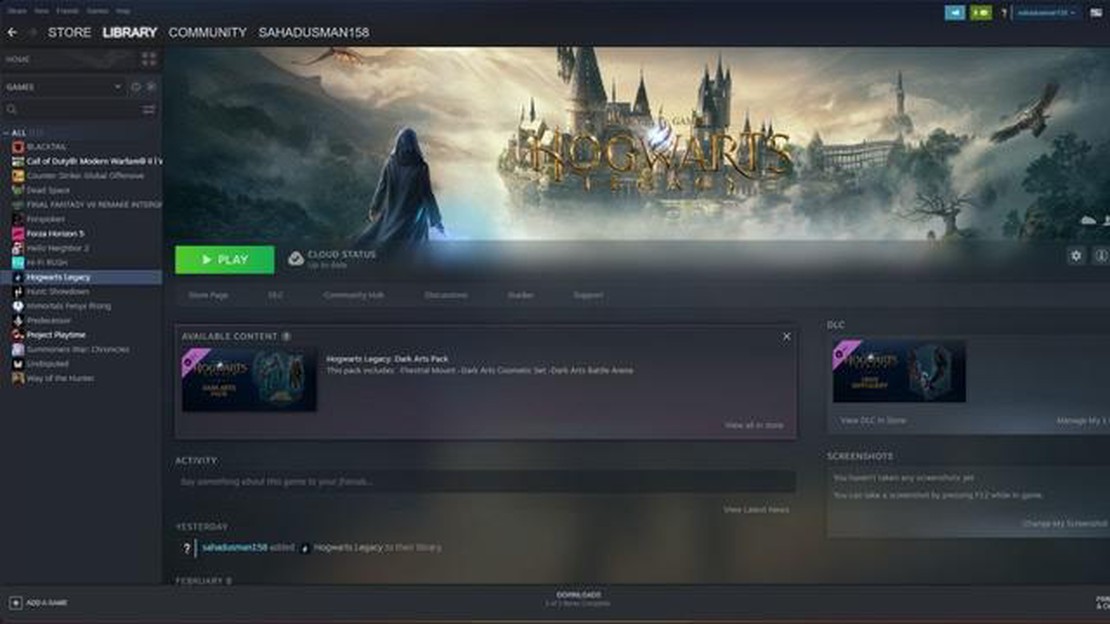
How to Fix Hogwarts Legacy Stuck on Loading Screen If you’re a fan of the Harry Potter universe and have been eagerly anticipating the release of …
Read Article


