

Top 5 Speech To Text Apps For Pixel 3: Dictation Made Effortless
5 Best Speech To Text App For Pixel 3 The Pixel 3 is a powerful smartphone known for its cutting-edge features, and one of its standout capabilities …
Read Article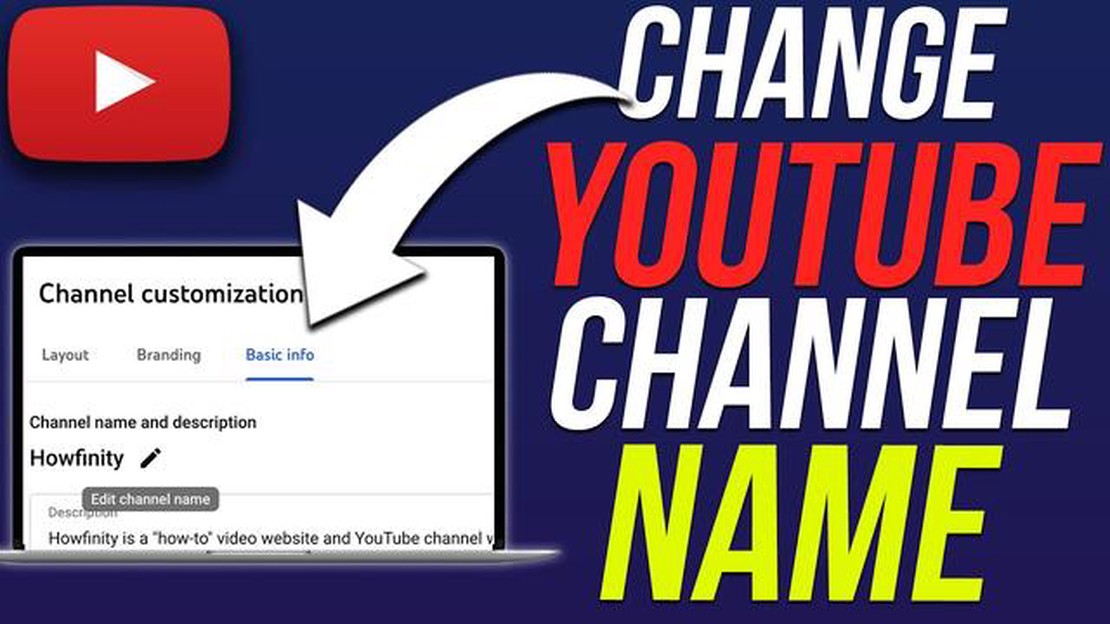
YouTube provides a unique opportunity to create and share video content with millions of users around the world. However, when you decide to change the name of your YouTube channel, you might face some difficulties. In this article, we will tell you how to change the name of your YouTube channel in a few simple steps.
Step 1: Sign in to your account
Before you can change the name of your channel, you will need to log into your YouTube account. To do this, click on the “Sign In” button in the top right corner of your screen and enter your login details.
Step 2: Go to your channel settings
Once you are logged into your account, locate and click on the profile icon in the top right corner of the screen. From the menu that appears, select “Create” and then “Channel Settings”.
Step 3: Change your channel name
On the channel settings page, find the “Basic Info” section and click on the “View or Change” link next to the channel name. In the window that opens, you will be able to enter a new name for your channel. After that, click on the “Save” button to apply the changes.
By following this simple step-by-step guide, you can easily change the name of your YouTube channel and continue sharing your video content with your subscribers.
*Note: Due to the limitations of some accounts, you may need to reach a certain number of subscribers or meet other conditions before you can change the name of your channel.
Changing the name of your YouTube channel can be useful if you decide to rename your brand or simply update your channel content. This guide will describe how to change your YouTube channel name.
Read Also: Important update for iPhone 5 owners: update to iOS 10.3.4 by Nov. 3
Note: Keep in mind that when you change the channel name and URL may change. Also be careful when choosing a new name as it may be related to your channel’s image.
After clicking on the “Confirm” button, your channel will be renamed with the new name. Please note that changing the channel name may take some time and it may not be displayed immediately.
This was a step-by-step guide on how to change the name of your YouTube channel. Follow these simple steps to update your channel name and get your brand or ideas across to your audience.
The process of changing your YouTube channel name requires you to sign in to your Google account. If you already have a Google account, follow these steps:
You are now logged into your Google account and ready to move on to the next step - changing the name of your YouTube channel.
If you want to change the name of your YouTube channel, the first step is to go to the channel settings page. To do this, follow these steps:
Read Also: The 10 best interview questions to help identify the best Swift developers
After following these steps, you will be redirected to your channel settings page.
If you want to change the name of your YouTube channel, follow these simple steps:
The new channel name will then appear on your YouTube profile and in search listings.
Note that you can only change your channel name three times within 90 days, so choose your new name carefully.
To change the name of your YouTube channel, follow these simple steps:
Yes, you can change the name of your YouTube channel for free. There are no additional fees to change your channel name.
There are a few restrictions when changing the name of your YouTube channel. The name must comply with YouTube’s rules and policies, must not be offensive, must not violate copyrights, etc. Also, you can’t change the channel name too often.
The process of changing the name of a YouTube channel usually takes a few minutes. However, in some cases, it may take some time to update the title on all YouTube platforms.
5 Best Speech To Text App For Pixel 3 The Pixel 3 is a powerful smartphone known for its cutting-edge features, and one of its standout capabilities …
Read Article
Google Pixel 6 Can’t Receive Calls? Here are the solutions If you’re experiencing difficulties with your Google Pixel 6 and finding that it can’t …
Read Article
How To Fix Nintendo Switch Software Was Closed Error If you’re a Nintendo Switch user and have encountered the frustrating “Software Was Closed” error …
Read Article
Correction we regret that we have encountered a problem with the teams If you are using the Windows 10 operating system, you have most likely had to …
Read Article
How To Fix LG TV Black Screen of Death Issue LG TVs are known for their high-quality displays and exceptional performance, but like any electronic …
Read Article
How to fix Facebook app that keeps crashing on Samsung Galaxy S9 Plus? (Troubleshooting Guide) Is your Facebook app constantly crashing on your …
Read Article


