


Motorola Unveils Moto Razr in Blush Gold - Latest News on the Newest Color Variant
Motorola Unveils Moto Razr in Blush Gold Motorola continues to captivate smartphone enthusiasts with its exclusive release of the Moto Razr in a …
Read Article
If you own a Samsung Galaxy Z Flip 4 and want to add date stamps to your photos, you’re in luck! The Galaxy Z Flip 4 comes with a built-in feature that allows you to easily add the date and time to your photos. This can be especially useful if you’re taking photos for documentation purposes or if you simply want to remember when the photo was taken.
To add date stamps to your photos on the Galaxy Z Flip 4, follow these step-by-step instructions:
Keep in mind that the date stamp feature may not be available on all camera modes and settings. Some camera modes, such as the panoramic or slow-motion modes, may not support the date stamp feature. Additionally, it’s worth noting that the date stamp will only appear on the original photo and not on any edited or cropped versions of the photo.
Adding date stamps to your photos on the Galaxy Z Flip 4 is a simple and straightforward process. With just a few taps, you can ensure that each photo you take includes the date and time information, making it easy to remember when the photo was captured.
If you want to add date stamps to your photos taken with the Galaxy Z Flip 4 camera, you can easily enable this feature. Below, we’ll walk you through the step-by-step process:
Keep in mind that enabling the date stamp feature will permanently add the date to your photos. This means that even if you share or edit the photo later, the date stamp will still be visible. If you prefer not to have the date stamp on your photos, you can simply follow the same steps above to turn off the feature.
The first step to adding date stamps to your photos on the Galaxy Z Flip 4 is to open the camera app. To do this, locate the camera icon on your home screen or in your app drawer and tap on it.
Alternatively, you can also access the camera app by swiping down from the top of your screen to open the notification shade and tapping on the camera icon.
Read Also: How to Always Appear Available on Microsoft Teams: A Guide
Once you have opened the camera app, you will be ready to start taking photos and adding date stamps to them.
To add date stamps to your photos on the Samsung Galaxy Z Flip 4, you need to access the camera settings menu. Here’s how:
Note: The exact location and name of the “Date stamp” or “Date and time stamp” option may vary depending on the version of the Camera app on your Galaxy Z Flip 4. If you can’t find the option using the above instructions, try looking for similar options or consult the user manual for your device.
Once you’ve accessed the camera settings menu and enabled the date stamp feature, you’ll be able to see the date and time on your photos when you take them using the Camera app on your Galaxy Z Flip 4.
To enable the date stamp option on your Galaxy Z Flip 4, follow these steps:
Once you’ve enabled the date stamp option, it will automatically appear on the photos you capture with your Galaxy Z Flip 4. This feature is particularly useful if you want to have a reminder of the date when the photo was taken.
Read Also: How to Fix Microsoft Teams Not Loading Issue - Troubleshooting Guide
Adding date stamps to your photos can be a great way to remember when a photo was taken. With the Galaxy Z Flip 4, you can easily capture photos with date stamps by following these simple steps:
It’s important to note that the date stamp feature may vary depending on the camera app or software version you are using on your Galaxy Z Flip 4. If you don’t see the option to enable date stamps, make sure your device’s software is up to date.
If you want to view the date stamp on the photos you’ve already captured, you can do so by accessing the Gallery app on your Galaxy Z Flip 4. The date stamp will be displayed in the photo’s details or metadata.
Capturing photos with date stamps can be a helpful way to organize and remember special moments. Whether you’re capturing a family gathering or a scenic view, the Galaxy Z Flip 4 makes it easy to add date stamps to your photos for easy reference.
Yes, you can add date stamps to photos on your Galaxy Z Flip 4. It’s a feature that allows you to display the date and time the photo was taken directly on the image.
Adding date stamps to photos can be beneficial in many ways. It helps to keep track of the timeline of events, provides valuable information for organizing and searching photos, and adds a personalized touch to the images.
Unfortunately, on the Galaxy Z Flip 4, there are limited customization options for date stamps. You can choose whether to display the date, time or both, but you cannot change the font, size, or position of the stamps.
Motorola Unveils Moto Razr in Blush Gold Motorola continues to captivate smartphone enthusiasts with its exclusive release of the Moto Razr in a …
Read Article
The 15 best photo sharing sites and apps. The world of photography is undoubtedly an amazing one. And since every smartphone is equipped with a camera …
Read Article
5 Best Free Calling Apps in 2023 In the digital age, communication is more important than ever, and staying connected with loved ones or colleagues …
Read Article
How to install games when xbox one is turned off? The Xbox One game console offers the ability to install games even when the console is turned off. …
Read Article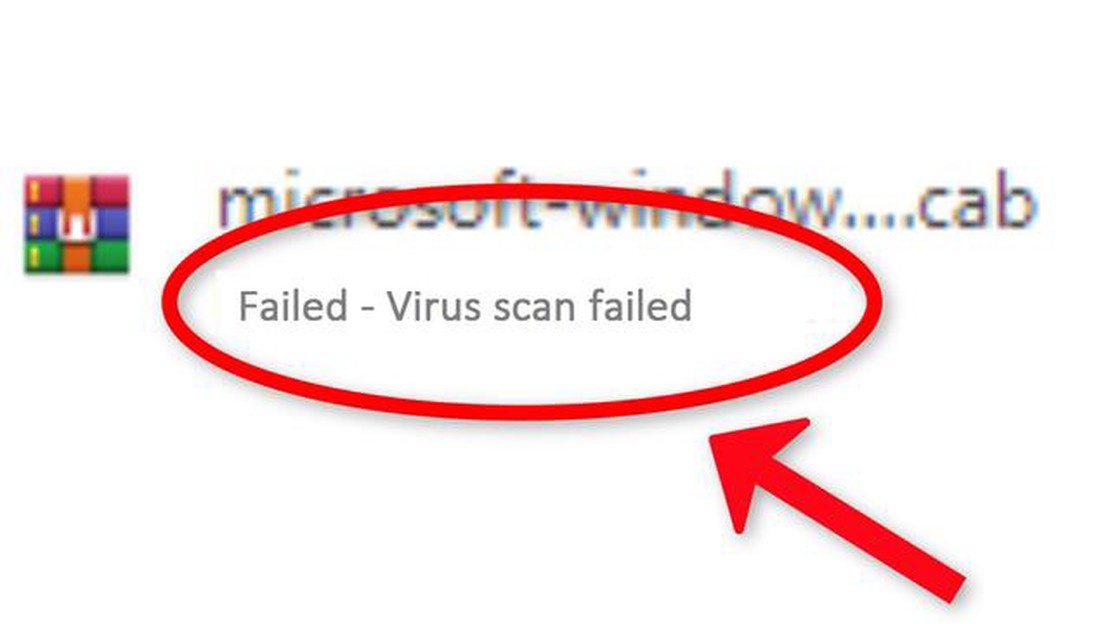
How To Fix Virus Scan Failed Error In Google Chrome Google Chrome is one of the most popular web browsers in the world, thanks to its speed, …
Read Article
The 10 best baby face apps Photos of children are one of the most precious memories that can stay with parents for a lifetime. When young …
Read Article


