
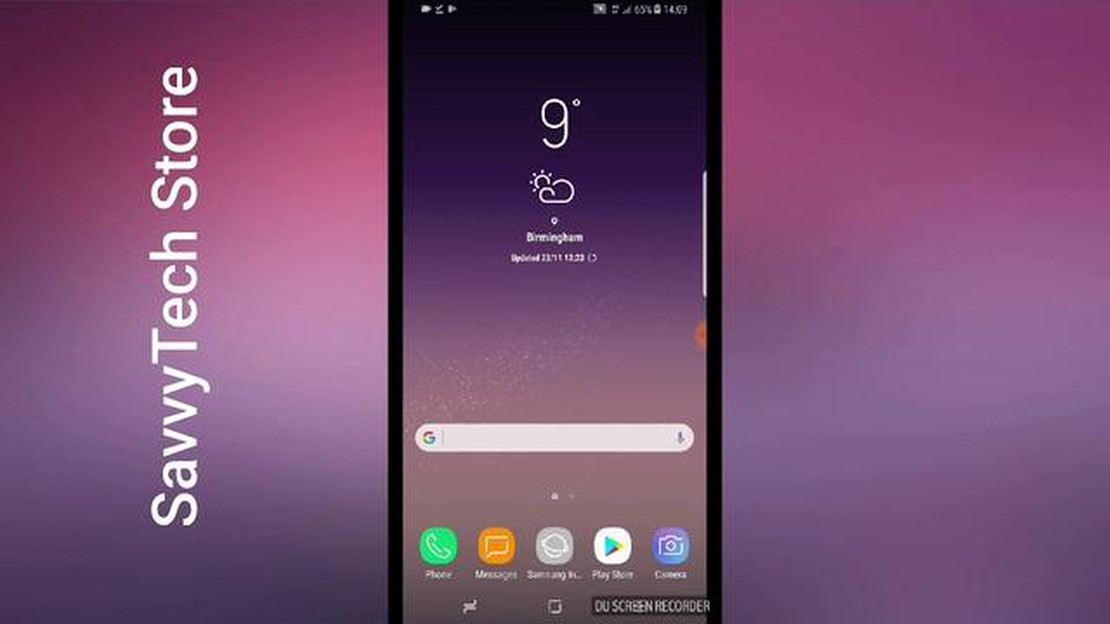

Step-by-Step Guide: How to Copy Files to SD Card in Samsung Galaxy
How To Copy Files To SD Card in Samsung Galaxy If your Samsung Galaxy device has limited internal storage, it’s always a good idea to use an SD card …
Read Article
Having a stable internet connection is crucial in today’s digital age, but sometimes Windows 11 can present connectivity problems that can be frustrating to deal with. Whether you’re experiencing slow speeds, frequent disconnections, or simply cannot connect to the internet at all, this comprehensive guide will help you troubleshoot and fix the issue.
Before diving into the troubleshooting steps, it’s important to understand that internet connection issues can arise due to a variety of reasons. It could be a problem with your wireless network adapter, an issue with your router or modem, or even a software glitch within the Windows operating system itself. By following the steps outlined in this guide, you’ll be able to pinpoint the root cause of the problem and resolve it efficiently.
In this guide, we will cover a range of solutions to help fix common internet connection issues in Windows 11. We’ll explore both basic troubleshooting steps, such as checking your network cables and restarting your devices, as well as more advanced techniques, including updating drivers and adjusting network settings. By following these steps in the order presented, you’ll increase your chances of resolving the issue without the need for professional assistance.
So, if you’re struggling with internet connection issues on your Windows 11 device, don’t worry. By following this comprehensive guide, you’ll be able to diagnose and fix the problem, ensuring a stable and reliable internet connection for all your online activities.
If you’re experiencing internet connection issues on your Windows 11 computer, don’t worry! There are several troubleshooting steps you can take to get your internet connection back up and running. Here are some solutions to common internet connection problems in Windows 11.
One of the first things you should do is double-check the network cable connection. Ensure that the Ethernet cable or Wi-Fi adapter is securely plugged into your computer and router. If you’re using Wi-Fi, verify that you are connected to the correct network and that the signal strength is strong enough.
Sometimes, a simple router restart can fix internet connection issues. Power off your router, wait for a few seconds, and then turn it back on. Give it a few minutes to establish a connection, and then check if your internet is working.
Windows 11 has a built-in Network Troubleshooter that can automatically diagnose and fix common network issues. To access it, right-click on the network icon in the taskbar and select “Troubleshoot problems.” Follow the prompts to let Windows diagnose and resolve any connectivity problems.
Outdated or incompatible network drivers can cause connection problems. To update your network drivers, right-click on the Start button and select “Device Manager.” Expand the “Network adapters” category, right-click on your network adapter, and choose “Update driver.” You can select “Search automatically for updated driver software” to let Windows find and install the latest drivers for you.
Sometimes, VPN or proxy settings can interfere with your internet connection. If you’re using a VPN or proxy, try disabling it temporarily to see if that resolves the issue. You can usually find the option to disable these settings in the corresponding software or settings menu.
Firewall or antivirus software can sometimes block internet access. Temporarily disable your firewall or antivirus software and check if your internet connection is restored. If it is, you may need to adjust the settings of your security software to allow internet access.
Restarting various network services can help fix connection issues. Open the Command Prompt as an administrator and type the following commands one by one, pressing Enter after each one:
Read Also: Discover the 5 Best Google Play Store Alternatives to Download Android Apps
netsh winsock resetnetsh int ip resetipconfig /releaseipconfig /renew
If none of the above solutions work, you can try resetting your network settings. Go to Settings > Network & Internet > Status, scroll down, and click on “Network reset.” This will remove all your network adapters and reinstall them, resetting your network settings to their default configuration. Note that this will also remove any saved Wi-Fi networks and VPN connections, so make sure to have the necessary information ready.
By following these troubleshooting steps, you should be able to resolve most internet connection issues in Windows 11. If you’re still having problems, it’s recommended to contact your internet service provider for further assistance.
Before troubleshooting any internet connection issues on Windows 11, it’s important to check the network settings to ensure everything is configured correctly. Follow these steps to check your network settings:
Read Also: 10 simple and effective alternatives to Firertc in 2023
After checking and adjusting your network settings, try connecting to the internet again. If the issue persists, continue troubleshooting using the other methods mentioned in this guide.
If you’re experiencing internet connection issues on your Windows 11 computer, it could be due to outdated network drivers. Network drivers are responsible for facilitating communication between your computer and your network, and outdated or incompatible drivers can cause connection problems.
To update your network drivers, you can follow these steps:
Alternatively, you can use third-party driver updating software to automatically update your network drivers. These tools scan your system for outdated drivers and download the latest versions for you. Some popular driver updating software includes Driver Booster, Driver easy, and Snappy Driver Installer. However, be cautious when using third-party software and make sure to download them from reputable sources.
Updating your network drivers can often resolve internet connection issues caused by outdated or incompatible drivers. However, if you continue to experience problems after updating your drivers, you may need to troubleshoot other areas of your network or consult with a professional for further assistance.
If you’re experiencing internet connection issues on your Windows 11 computer, one of the troubleshooting steps you can take is to reset the network settings. This can help resolve any misconfigurations or conflicts that may be causing the problem. Here’s how you can do it:
After the restart, your network settings will be reset to their defaults. You’ll need to reconnect to your Wi-Fi network and reconfigure any other network settings that you previously had.
Note that resetting the network settings will remove all your network adapters, so make sure you have the necessary drivers or installation files available to reinstall them if needed.
If resetting the network settings didn’t resolve your internet connection issues, you can try other troubleshooting steps such as updating your network drivers, checking your network hardware, or contacting your internet service provider for further assistance.
There can be several reasons for internet connection issues on Windows 11. It could be due to a problem with your network adapter, outdated drivers, or incorrect network settings. It’s also possible that there is an issue with your ISP or the modem/router you are using.
Yes, incorrect network settings can cause internet connection issues on Windows 11. If your IP address, DNS settings, or other network parameters are not properly configured, it can result in connection problems. You can check and modify your network settings by going to the “Network & Internet” settings in Windows 11.
How To Copy Files To SD Card in Samsung Galaxy If your Samsung Galaxy device has limited internal storage, it’s always a good idea to use an SD card …
Read Article
How To Wipe Cache Partition on Galaxy S22 If you’re experiencing issues with your Samsung Galaxy S22, such as slow performance or app crashes, …
Read Article
How To Fix Roblox Keeps Freezing On Roblox, the popular online gaming platform, is loved by millions of players around the world. However, sometimes …
Read Article
How To Fix Hulu Not Working On Roku Issue If you are a Roku user and are experiencing issues with Hulu not working on your device, you’re not alone. …
Read Article
New trends shaping the gaming industry The gaming industry is evolving with all possible speed these days, offering new technologies and unique gaming …
Read Article
Beats Pill Plus Vs JBL Charge 3 Best Bluetooth Speakers in 2023 When it comes to portable Bluetooth speakers, two brands stand out from the crowd: …
Read Article

