


Top 7 Rolling Laptop Bags for 2023: Find the Perfect Bag for Your Laptop
7 Best Rolling Laptop Bags in 2023 Are you tired of carrying your heavy laptop bag on your shoulder during your daily commute or business trips? If …
Read Article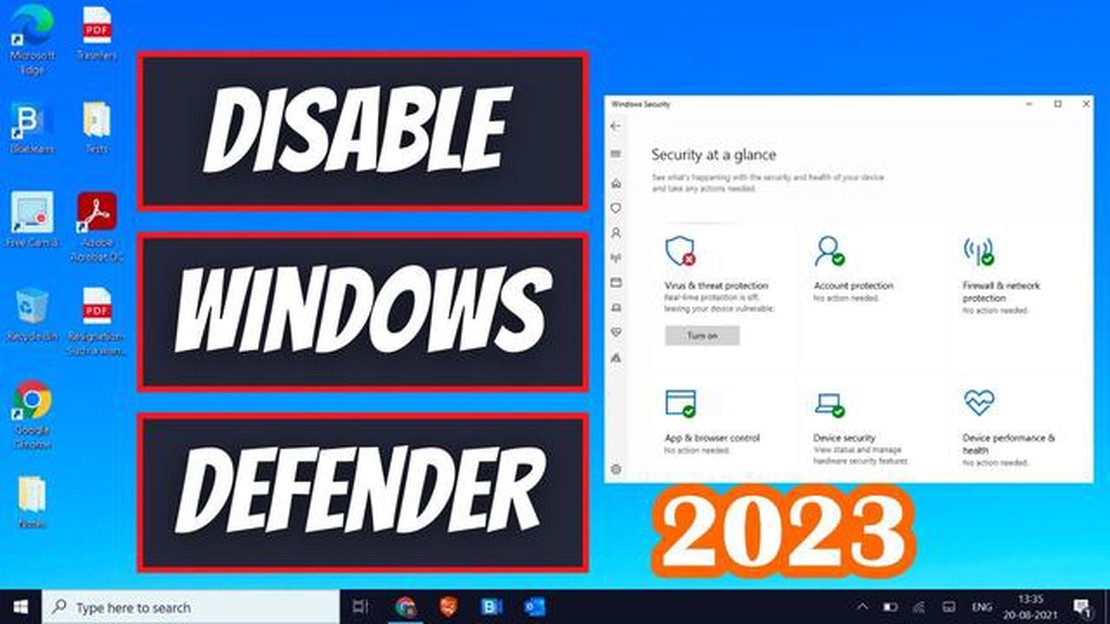
Windows Defender is a built-in antivirus program that comes pre-installed with Windows 11. While it provides good protection against malware and other security threats, there may be situations where you need to temporarily disable it. This could be due to conflicts with other security software or when performing specific tasks that require Windows Defender to be turned off.
There are two methods you can use to turn off Windows Defender in Windows 11. The first method involves using the Windows Security app, while the second method involves using Group Policy Editor. Both methods are relatively simple and can be completed in a few steps.
Method 1: Using the Windows Security app
Note: Disabling real-time protection will turn off Windows Defender temporarily. It will automatically turn back on after a certain period of time or after a system restart. If you want to permanently disable Windows Defender, you can follow the second method below.
Method 2: Using Group Policy Editor
Read Also: The most exciting and addictive casino video games Gaming Industry News5. Select the “Enabled” option and click on “Apply” and then “OK”.
Note: Using Group Policy Editor requires administrative privileges. Make sure you are logged in as an administrator before attempting this method.
By following these methods, you can easily turn off Windows Defender in Windows 11. However, it is important to note that disabling Windows Defender can leave your device more vulnerable to security threats. It is recommended to only turn off Windows Defender temporarily and to have alternative security measures in place.
If you’re using Windows 11 and want to turn off Windows Defender, there are two methods you can follow. Windows Defender is a built-in antivirus and antimalware program that comes pre-installed on Windows operating systems. While it provides essential security features, some users may prefer to disable it for various reasons.
Method 1: Using the Windows Security app
Method 2: Using the Local Group Policy Editor
Read Also: How to remove the chat button from the taskbar in Windows 11: step-by-step instructions
It’s important to note that disabling Windows Defender will leave your system more vulnerable to malware and other security threats. It is recommended to have an alternative antivirus solution installed if you choose to turn off Windows Defender.
Note: These instructions are up to date as of 2023 and may change with future Windows updates.
In Windows 11, you can turn off Windows Defender using the Windows Security Settings. Here’s how:
Note: Turning off Windows Defender will leave your computer vulnerable to malware and other security threats. Make sure to use an alternative antivirus program or take other necessary security measures to protect your computer.
In addition to using the Group Policy Editor, you can also disable Windows Defender through the Registry Editor. Here’s how:
After following these steps, Windows Defender should be disabled on your Windows 11 system. However, it’s important to note that disabling Windows Defender can leave your computer more vulnerable to security threats, so proceed with caution.
Yes, it is possible to disable Windows Defender in Windows 11 using different methods.
Some users may want to disable Windows Defender in order to install and use third-party antivirus software.
The two methods to turn off Windows Defender in Windows 11 are: using the Windows Security app and using the Group Policy Editor.
To disable Windows Defender using the Windows Security app, you can open the app, go to the “Virus & Threat Protection” section, click on “Manage settings,” and toggle off the “Real-time protection” option.
The recommended method for turning off Windows Defender in Windows 11 is using the Group Policy Editor, as it provides a more permanent solution and prevents Windows Defender from automatically turning back on.
Yes, you can turn off Windows Defender in Windows 11.
7 Best Rolling Laptop Bags in 2023 Are you tired of carrying your heavy laptop bag on your shoulder during your daily commute or business trips? If …
Read Article
Multiversus crashing not loading on xbox Multiversus is an addictive game that allows players to engage in a battle between different characters from …
Read Article
5 Best Cell Phone Signal Booster for Android If you’ve ever experienced the frustration of dropped calls or slow data speeds on your Android phone, …
Read Article
It’s like forgetting the network on mac os. Wi-Fi network is an essential part of our daily life. However, sometimes there are situations when you …
Read Article
5 Best Cell Phone Plans for Kids and Teens As a parent, finding the perfect cell phone plan for your child or teenager can be a daunting task. With so …
Read Article
What to do if Galaxy A50 only vibrates but won’t turn on | No Power issue after accidental drop Accidentally dropping your Samsung Galaxy A50 can be a …
Read Article


