
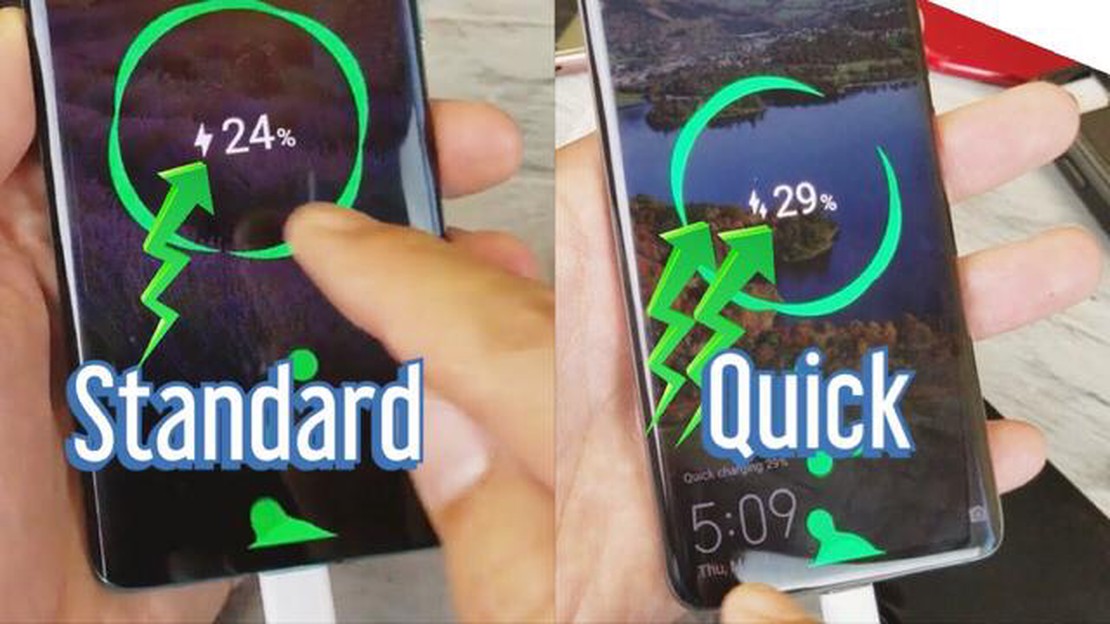

5 Best Fast Charging Type C Cables For Huawei P30 | Top Rated Cables 2022
5 Best Fast Charging Type C Cables For Huawei P30 If you’re a proud owner of a Huawei P30, you know how important it is to have a reliable and fast …
Read Article
Are you a gaming enthusiast struggling to install the Battle Net app on your Windows 10 device? You’re not alone. Many users have reported facing issues while trying to install this gaming platform on their computers. However, there’s no need to worry as we have some troubleshooting tips that can help you overcome this problem.
1. Check System Requirements: Before installing any software, it’s essential to ensure that your computer meets the system requirements. Make sure your Windows 10 device has the necessary hardware and software specifications to support the Battle Net app.
2. Disable Antivirus and Firewall: Sometimes, antivirus programs and firewalls can interfere with the installation process. Temporarily disable these security measures and try installing the Battle Net app again. Remember to enable them once the installation is complete.
3. Clear Temp Files: The accumulation of temporary files can also cause installation issues. Use the “Disk Cleanup” utility in Windows 10 to remove temporary files, system files, and other unnecessary data that might be causing conflicts during the installation process.
4. Run the Installer in Compatibility Mode: If you’re still unable to install the Battle Net app, try running the installer in compatibility mode for an older version of Windows. Right-click on the installer file, select “Properties,” go to the “Compatibility” tab, and choose a previous Windows version.
Read Also: How Windows detects a hard disk problem: detailed instructions
5. Contact Support: If none of the above steps work, it may be best to reach out to the Battle Net support team for further assistance. They will have more specific troubleshooting steps tailored to your situation and can guide you through the process of resolving the installation issue.
Remember, troubleshooting installation problems requires patience and perseverance. By following these steps and seeking appropriate support, you should be able to successfully install the Battle Net app on your Windows 10 device and embark on your gaming adventures without any hindrance.
If you are experiencing issues while trying to install the Battle Net app in Windows 10, there are several troubleshooting steps you can follow to resolve the problem. The Battle Net app is the central hub for accessing Blizzard’s games, and it’s essential to have it installed properly in order to play their games.
By following these troubleshooting steps, you should be able to resolve the issue of being unable to install the Battle Net app in Windows 10. Once the app is installed successfully, you can enjoy playing Blizzard’s games without any further hindrances.
When you encounter issues with installing the Battle Net app in Windows 10, there are several potential causes to consider. These include:
If you have checked all these possible causes and are still unable to install the Battle Net app, it may be worth contacting Blizzard’s technical support for further assistance.
Read Also: What is UPI Lite and how to enable it on any device (2022)
If you are having trouble installing the Battle Net app on Windows 10, there are several solutions you can try to resolve the issue. Here are some potential fixes:
By trying these solutions, you should be able to resolve any issues preventing you from installing the Battle Net app on your Windows 10 computer.
There could be several reasons why you are unable to install the Battle Net App in Windows 10. One reason could be that you do not meet the system requirements for the app. Another reason could be that there is a problem with your internet connection. It is also possible that there is a conflict with another program or app on your computer. To troubleshoot the issue, you can try restarting your computer, checking your internet connection, or disabling any other programs that may be causing a conflict.
5 Best Fast Charging Type C Cables For Huawei P30 If you’re a proud owner of a Huawei P30, you know how important it is to have a reliable and fast …
Read Article
How to activate dnd in idea, vodafone, airtel, bsnl, reliance jio. Do Not Disturb mode is a useful feature that allows you to temporarily turn off all …
Read Article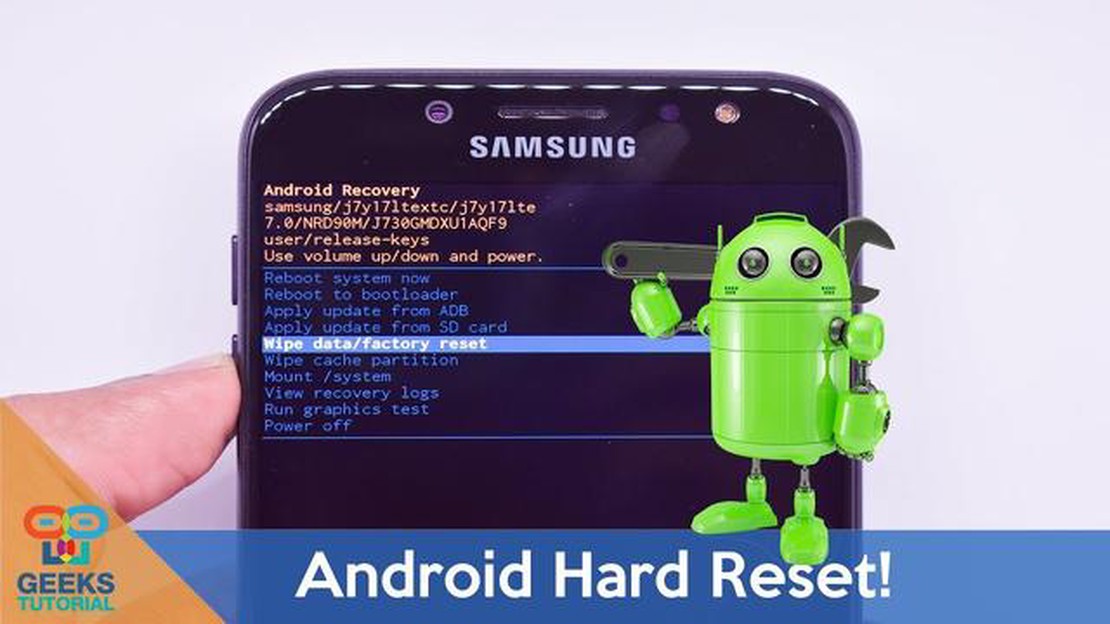
How To Master Or Hard Reset On Samsung Galaxy In today’s fast-paced world, our mobile devices have become an essential part of our lives. Whether it’s …
Read Article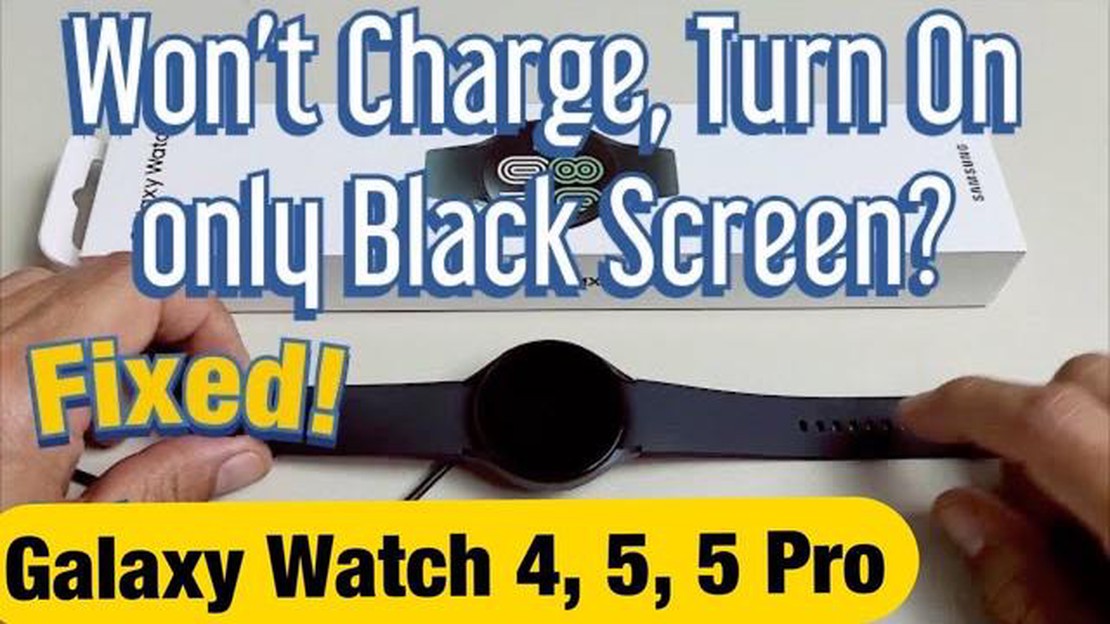
What to do if your Samsung Galaxy Watch 4 is not charging properly Are you having trouble charging your Samsung Galaxy Watch 4? Don’t worry, you’re …
Read Article
How to attract more viewers with video ads Video advertising is one of the most effective ways to grab attention and attract more viewers to your …
Read Article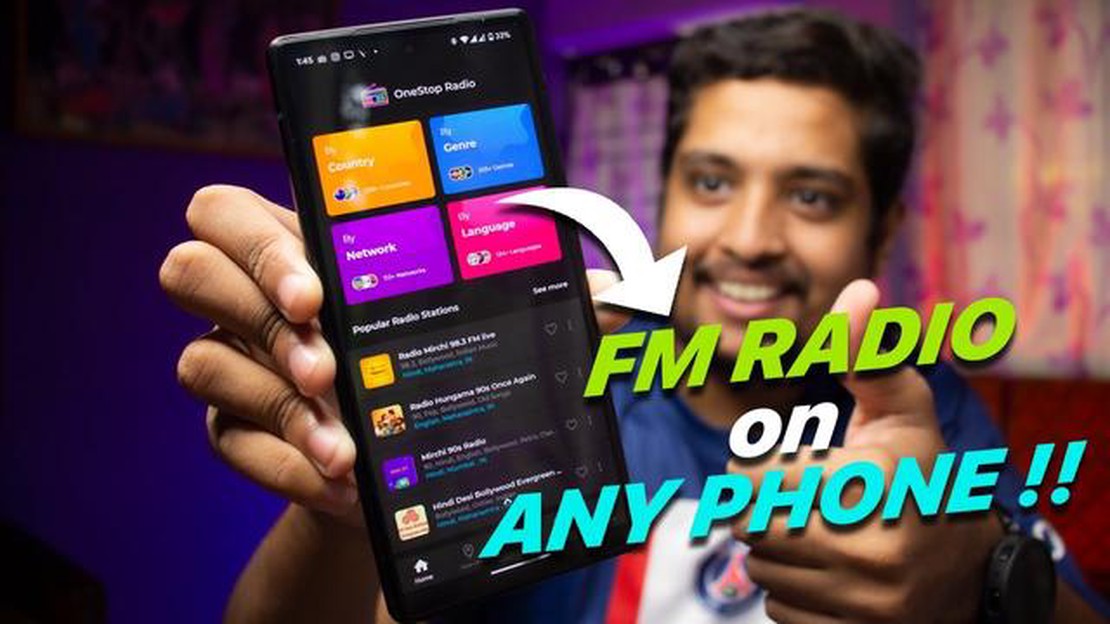
3 Best Radio Apps To Listen To Local AM/FM Radio Without Data For Galaxy S9 Are you a fan of listening to local radio stations on your Galaxy S9? …
Read Article


