


How to Fix Instagram Messages Not Sending Problem: Troubleshooting Guide
How to Fix Instagram Messages Not Sending Problem Instagram is one of the most popular social media platforms, allowing users to share photos and …
Read Article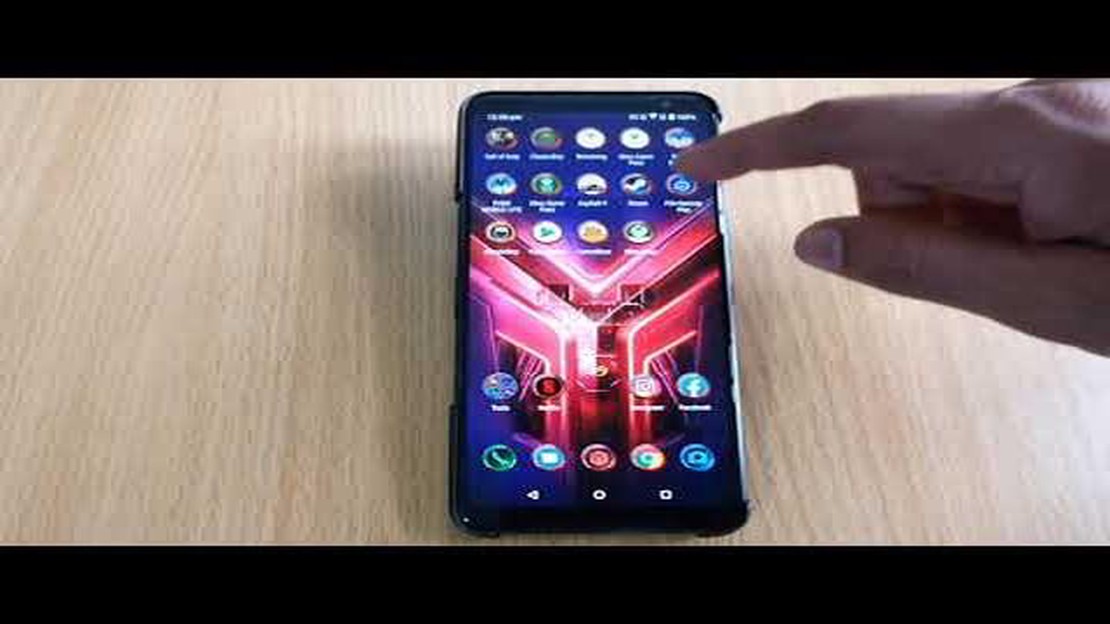
USB Debugging is an essential feature for Android developers and enthusiasts. It allows you to connect your device to a computer and use tools like Android Studio or ADB to debug and troubleshoot issues. If you own an ROG Phone 3 and want to enable USB Debugging, you’ve come to the right place. In this step-by-step guide, we will walk you through the process of enabling USB Debugging on your ROG Phone 3.
Before we begin, please note that enabling USB Debugging requires you to have Developer Options unlocked on your device. If you haven’t done this already, don’t worry, it’s a simple process. Just follow these steps:
Once you have unlocked Developer Options, you can proceed to enable USB Debugging:
That’s it! You have successfully enabled USB Debugging on your ROG Phone 3. Now you can connect it to a computer and use tools like Android Studio or ADB to debug your apps and perform various tasks. Remember to always be cautious and only enable USB Debugging when necessary, as it can potentially expose your device to security risks.
Enabling USB debugging on your ROG Phone 3 is essential if you want to unlock its full potential. USB debugging allows you to connect your phone to a computer and use developer tools, such as Android Debug Bridge (ADB), to interact with your device.
To enable USB debugging on your ROG Phone 3, follow the step-by-step guide below:
Once USB debugging is enabled on your ROG Phone 3, you can connect it to a computer via USB cable and use developer tools to perform tasks like installing custom ROMs, debugging apps, and more.
It’s important to note that USB debugging should only be enabled when you need to use it. Leaving it enabled all the time can pose a security risk, as it allows unauthorized access to your device.
Now that you’ve enabled USB debugging on your ROG Phone 3, you’re ready to explore the full potential of your device and take advantage of advanced developer tools.
Read Also: Top 7 Survival Games for Android in 2023: Find the Best Adventure
To enable USB debugging on your ROG Phone 3, you first need to access the Developer Options menu. Here’s how:
Now that you have access to the Developer Options menu, you can proceed to enable USB debugging on your ROG Phone 3. Follow the next steps in this guide to learn how.
Read Also: How to Fix 'Aw Snap! Something Went Wrong' Error in Google Chrome
To enable USB debugging on your ROG Phone 3, follow these steps:
Once you have enabled USB debugging on your ROG Phone 3, you will be able to connect it to your computer and use ADB commands for development purposes.
USB debugging is a developer mode that allows you to establish a direct connection between your ROG Phone 3 and a computer via USB. It enables you to access advanced features and tools for debugging and testing purposes. By enabling USB debugging on your ROG Phone 3, you can install custom ROMs, root your device, and perform other advanced tasks.
To enable USB debugging on your ROG Phone 3, you need to first enable Developer Options. To do this, go to Settings, then About, and tap on “Build number” seven times. Once Developer Options are enabled, go back to Settings, tap on Developer Options, and toggle on the “USB debugging” option.
No, you cannot enable USB debugging on your ROG Phone 3 without a computer. USB debugging requires a direct connection between your phone and a computer via USB. Once you enable USB debugging, you can use various tools and commands on your computer to interact with your ROG Phone 3.
Before enabling USB debugging on your ROG Phone 3, it’s important to take some precautions. Firstly, make sure to back up all your important data and files. Enabling USB debugging can give access to sensitive information and the risk of data loss is possible. Additionally, be cautious when granting USB debugging permissions to unknown devices, as it can pose security risks. It is advisable to only enable USB debugging when necessary and disconnect from unknown computers or devices.
If you are unable to enable USB debugging on your ROG Phone 3, here are some troubleshooting tips you can try. First, make sure you have enabled Developer Options as mentioned in the earlier steps. If that doesn’t work, try using a different USB cable or USB port on your computer. You can also try restarting both your phone and computer. If the issue still persists, you might need to check if there are any driver updates or software updates available for your ROG Phone 3.
USB debugging is a feature on Android devices that allows for advanced troubleshooting and development tasks. It enables communication between an Android device and a computer using a USB connection. USB debugging is necessary for tasks such as installing custom ROMs, debugging apps, and accessing system files.
How to Fix Instagram Messages Not Sending Problem Instagram is one of the most popular social media platforms, allowing users to share photos and …
Read Article
How To Fix Nintendo Switch Corrupted Data | NEW & Updated in 2023 Is your Nintendo Switch displaying the dreaded “corrupted data” message? Don’t worry …
Read Article
How to fix Samsung Galaxy S7 that’s not turning on, won’t boot up & other power issues The Samsung Galaxy S7 is a popular smartphone known for its …
Read Article
Latest apk naruto senki mod game collection Naruto Senki apk game has long won the hearts of anime and mobile game fans. This popular game based on …
Read Article
Why Hisense TV Red Light Blinking And What To Do If you own a Hisense TV and notice that the red light on the front panel is blinking, you might be …
Read Article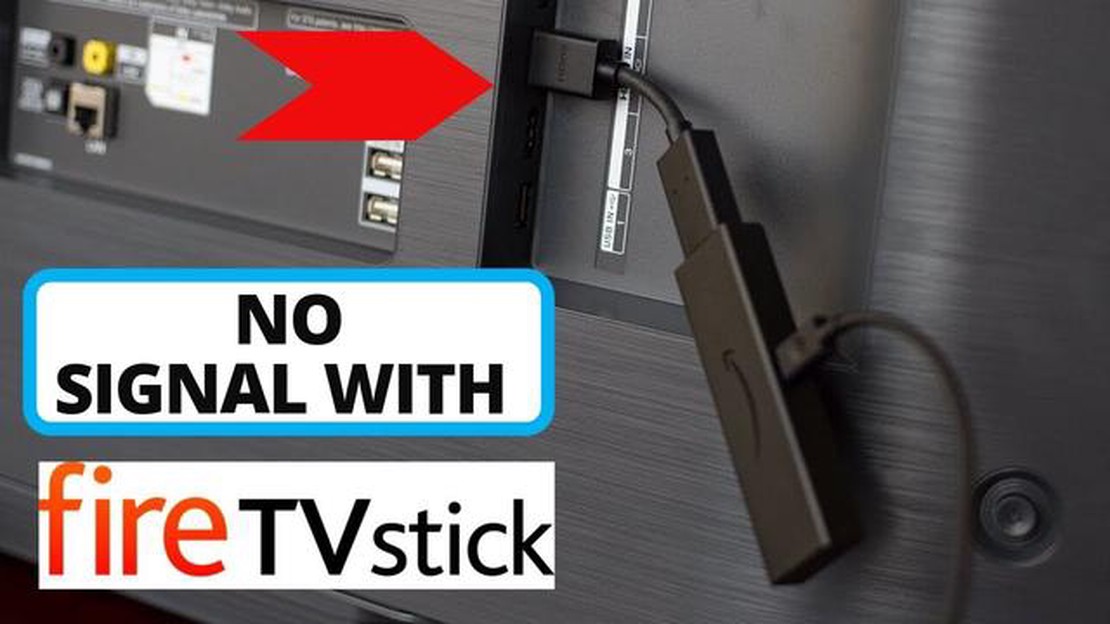
How To Fix Amazon Fire TV Stick No Signal Is your Amazon Fire TV Stick displaying no signal on the screen? Don’t worry, you’re not alone. This issue …
Read Article


