


How to successfully promote your product on Instagram: 5 effective strategies
How to promote your product on instagram. Instagram has become not only the most popular social network for socializing and sharing photos, but also a …
Read Article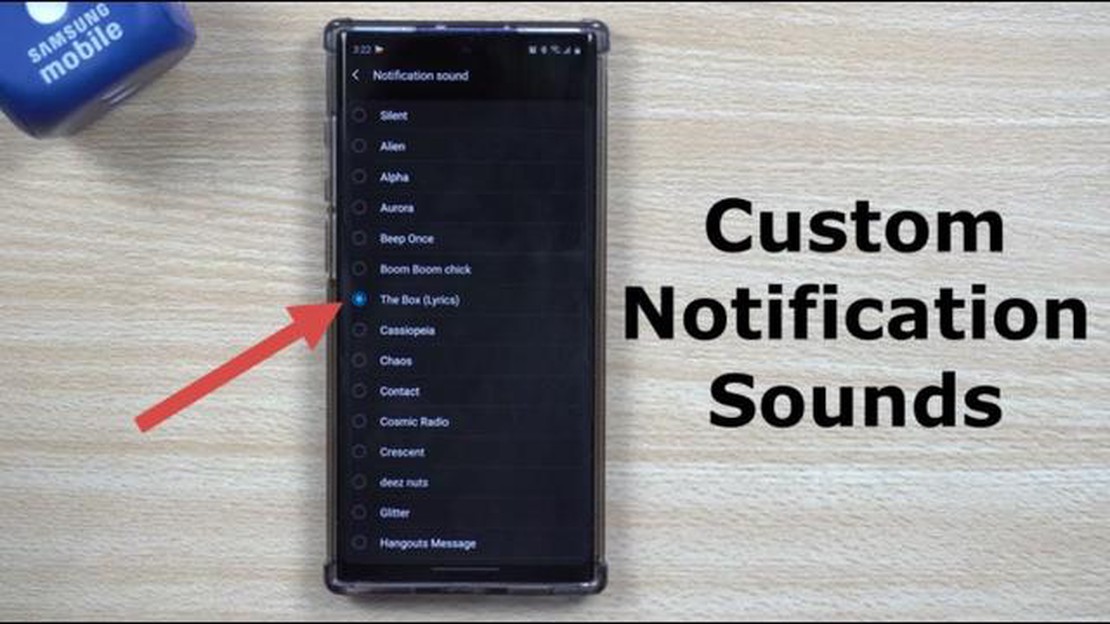
If you own a Galaxy Note 3 and want to personalize your device by using custom notification sounds, you’re in luck. This step-by-step guide will walk you through the process of transferring and using your own notification sounds on your device. Whether you want to use a song, a funny soundbite, or a unique sound effect, you can easily customize your notifications to suit your own style and personality.
To begin, you’ll need to transfer the custom notification sound files to your Galaxy Note 3. You can do this by connecting your device to your computer using a USB cable. Once connected, navigate to the internal storage or SD card of your device and create a folder specifically for your custom notification sounds. You can name this folder anything you like.
Next, locate the custom notification sound files on your computer and copy them to the folder you created on your Galaxy Note 3. Make sure the files are in a compatible audio format, such as MP3 or WAV. Once the files are transferred, disconnect your device from your computer.
Now that you have the custom notification sound files on your Galaxy Note 3, it’s time to set them as your notifications. Open the Settings app on your device and navigate to the Sound and Notifications settings. From there, tap on the Notifications option and select the app for which you want to change the notification sound.
Once you’ve selected the app, look for the Sounds option and tap on it. This will bring up a list of available sounds, including the default options and any custom notification sounds you’ve transferred to your device. Scroll through the list and select the custom sound you want to use for that particular app’s notifications.
Repeat these steps for any other apps for which you want to change the notification sound. You can also customize other notification settings, such as vibration patterns or LED notifications, to further personalize your device. Once you’re done, your Galaxy Note 3 will use your chosen custom notification sounds for the selected apps.
In conclusion, transferring and using custom notification sounds on your Galaxy Note 3 is a simple and effective way to personalize your device. By following these step-by-step instructions, you can easily set up your own custom notification sounds and make your device uniquely yours. So go ahead and have fun customizing your notifications to match your style and personality!
If you’re tired of the default notification sounds on your Galaxy Note 3, you can easily transfer and use custom notification sounds to personalize your device. Follow these step-by-step instructions to learn how:
With the ability to transfer and use custom notification sounds, you can make your Galaxy Note 3 truly unique and tailored to your preferences. Say goodbye to the default sounds and hello to a more personalized experience!
Read Also: 5 Best Free VPN For School - Secure and Unblock Websites
Before you can transfer and use custom notification sounds on your Galaxy Note 3, you need to prepare the sounds that you want to use. Follow the steps below to prepare your custom notification sounds:
By preparing your custom notification sounds in advance, you’ll be ready to transfer and use them on your Galaxy Note 3 without any hassle. Take your time to select the right sounds and ensure they meet the requirements listed above for the best user experience.
Transferring custom notification sounds to your Galaxy Note 3 allows you to personalize your device and make it stand out from the rest. Follow the steps below to transfer your own notification sounds to your Note 3:
Transferring custom notification sounds to your Galaxy Note 3 is a simple and straightforward process. By following the steps above, you can easily personalize your device and make it reflect your unique style and preferences.
Read Also: Quick and Easy Steps to Fix Instagram Crashing on LG G7 ThinQ
Customizing the notification sounds on your Galaxy Note 3 can help you personalize your device and make it truly yours. With the following steps, you can easily set custom notification sounds for different apps or system notifications on your Galaxy Note 3:
By following these simple steps, you can easily set custom notification sounds on your Galaxy Note 3 and make your device sound unique and personalized.
You can transfer custom notification sounds to your Galaxy Note 3 by connecting your phone to your computer via USB, then copying the sound files to the “Notifications” folder on your device.
Yes, you can use any audio file as a custom notification sound on your Galaxy Note 3. Just make sure the file is in a compatible format, such as MP3 or WAV.
The maximum file size for custom notification sounds on the Galaxy Note 3 is 30 MB.
Yes, you can set different notification sounds for different apps on your Galaxy Note 3. Just go to the app’s settings and look for the option to change the notification sound.
No, you do not need to restart your Galaxy Note 3 after transferring custom notification sounds. The new sounds should be immediately available for you to use.
How to promote your product on instagram. Instagram has become not only the most popular social network for socializing and sharing photos, but also a …
Read Article
Solutions to Galaxy Note10+ not getting texts from an iPhone If you own a Samsung Galaxy Note10+ and you’re experiencing issues with not receiving …
Read Article
Samsung Galaxy A32 5G Screen Capture: How to Take a Screenshot The Samsung Galaxy A32 5G is a popular smartphone that offers a range of impressive …
Read Article
How To Fix LG TV Keeps Turning On and Off Issue If you’re experiencing the frustrating problem of your LG TV constantly turning on and off, you’re not …
Read Article
Xiaomi confirms android 11 for more xiaomi and redmi smartphones. Xiaomi has officially announced the release of Android 11 update for several models …
Read Article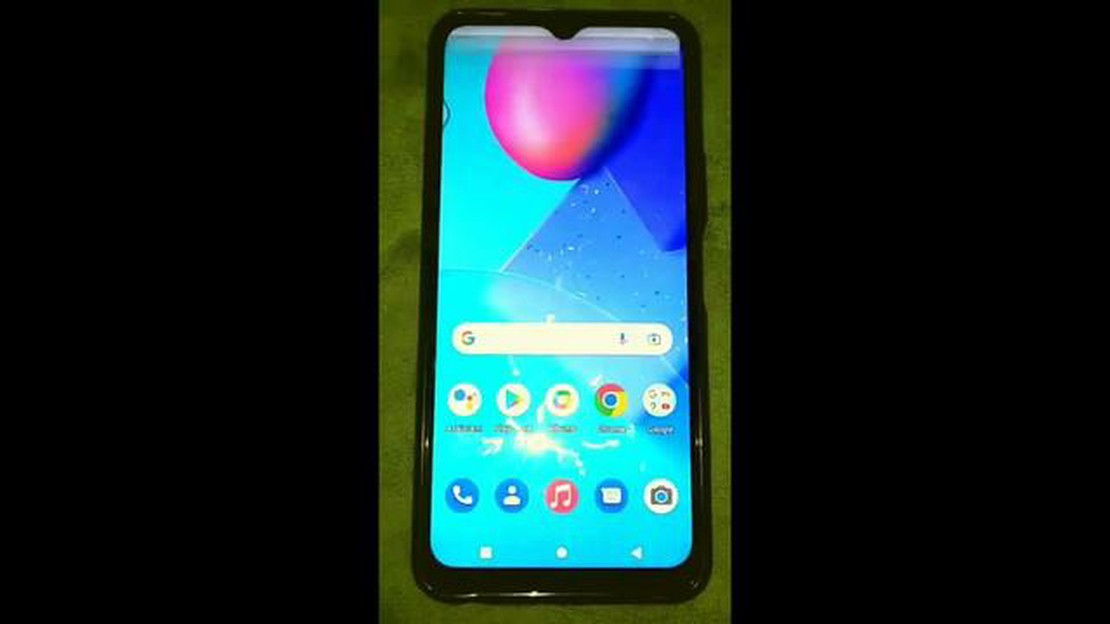
5 Best Call Blocker for Android Without Ringing If you’re tired of receiving unwanted calls that disrupt your day, it’s time to consider using a call …
Read Article


