


Firefox will stop spam notifications coming to the browser by 2023
Firefox will stop browser notification spam in 2023. Mozilla Firefox has announced its plans to stop unwanted spam notifications from arriving in the …
Read Article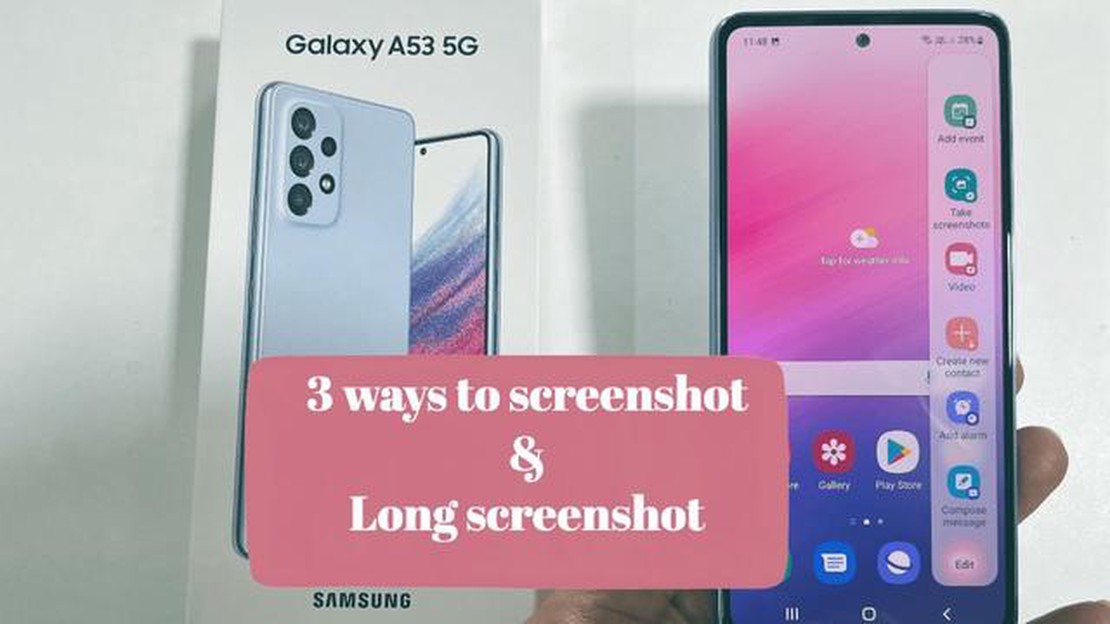
If you own a Samsung Galaxy A53 5G, you may find yourself needing to take a screenshot from time to time. Whether you want to capture an interesting article, save a memorable conversation, or share a funny meme with friends, taking a screenshot is a useful feature that allows you to quickly capture and share what’s on your phone’s screen.
To take a screenshot on the Galaxy A53 5G, you can follow a simple step-by-step guide. First, locate the content you want to capture on your screen. It could be a particular webpage, a text message, or a social media post. Once you have the content ready, you need to press the power button and the volume down button simultaneously. Hold them for a few seconds until you see the visual indication that a screenshot has been taken.
After taking the screenshot, you can access it by swiping down from the top of your phone’s screen to open the notification panel. You should see a thumbnail of the screenshot in the notifications. Tapping on the thumbnail will open the screenshot in full screen, allowing you to view, edit, and share it. You can also find the screenshot in the gallery app of your phone, where you can organize, delete, or share it through various apps and platforms.
Taking a screenshot on the Galaxy A53 5G is a simple yet powerful feature that can come in handy in many situations. Whether you’re capturing important information, saving a funny moment, or documenting a conversation, knowing how to take a screenshot on your phone can make your life easier and more efficient. So next time you come across something you want to capture, remember these easy steps to take a screenshot on your Galaxy A53 5G.
If you own a Samsung Galaxy A53 5G and want to capture a screenshot of something interesting on your screen, you’ll be glad to know that the process is quick and easy. In this step-by-step guide, we’ll show you how to take a screenshot on your Galaxy A53 5G.
That’s it! You have successfully taken a screenshot on your Galaxy A53 5G. Now you can easily capture and share any interesting content or information from your device’s screen.
Note: The exact button combination may vary slightly depending on the model and software version of your Galaxy A53 5G. If the above steps don’t work for you, try pressing and holding the Power button and the Home button (if available) at the same time to capture the screenshot.
To take a screenshot on your Samsung Galaxy A53 5G, you will need to press a combination of buttons. The primary buttons you will be using are the Power button and the Volume Down button. Take a look at your phone, and you will find these buttons in the following locations:
Now that you know where these buttons are located, you are ready to move on to the next step and capture a screenshot on your Galaxy A53 5G.
Once you have located the specific content or screen that you want to capture on your Galaxy A53 5G, follow these simple steps to take a screenshot:
If you have successfully followed these steps, your screenshot will be saved in the “Screenshots” folder of your phone’s internal storage or SD card, depending on your device’s settings. You can easily access and view your screenshots by going to the Gallery app and looking for the “Screenshots” album.
Read Also: Top 5 Task Manager Apps for Android Phones in 2023
Note that the Power button and Volume Down button combination is the default method for taking a screenshot on most Samsung Galaxy devices. However, if you have customized the settings or installed a different screen capture app, the process may be slightly different. Make sure to check your device’s user manual or explore the settings to find the specific screenshot method for your Galaxy A53 5G.
Once you’ve performed the necessary actions to capture a screenshot, such as pressing the power button and volume down button simultaneously, you’ll need to wait for the screenshot to be taken. This usually happens almost instantly after you press the buttons, but sometimes there may be a slight delay.
It’s important to keep your hand steady and avoid any movement while waiting for the screenshot to be taken. This ensures that the captured image is clear and free from any blurriness or distortion.
If you’re using the Palm Swipe method to take a screenshot on your Galaxy A53 5G, you’ll also need to wait for the swipe gesture to be recognized by the device. Make sure to perform the swipe in a smooth and deliberate motion to ensure accurate recognition.
Read Also: Easy Steps to Fix Sony SRS XG300 Not Turning On | Troubleshooting Guide
Once the screenshot has been taken, you may hear a shutter sound or see a brief animation indicating that the screenshot has been successfully captured. You can then proceed to view and edit the screenshot using the available options on your device.
After taking a screenshot on your Samsung Galaxy A53 5G, you can easily find and view it in the Gallery or Photos app. Follow the steps below to locate your screenshot:
By following these steps, you should be able to easily find and access your screenshots on your Samsung Galaxy A53 5G using the Gallery or Photos app.
To take a screenshot on your Galaxy A53 5G, simply press and hold the power button and volume down button simultaneously for a few seconds. The screenshot will be saved in your phone’s gallery.
Yes, there is another way to take a screenshot on the Galaxy A53 5G. You can swipe your palm horizontally across the screen to capture a screenshot. Make sure to enable this feature in the settings and practice the gesture for it to work smoothly.
The screenshots you have taken on your Galaxy A53 5G are saved in the gallery app. You can access the gallery from your home screen or app drawer, and look for the “Screenshots” album. Alternatively, you can use a file manager app to locate the screenshots in the “Pictures” or “Screenshots” folder.
Yes, you can edit the screenshots you have taken on your Galaxy A53 5G. After taking a screenshot, you will see a preview of it on the screen. Tap on the preview to access editing options such as cropping, drawing, adding text, and more. You can also use third-party photo editing apps for more advanced editing features.
Yes, you can take a scrolling screenshot on the Galaxy A53 5G. After taking a regular screenshot, you will see an option called “Scroll capture” or “Capture more” in the screenshot preview. Tap on this option to capture a longer screenshot that includes the entire webpage or document you are viewing. You can keep tapping on the option to capture more content.
The easiest way to take a screenshot on Galaxy A53 5G is by pressing the volume down button and the power button at the same time. Hold them for a second and the screenshot will be captured.
Firefox will stop browser notification spam in 2023. Mozilla Firefox has announced its plans to stop unwanted spam notifications from arriving in the …
Read Article
How To Fix The Samsung Galaxy S21 Black Screen of Death Issue If you are a Samsung Galaxy S21 user and are experiencing the frustrating issue of a …
Read Article
How to Make a Private Twitch Stream Twitch is a popular live streaming platform where gamers and content creators can connect with their audience in …
Read Article
10 best sketchup alternatives for android phones SketchUp is a popular 3D modeling and design software that is often used by architects, designers and …
Read Article
How To Fix LG TV Stuck On Logo Screen If your LG TV is stuck on the logo screen and won’t boot up properly, it can be a frustrating experience. …
Read Article
How To Fix Weather App Not Working Issue Weather apps have become an essential part of our lives, providing us with up-to-date information about the …
Read Article


