

5 Best Fast Charging Type C Cables For Huawei P30 | Top Rated Cables 2022
5 Best Fast Charging Type C Cables For Huawei P30 If you’re a proud owner of a Huawei P30, you know how important it is to have a reliable and fast …
Read Article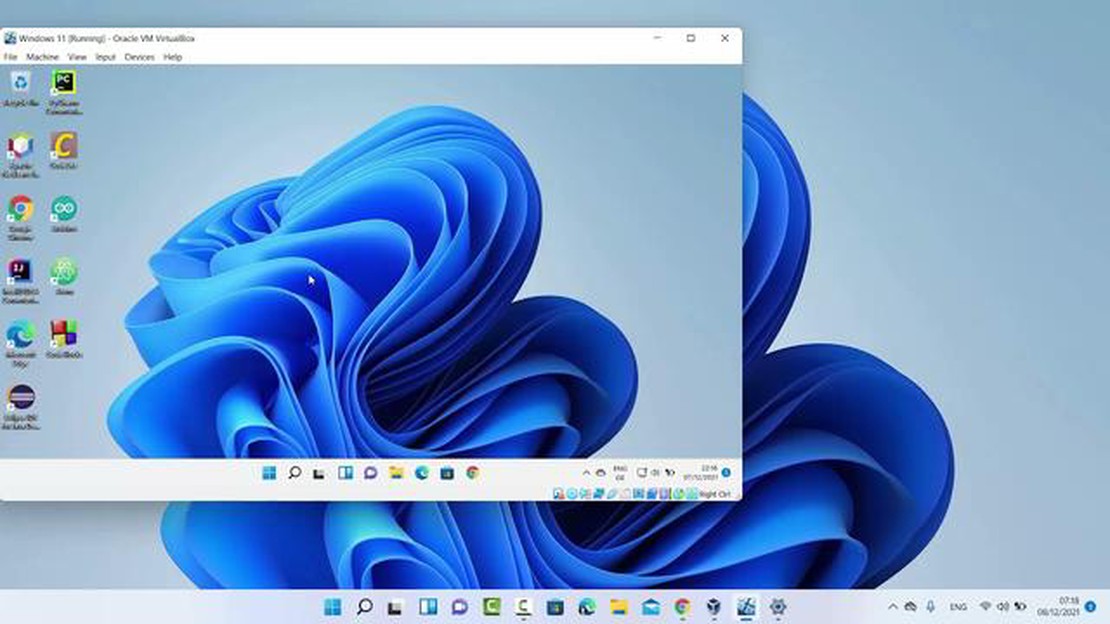
Remote Desktop is a powerful feature that allows users to connect to their Windows 11 computer from a different device, such as a laptop or smartphone, and access all of their files, applications, and settings remotely. Whether you need to work on your office computer from home or assist a family member with a technical issue, Remote Desktop provides a convenient and secure solution.
In this step-by-step guide, we will walk you through the process of enabling and using Remote Desktop on Windows 11. We will cover everything from setting up your computer to accepting remote connections, so you can easily connect to your Windows 11 device from anywhere in the world.
Before we begin, it’s important to note that Remote Desktop is only available in Windows 11 Pro, Enterprise, and Education editions. If you are using the Home edition of Windows 11, you will need to upgrade to a higher edition to access this feature. Additionally, you will need to have administrative privileges on your computer to enable and configure Remote Desktop.
Remote Desktop is a feature in Windows 11 that allows you to connect to and control your computer from another device, such as a laptop, smartphone, or tablet. This can be useful if you need to access your files or programs on your Windows 11 computer while you are away from it. In this step-by-step guide, we will show you how to enable and use Remote Desktop on Windows 11.
Enable Remote Desktop on Windows 11
That’s it! You have successfully enabled and used Remote Desktop on Windows 11. Now you can access and control your Windows 11 computer remotely from anywhere.
Remote Desktop is a feature in Windows 11 that allows you to access and control your computer from a remote location. This can be useful for various reasons, such as accessing your work computer from home or troubleshooting a friend’s computer remotely. With Remote Desktop, you can use your own device to connect to and control another computer over the internet.
Remote Desktop works by establishing a remote connection between two computers. One computer acts as the “host” or “server”, while the other computer acts as the “client” or “remote device”. The host computer must have Remote Desktop enabled, and the client computer must have a Remote Desktop client application installed.
Read Also: AT&T Note 5 Marshmallow Update: Steps to Update Your Device when not on AT&T Network and Fix Other OS Issues
Once the remote connection is established, you can see the host computer’s desktop on your device and interact with it as if you were physically sitting in front of it. You can open and close programs, access files, and perform other tasks on the host computer remotely. This can be especially useful for situations where you need to access a computer that is physically located in a different place.
Remote Desktop offers a range of features and capabilities, including:
Using Remote Desktop on Windows 11 is a convenient way to access and control your computer remotely. Whether you need to work from home, provide technical support, or access files on another computer, Remote Desktop can help you accomplish these tasks with ease.
If you need to access your Windows 11 computer remotely, you can enable the Remote Desktop feature. Remote Desktop allows you to connect to your computer from another device, such as a laptop or smartphone, and control it as if you were sitting in front of it. Here’s a step-by-step guide on how to enable Remote Desktop on Windows 11:
That’s it! You have now enabled Remote Desktop on your Windows 11 computer. You can now connect to your computer remotely using a Remote Desktop client app or the Remote Desktop feature built into Windows.
Remote Desktop is a feature in Windows 11 that allows you to access your computer from another device, such as a laptop or a smartphone. This can be useful if you need to access your files or applications while you’re away from your main computer. Here’s how to use Remote Desktop on Windows 11:
Read Also: 15 Best Cartooning Apps - Choose your style and easily create unique cartoons
Once the connection is established, you will see your Windows 11 computer’s desktop on the client device. You can now interact with your computer as if you were sitting in front of it.
You can use the mouse and keyboard on the client device to control your Windows 11 computer. Any actions you perform on the client device will be mirrored on the computer.
When you’re finished using Remote Desktop, you can click the “X” button or close the Remote Desktop app to end the session.
Remember to disable Remote Desktop on your Windows 11 computer if you no longer need to use it. This can help improve security by preventing unauthorized access to your computer.
That’s it! Now you know how to use Remote Desktop on Windows 11. Enjoy accessing your computer remotely from anywhere!
Remote Desktop is a feature in Windows 11 that allows you to connect to and control your computer from another device over the internet.
You can use any device, such as a Windows PC, Mac, iOS device, or Android device, to connect to your computer using Remote Desktop. You just need to have the Remote Desktop app installed on the device you want to connect from.
Yes, you can use Remote Desktop to connect to your computer from outside your home network. However, you will need to set up port forwarding on your router to allow incoming connections to your computer. Additionally, you will need to know your public IP address or use a dynamic DNS service to access your computer.
Enabling Remote Desktop can pose security risks if not properly configured. It is recommended to use a strong password for your user account, enable Network Level Authentication, and keep your computer’s operating system and remote desktop software up to date. It is also advisable to only allow connections from trusted devices and networks to minimize the risk of unauthorized access.
Yes, you can use Remote Desktop on Windows 11.
5 Best Fast Charging Type C Cables For Huawei P30 If you’re a proud owner of a Huawei P30, you know how important it is to have a reliable and fast …
Read Article
How To Update Galaxy Watch 4 Software Welcome to our comprehensive guide on updating the software of your Samsung Galaxy Watch 4. Keeping your …
Read Article
How To Fix Xbox App 0x00000001 Error | NEW & Updated in 2023 If you are an avid gamer, you might have come across the Xbox App 0x00000001 Error. This …
Read Article
1xbet mobile app review 2021. 1xbet is one of the most popular betting companies in the world, offering a wide range of sports betting and games. The …
Read Article
5 Best Bluetooth Motorcycle Helmets in 2023 That Works with Your Android Phone Riding a motorcycle can be an exhilarating experience, but safety …
Read Article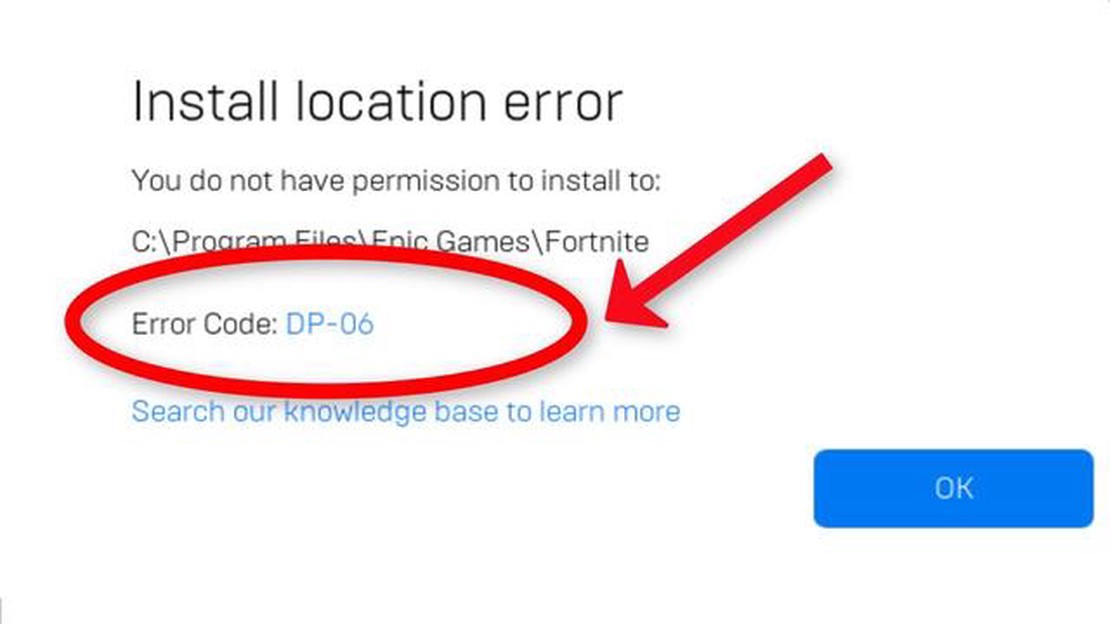
How to Fix Fortnite Error DP-06 while Downloading/Installing on Windows 10 (Epic Games) If you’re a fan of the popular game Fortnite and you’re …
Read Article


