

How to Troubleshoot and Fix Random Lagging and Freezing Issues on Galaxy A33
How to Fix A Galaxy A33 That Randomly Lags & Freezes Is your Samsung Galaxy A33 experiencing lagging and freezing issues? Random lags and freezes can …
Read Article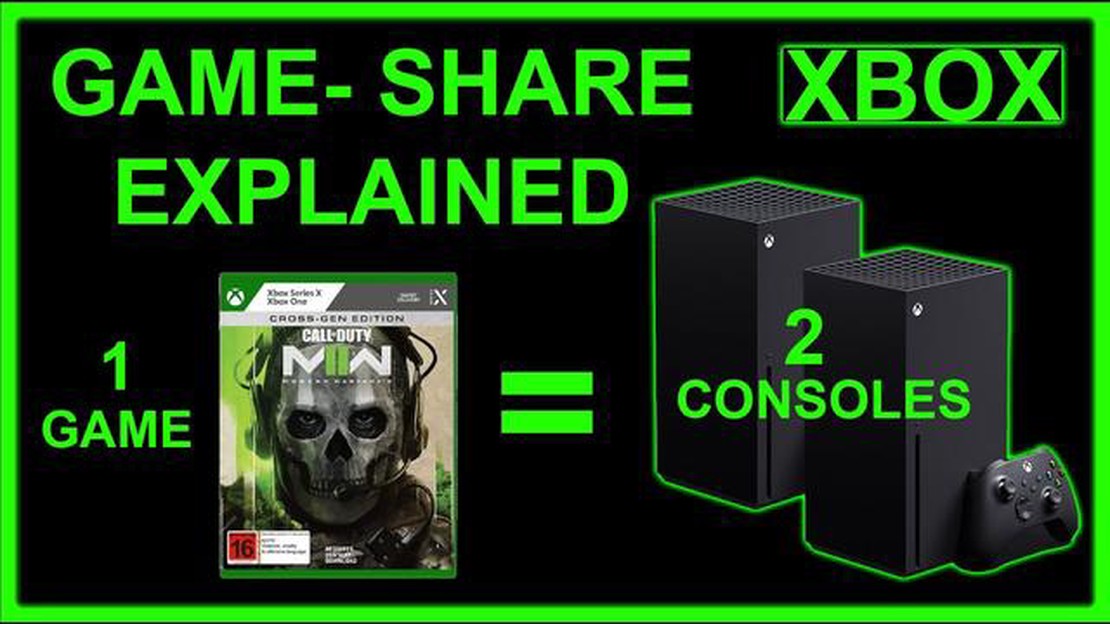
One of the major advantages of playing games on Xbox consoles is the ability to share games. With this feature, players can share their game library with friends and family without having to buy separate copies for each user. This not only saves money, but also creates an opportunity for constant interaction and shared entertainment.
The process of sharing games on Xbox consoles is incredibly simple and convenient. It is based on the “Share Games” feature and requires minimal effort from users. All you will need is an active Xbox Live Gold account and internet access.
To organize game sharing, you need to follow a few steps. First, log in to your Xbox console using your Xbox Live Gold account. Second, select “My Games and Apps” and go to the “Ready to Install” tab to see a list of games available for installation. Then choose the game you want to share and click on the “Install” button.
Keep in mind that when you share games on Xbox consoles, you can only play the selected game when your friend or family member is not playing it. This restriction ensures that access to games is shared fairly and conflicts are avoided.
Thus, organizing game sharing on Xbox consoles is an easy and convenient way to share your gaming experience and expand your game library. You can enjoy your favorite games with your friends and family without having to buy individual copies of games. This is a great opportunity for fun interaction and socialization that is worth trying.
Game sharing on Xbox consoles allows multiple users to play the same game using only one copy of the game. This is especially useful for families or groups of friends who want to save money on game purchases and play together.
Here’s how to organize game sharing on Xbox consoles:
Now you can share your games with other Xbox users. To share a game, the other user must log in to their Xbox account on the console and select your profile as their primary profile.
Note that you can only share games with one user at a time. If another user is already playing one of your games, you will not be able to play it until the playing user ends the session.
Game sharing on Xbox consoles is a convenient feature that lets you save money on game purchases and enjoy gaming with friends or family.
Game sharing on Xbox consoles is one of the most popular features for players who want to share their gaming experience with friends or family. With the “rights transfer” feature, each user can access games purchased by another user. In this article, we will look at how to set up game rights transfer on Xbox consoles using the Windows operating system.
Read Also: Steam Slow Download Fix in 2023: Easy Solutions
Once the game rights transfer process is complete, the user to whom you transferred the rights will be able to see the game in his list of purchased games on his Xbox console. In addition to this, he will be able to play the game by launching it as usual.
Please note that game rights transfer is only available for digital copies of games and does not apply to physical media (disks). In addition, the game being transferred must have already been purchased by one of the users on their Xbox account.
Now, knowing how to set up game transferring rights on Xbox consoles using Windows operating system, you can easily share your gaming experience with friends and family. This feature allows you to create a shared gaming space where everyone can enjoy games purchased by other users. Have a great gaming experience!
Sharing Games on Xbox consoles is a feature provided by Microsoft that allows you to share digital versions of games with friends and family without having to re-purchase them. This is handy if you have multiple consoles in the same household or if you want to share games with friends.
To use the sharing games on Xbox consoles feature, you need to follow these steps:
Note that you must have an active Xbox Live Gold subscription to share games on Xbox consoles. It’s also worth noting that games can only be used on two consoles at the same time.
Read Also: How To Fix Unable to Update Minecraft Native Launcher (Updated 2023)
Sharing games on Xbox consoles from Microsoft provides an amazing opportunity to save money and share games with family and friends. Take advantage of this feature and enjoy games together!
Game sharing on Xbox consoles is a great way to save money and expand your game library. The game sharing feature allows you to play games that other people have purchased and lets them play your games. Here are some steps to take to take advantage of this handy functional benefit:
You can now enjoy the game you shared with another Xbox user and access their game library. Note that both accounts must have an active Xbox Live Gold subscription to play multiplayer games together.
Be careful not to violate Xbox terms of use and copyrights. Only share games with trusted friends and remember that you cannot play the same game on two consoles at the same time.
Game sharing on Xbox consoles is supported on all models starting with the Xbox One.
Yes, you can play with friends who have different Xbox models, as game sharing is supported on all models.
To set up game sharing on Xbox, you need to create a group, invite friends, and select the game you want to play together.
You can invite up to 8 friends to share games on Xbox, depending on the game.
Yes, game sharing on Xbox allows you to play with friends in different cities or countries. You must invite your friends to play online.
How to Fix A Galaxy A33 That Randomly Lags & Freezes Is your Samsung Galaxy A33 experiencing lagging and freezing issues? Random lags and freezes can …
Read Article
Galaxy S20 is not charging via wired charger (Easy Fix) If you’re having trouble charging your Galaxy S20 using a wired charger, you’re not alone. …
Read Article
3 exciting smartphone games coming in 2023. Year after year, the gaming industry delights us with exciting new gaming projects, and 2023 will be no …
Read Article
Free and paid iphone apps on the internet to download. Nowadays, iPhone has become an integral part of our life. With its help we can do a lot of …
Read Article
How To Fix Sony TV Is Frozen If your Sony TV is frozen and unresponsive, it can be frustrating and inconvenient. However, there are several …
Read Article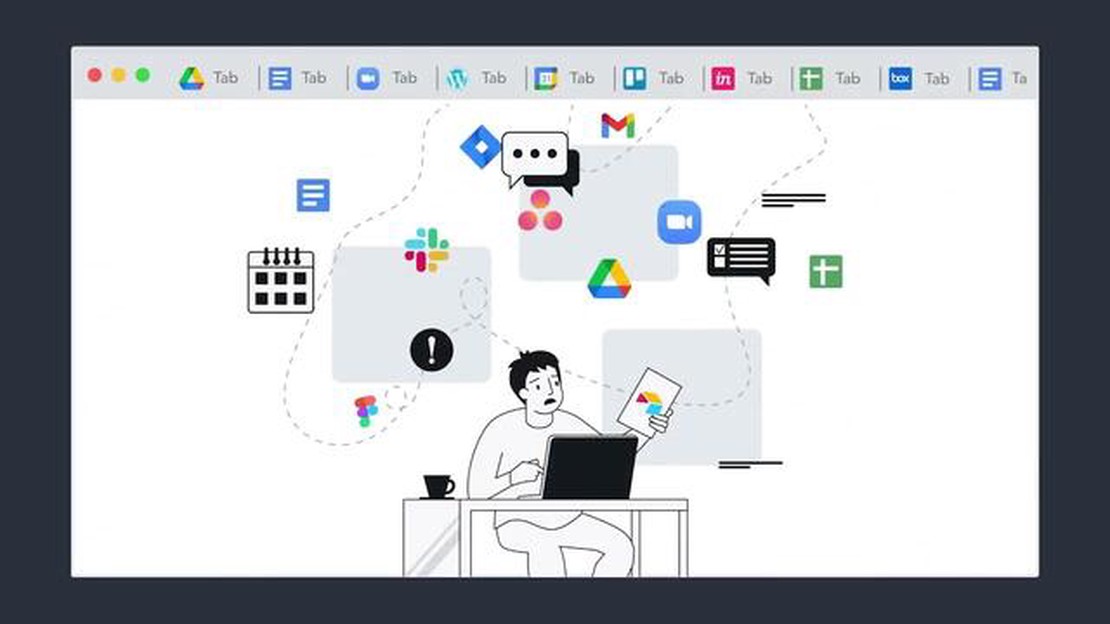
15 best tab manager extensions for google chrome. Google Chrome is one of the most popular browsers that offers many user-friendly features for users. …
Read Article


