


How to unban someone in Minecraft: detailed instructions
How to unban someone in minecraft. Minecraft is a popular game where players can build and explore virtual worlds. In some cases, there are situations …
Read Article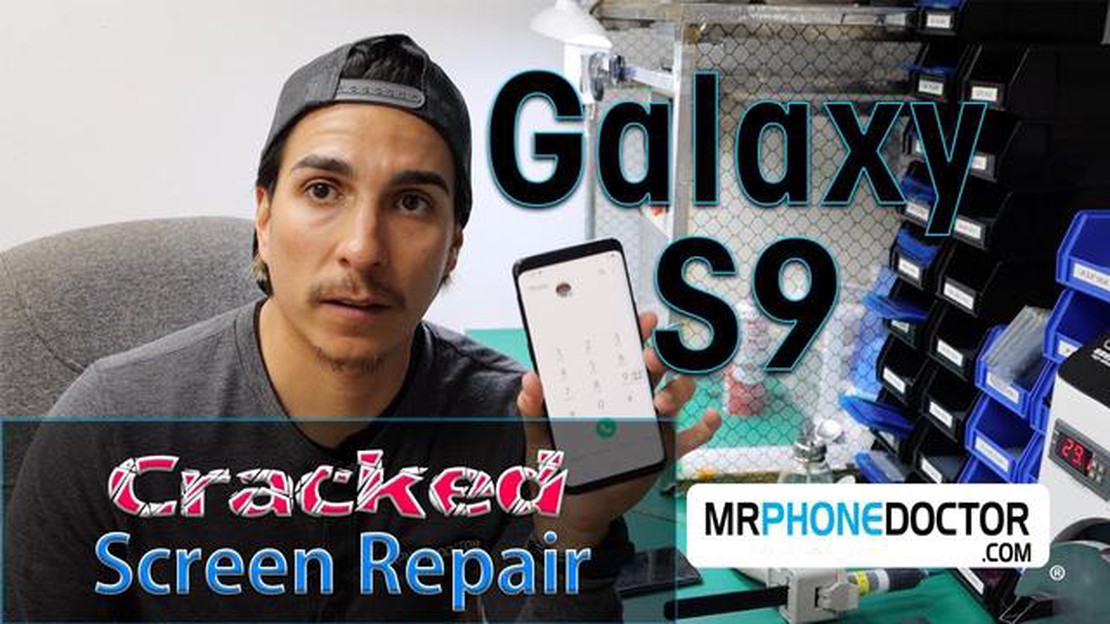
Cracking the screen of your Samsung Galaxy S9 can be a frustrating experience, but don’t worry - repairing it doesn’t have to be a daunting task. In this quick and easy guide, we’ll walk you through the steps to repair a cracked screen on your Samsung Galaxy S9.
Step 1: Assess the Damage
Before you start the repair process, take a moment to assess the extent of the damage. Is it just a small crack, or is the screen completely shattered? This will help you determine if you can simply replace the screen or if you’ll need to replace the entire display assembly.
Step 2: Gather the Necessary Tools
Once you know what needs to be repaired, gather the necessary tools. You’ll need a small Phillips screwdriver, a suction cup, a plastic opening tool, and a replacement screen or display assembly. Make sure to purchase a screen or display assembly that is compatible with your Samsung Galaxy S9 model.
Step 3: Remove the Battery and SIM Card
Before you begin the repair, it’s important to power off your Samsung Galaxy S9 and remove the battery and SIM card. This will help prevent any accidental damage during the repair process.
Step 4: Disassemble the Phone
Using the small Phillips screwdriver, remove the screws that hold the back cover of your Samsung Galaxy S9 in place. Once the screws are removed, use the plastic opening tool to gently pry off the back cover of the phone.
Step 5: Replace the Cracked Screen or Display Assembly
With the back cover removed, you can now access the screen or display assembly. Carefully disconnect any cables or connectors that are attached to the old screen or display assembly. Then, remove the old screen or display assembly and replace it with the new one. Make sure to reconnect any cables or connectors that you disconnected earlier.
Step 6: Reassemble and Test
Read Also: Samsung's top 10 best gadgets in 2021: from smartphones to smart watches
Once the new screen or display assembly is in place, reassemble your Samsung Galaxy S9 by following the previous steps in reverse order. Once the phone is reassembled, power it on and test the new screen to ensure it’s working properly.
Remember, repairing a cracked screen on your Samsung Galaxy S9 requires careful attention to detail. If you’re not comfortable with the repair process, don’t hesitate to seek professional help. With the right tools and a little patience, you can have your Samsung Galaxy S9 looking as good as new.
If you have unfortunately cracked the screen on your Samsung Galaxy S9, don’t worry! Repairing it is easier than you might think. Just follow these simple steps:
Remember, if you’re not comfortable performing the repair yourself or if you’re dealing with a severely damaged screen, it’s always best to seek professional assistance. Repairing a cracked screen can be tricky, and it’s important to avoid causing further damage to your device.
Following these steps should help you successfully repair the cracked screen on your Samsung Galaxy S9. Good luck!
If you find yourself with a cracked screen on your Samsung Galaxy S9, don’t worry! With a few simple steps, you can repair it yourself and save money on costly repairs or replacements. Follow this guide for step-by-step instructions on how to fix your cracked screen.
Read Also: Top 7 Price Drop Alert Trackers to Save Money
By following these step-by-step instructions, you can fix a cracked screen on your Samsung Galaxy S9 without having to spend a fortune on professional repairs. Remember to take your time, be gentle, and use caution throughout the process to avoid causing further damage. Good luck!
Repairing a cracked screen on a Samsung Galaxy S9 requires the use of certain tools and materials. Here are the recommended tools and materials you will need:
Having the recommended tools and materials ready before starting the screen repair process will ensure that you have everything you need to successfully replace the cracked screen on your Samsung Galaxy S9.
The first step to repair a cracked screen on Samsung Galaxy S9 is to turn off the phone and remove the SIM card and memory card.
Yes, it is possible to repair a cracked screen on Samsung Galaxy S9 yourself, but it requires some technical skills and specialized tools.
To repair a cracked screen on Samsung Galaxy S9, you will need a heat gun, a suction cup, a spudger or a guitar pick, a screwdriver, and a replacement LCD screen.
Yes, when repairing a cracked screen on Samsung Galaxy S9, it is necessary to replace the LCD screen along with the glass digitizer.
The time required to repair a cracked screen on Samsung Galaxy S9 can vary depending on the skill level of the person performing the repair, but it usually takes about 1-2 hours.
Yes, you can repair a cracked screen on the Samsung Galaxy S9 yourself by following this quick and easy guide.
To repair a cracked screen on the Samsung Galaxy S9, you will need a heat gun or hairdryer, a suction cup, a pry tool or guitar pick, a replacement screen, and adhesive.
How to unban someone in minecraft. Minecraft is a popular game where players can build and explore virtual worlds. In some cases, there are situations …
Read Article
How To Fix Instagram Story Stuck at Posting Issue Instagram has become a popular platform for sharing moments and connecting with others through …
Read Article
5 Best MicroSD Memory Card For Nintendo Switch The Nintendo Switch is a versatile gaming console that allows you to play games both in handheld mode …
Read Article
Instantly improve your playroom with these tips. Nowadays, games have become an integral part of many people’s lives. They help us relax after a busy …
Read Article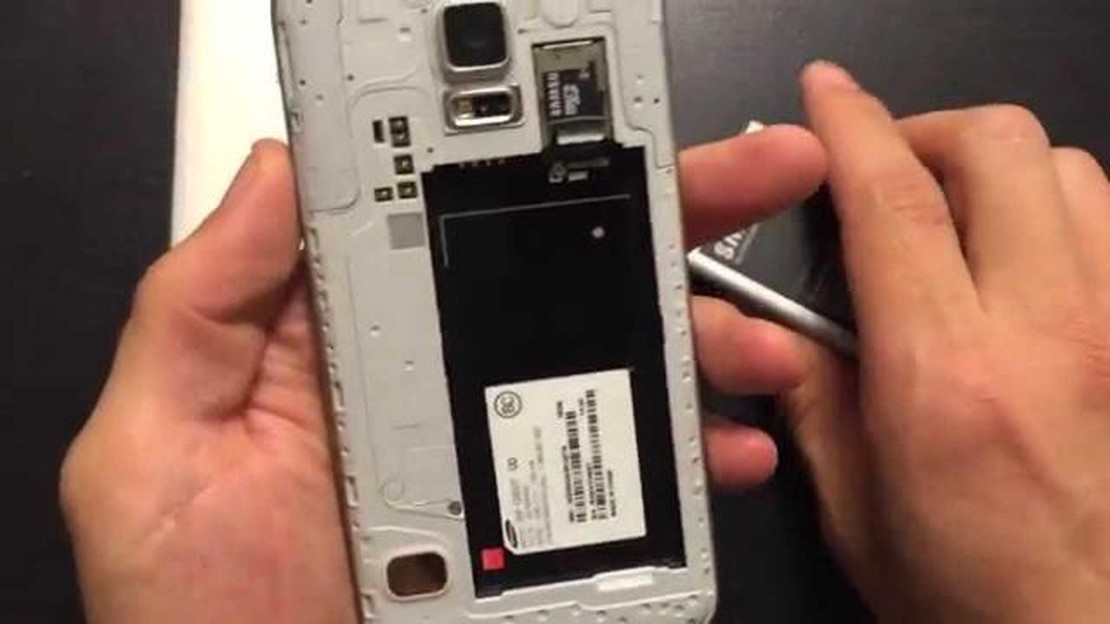
How To Fix Samsung Galaxy S5 Charging Problems (Troubleshooting Guides) If you own a Samsung Galaxy S5 and are experiencing charging problems, you’re …
Read Article
Chrome can now link to the exact location of a page. Google Chrome is one of the most popular web browsers, and it is constantly evolving to offer …
Read Article

