


Cryptocasinos on the rise: why are they growing in popularity?
Cryptocasinos on the rise: explaining why! Cryptocasinos are a new trend in the world of online gambling that is gaining momentum and attracting more …
Read Article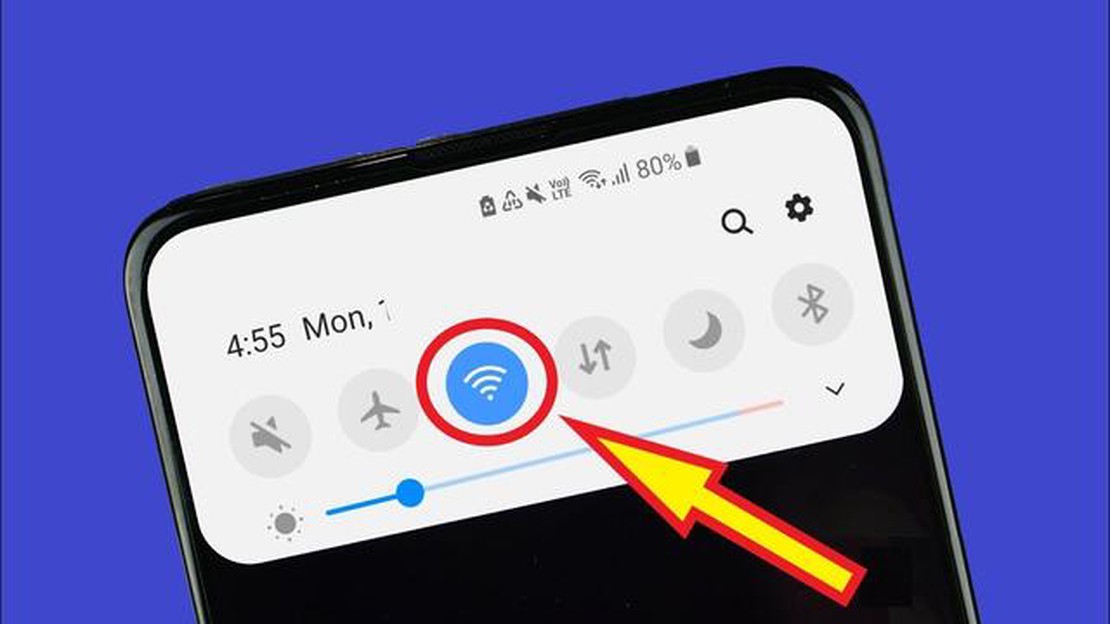
Wifi connection is one of the most convenient and popular technologies to connect to the internet on Android devices. However, users often face the problem of wifi-connection not working or missing. In this article, we will look at several ways to solve the problem of no wifi-connection on Android devices so that you can continue to enjoy fast and stable internet.
The first step to solve the problem of no wifi-connection on Android devices is to check if the wifi module is enabled. It often happens that by mistake, we turn off the wifi on the device and forget to turn it back on. To check the status of the wifi module, you need to go to the device settings, find the “Connections” or “Wireless Networks” section and make sure that wifi is enabled.
If the wifi module is enabled but there is still no connection, the next step is to reboot the device and the wifi router. Before rebooting, make sure you have saved all open files and applications. After that, turn off your device and wifi router, wait for a few seconds and then turn them back on. A simple reboot can solve many wifi connection problems on Android devices.
If rebooting didn’t help, the next step is to check your password and wifi-connection settings. Make sure that you are entering the correct password to connect to the wifi network. Sometimes problems occur due to incorrect password. Also check the wifi connection settings on your device and make sure they are correct. For example, some wifi networks may use special security settings such as WPA2-PSK or WPA3-PSK. Set the appropriate settings and try connecting again.
Keep in mind that these ways to solve the problem of no wifi connection on Android devices may not help in all cases. If the problem persists, it may be helpful to contact a technician or service center for further assistance.
Wifi connection is one of the most common and convenient ways to connect to the internet on Android devices. However, sometimes connection problems occur, which can be frustrating and inconvenient. In this section, we will cover a few steps that will help you set up a wifi connection on your Android device.
The first and easiest step is to enable the wifi feature on your Android device. You can usually do this by going to Settings and selecting the wifi section. Turn on the switch to activate wifi.
Once you have enabled wifi, your Android device will start automatically searching for available wifi networks in your neighborhood. You will see a list of available networks on your device’s screen. Select the network you want to connect to and tap on it.
If the network you have selected is password protected, your Android device will ask you to enter the password to connect. Enter the password and tap on the “Connect” button. If you have entered the correct password, your device will connect to the wifi network.
Once you have successfully connected to the wifi network, make sure your Android device has access to the internet. Open a web browser or an app to check the connection and load a web page. If the page loads without any problem, then you have access to the internet via wifi-connection.
If you are still experiencing problems connecting to the wifi network on your Android device, try the following steps:
These steps will help you set up the wifi connection on your Android device. If you are still experiencing problems with your wifi-connection, it is recommended that you contact your device manufacturer or internet connection provider for further assistance.
Read Also: The best tower defense games of 2023: top projects for true connoisseurs
When you are experiencing wifi connection problems on Android devices, the first thing you should do is perform a number of simple checks to rule out possible causes of the problem.
If after performing all these checks, the problem with Wi-Fi connectivity on Android devices is still not resolved, it may be due to a hardware issue or require a more thorough investigation of the problem by a technician.
Wi-Fi connectivity issues on Android devices are often due to a malfunctioning router or the device itself. One easy way to solve this problem is to reboot your router and device.
To reboot your router, you should follow the steps below:
When the router reboots, check if the Wi-Fi connection on your Android device is working. If the problem with the Wi-Fi connection has not been resolved, proceed to the next step.
Follow the steps below to reboot your Android device:
Read Also: How to Fix Taskbar Showing in Fullscreen in Windows 10
If the Wi-Fi connection still does not work after rebooting the router and device, proceed to the next step.
When your Android device can’t connect to Wi-Fi, you can try resetting the network settings and updating the drivers. This can help solve the problem and restore the connection:
If the problem persists after resetting the network settings, you can try updating the Wi-Fi drivers on your device:
After updating the Wi-Fi driver, restart the device and try to connect to a Wi-Fi network again.
If the problem with no Wi-Fi connection on your Android device is still not solved, then the cause may be a malfunction of the router itself or another technical problem. In such a case, it is recommended to contact a specialist or internet service provider to further diagnose the problem.
Missing wifi connection on Android devices can be caused by several reasons. It could be that power saving mode is enabled or wifi automatically turns off when at rest, check these settings. It’s also possible that you have a problem with your router or modem, try rebooting them. If that doesn’t help, try forgetting the wifi network on your device and reconnect to it. If nothing helps, you may need to update the software on your device or repair the wifi module.
There are several ways you can fix the problem of no wifi-connection on your Android device. First, try rebooting your device and router. Then, check if wifi is enabled on your device and if it has airplane mode. If the wifi is still not working, try forgetting the network and reconnecting to it. If that doesn’t work, try updating the software on your device or contact the manufacturer for more help.
If your Android phone can’t connect to wifi, there are a few things you can try. First, make sure the wifi on your device is turned on and if it doesn’t have airplane mode. Then, try rebooting your phone and router. If that doesn’t work, try forgetting the wifi network on your device and reconnect to it. If nothing works, there may be a problem with the wifi module on your device or you may need to update your software.
If your Android tablet can’t connect to wifi, try the following steps. First, make sure the wifi on your device is turned on and if it doesn’t have airplane mode. Then, reboot your tablet and router. If the wifi still doesn’t work, try forgetting the wifi network on your device and reconnect to it. If nothing works, try updating the software on your tablet or contact the manufacturer for more help.
There may be several reasons why wifi may not work on your Android device. Some of them include disabled wifi feature, incorrect connection settings, router or modem issues, software update issues, and others.
Cryptocasinos on the rise: explaining why! Cryptocasinos are a new trend in the world of online gambling that is gaining momentum and attracting more …
Read Article
How To Fix Nintendo Switch Software Was Closed Error If you’re a Nintendo Switch user and have encountered the frustrating “Software Was Closed” error …
Read Article
11 best casual chat apps for android (2023). Nowadays, social media and messengers play a huge role in our daily communication. However, when we want …
Read Article
Forza horizon 5 crashes when connecting to cooperative races Forza Horizon 5 is a popular racing simulator that offers players plenty of opportunities …
Read Article
Facebook acquires beat games, could be working on vr games soon Facebook has announced that it has acquired Beat Games, the studio that created the …
Read Article
How To Clear Samsung Galaxy App Cache And Data Is your Samsung Galaxy smartphone running slow? Are your apps crashing frequently? If so, it may be …
Read Article


