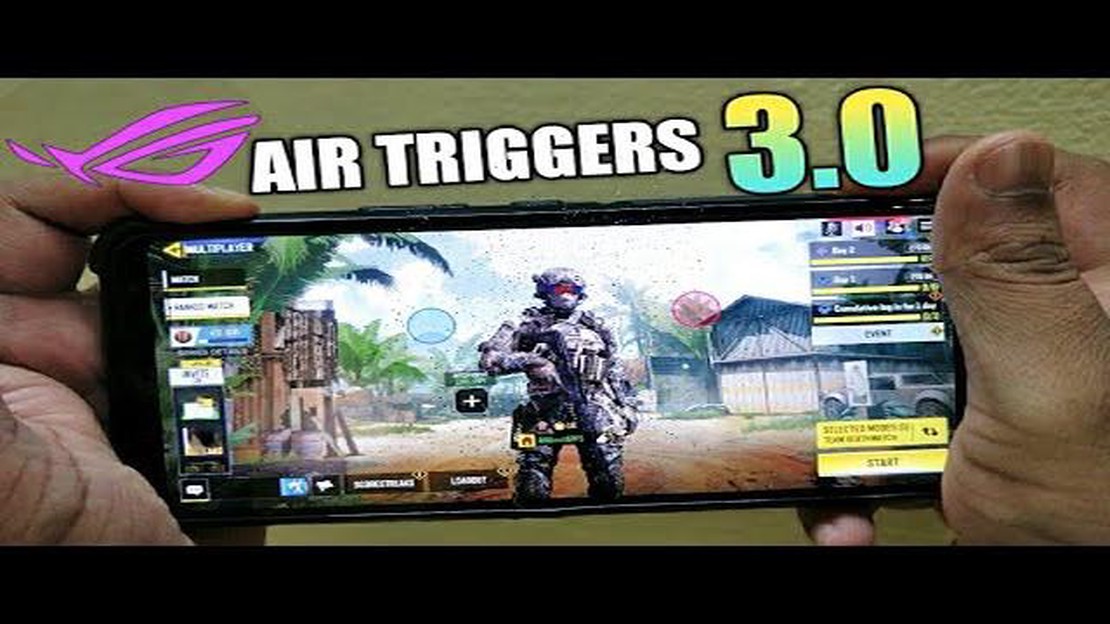
The ROG Phone 3 is a powerful gaming smartphone that comes with a unique feature called AirTrigger. AirTrigger is a set of touch-sensitive buttons located on the side of the phone that can be used to control games and perform various actions with just a squeeze or a swipe. In this step-by-step guide, we will show you how to set up AirTrigger on your ROG Phone 3.
Table Of Contents
Step 1: Enable AirTrigger
The first step to setting up AirTrigger is to enable it in the phone’s settings. To do this, go to the “Settings” app on your ROG Phone 3 and select “Advanced”. Then, choose the “AirTrigger” option and toggle the switch to enable it. This will activate the touch-sensitive buttons on the side of the phone.
Step 2: Customize AirTrigger
Once AirTrigger is enabled, you can customize its functionality to suit your gaming needs. To customize AirTrigger, go to the “Settings” app again and select “Advanced”. Then, choose the “AirTrigger” option and tap on “Customize”. Here, you can assign different actions to the squeeze and swipe gestures of the AirTrigger buttons. For example, you can set a squeeze gesture to fire a weapon or a swipe gesture to activate a special ability.
Step 3: Test AirTrigger
After customizing AirTrigger, it’s important to test it to ensure that it’s working correctly. To test AirTrigger, open a game that supports the feature and try using the squeeze and swipe gestures on the side of the phone. You should see the assigned actions being performed in the game. If the gestures are not working as expected, go back to the AirTrigger settings and make any necessary adjustments.
Step 4: Fine-Tune AirTrigger Sensitivity
If you find that the AirTrigger buttons are not responding well to your touch, you can fine-tune their sensitivity. To do this, go to the “Settings” app, select “Advanced”, and choose the “AirTrigger” option. Then, tap on “Sensitivity” and adjust the sensitivity sliders for both the squeeze and swipe gestures. You can increase or decrease the sensitivity depending on your preference and the responsiveness of the buttons.
With AirTrigger, you can take your gaming experience on the ROG Phone 3 to the next level. By following this step-by-step guide, you can easily set up AirTrigger and customize it to enhance your gameplay. Whether you’re a casual gamer or a hardcore enthusiast, AirTrigger can help you perform actions quickly and precisely, giving you an edge over your opponents.
How to Set Up AirTrigger In ROG Phone 3: Step-by-Step Guide
The ROG Phone 3 is a gaming smartphone that comes with a unique feature called AirTrigger. The AirTrigger technology allows you to use motion sensors to control certain actions in games. Setting up AirTrigger on your ROG Phone 3 is a simple process that can be done in a few easy steps.
First, go to the settings menu on your ROG Phone 3 by swiping down from the top of the screen and tapping on the gear icon.
In the settings menu, scroll down and tap on the “Advanced” option.
Next, tap on the “AirTrigger” option.
You will see two AirTrigger zones, one on the left and one on the right side of the phone. These zones are touch-sensitive areas that can be customized for different actions.
To set up the AirTrigger zones, tap on either the left or right zone.
In the zone settings, you can choose the type of action you want to assign to the zone. You can choose from options like tap, swipe, squeeze, and more.
Once you have selected the action, you can adjust the sensitivity of the zone by sliding the bar to the left or right. Higher sensitivity will require lighter touches, while lower sensitivity will require firmer touches.
After adjusting the sensitivity, tap on the “Save” button to save the settings.
Repeat the process for the other AirTrigger zone if desired.
Now that you have set up the AirTrigger zones on your ROG Phone 3, you can use them to perform various actions in games. For example, you can assign the tap action to shoot in a shooting game or assign the swipe action to switch weapons.
The AirTrigger feature on the ROG Phone 3 adds an extra level of control and immersion to your gaming experience. By customizing the AirTrigger zones, you can tailor the controls to your preferences and play games with greater precision.
Step 1: Access the Settings Menu
To set up AirTrigger on your ROG Phone 3, you need to access the Settings menu. Follow these steps to do so:
Open the app drawer by swiping up from the bottom of the home screen.
Scroll through the app drawer and locate the “Settings” app. The app icon looks like a gear.
Tap on the “Settings” app to open it.
Once you have accessed the Settings menu, you can proceed to the next step to configure AirTrigger on your ROG Phone 3.
Step 2: Navigate to the AirTrigger Feature
Once you have accessed the settings menu on your ROG Phone 3, you need to navigate to the AirTrigger feature. To do this, follow the steps below:
From the settings menu, scroll down and tap on the “Advanced” option.
Next, tap on the “AirTrigger” option, which is located under the “Advanced” section.
A new screen will open with various options related to the AirTrigger feature.
Alternatively, you can use the search function in the settings menu to quickly find the AirTrigger option. Simply tap on the search icon, enter “AirTrigger”, and select the corresponding option from the results.
Note:
If you do not see the AirTrigger option in your settings menu, make sure that your ROG Phone 3 is running the latest software version. You may need to update your phone’s software to access this feature.
Once you have set up the AirTrigger feature on your ROG Phone 3, you can customize its settings to suit your preferences. Here’s how you can do it:
Open the Game Genie toolbar: Swipe in from the right side of the screen while playing a game to open the Game Genie toolbar.
Tap on the AirTrigger icon: In the Game Genie toolbar, you will find an icon that represents the AirTrigger feature. Tap on it to open the AirTrigger settings.
Select the AirTrigger control you want to customize: In the AirTrigger settings, you will see two options: “AirTrigger 1” and “AirTrigger 2”. Tap on the control you want to customize.
Choose the action you want to assign to the AirTrigger: Once you have selected the AirTrigger control, you can choose the action you want to assign to it. You can select from a variety of options such as “Tap,” “Swipe,” “Long Press,” and more.
Adjust the sensitivity of the AirTrigger: Depending on your preference, you can adjust the sensitivity of the AirTrigger. Higher sensitivity means the AirTrigger will respond to lighter touches, while lower sensitivity requires more pressure to activate.
Repeat the process for the other AirTrigger control: If you want to customize the settings for the other AirTrigger control, repeat steps 3-5.
Once you have customized the AirTrigger settings to your liking, you can start using them in games to enhance your gaming experience on the ROG Phone 3.
Step 4: Test and Adjust the AirTrigger Sensitivity
After setting up the AirTrigger buttons, it’s important to test and adjust their sensitivity to ensure optimal performance. Here’s how you can do it:
Open the Settings app on your ROG Phone 3.
Select the “Advanced” tab.
Tap on “AirTrigger” in the list of options.
Choose the AirTrigger that you want to test and adjust.
Tap on the “Sensitivity” option for the selected AirTrigger.
You will see a slider that allows you to adjust the sensitivity of the AirTrigger button.
Move the slider to the desired sensitivity level. You can test the sensitivity by tapping on the “Test” button to simulate a button press.
Once you are satisfied with the sensitivity, tap on the “OK” button to save the settings.
It’s recommended to test the sensitivity in different game scenarios to ensure that the AirTrigger buttons are responsive and comfortable to use. You can also repeat the steps above for the other AirTrigger buttons if you have set up multiple buttons.
Remember that the ideal sensitivity settings may vary depending on your personal preference and the game you are playing. It may take some trial and error to find the perfect sensitivity level for a seamless gaming experience.
FAQ:
What is AirTrigger and how does it work?
AirTrigger is a unique feature in ROG Phone 3 that allows you to control certain functions of the phone by tapping or squeezing the edges of the device. It works by using a combination of hardware sensors and software algorithms to detect your touch or squeeze gestures and perform the assigned actions.
Can I customize the AirTrigger settings?
Yes, you can customize the AirTrigger settings according to your preferences. You can assign different functions, such as tapping to activate certain apps or squeezing to take screenshots, to the AirTrigger gestures. You can also adjust the sensitivity and threshold of the AirTrigger to make it more responsive or less sensitive.
Can AirTrigger be used in all apps and games?
AirTrigger can be used in most apps and games on your ROG Phone 3. However, some apps or games may not support the AirTrigger feature or may have limited functionality. It is always recommended to check the app or game’s compatibility with AirTrigger before using it.
Is AirTrigger available on other ROG Phone models?
AirTrigger is a feature specifically available on ROG Phone 3 and may not be available on other ROG Phone models. Each ROG Phone model may have its own unique features and functionalities, so it is best to refer to the user manual or official documentation of your specific ROG Phone model for more information.
What is AirTrigger in the ROG Phone 3?
AirTrigger is a unique feature in the ROG Phone 3 that allows users to map the pressure-sensitive areas on the edges of the phone as virtual buttons.
5 Best Android Endoscope in 2023 With the advancement in technology, endoscopes have become an essential tool for various industries and professions. …
Cyberpunk 2077 postponed. One of the most anticipated games of the year, Cyberpunk 2077, has been postponed until a new deadline. Advances in computer …