


5 Best Screen Protectors For Kindle Paperwhite - Ultimate Guide 2021
5 Best Screen Protectors For Kindle Paperwhite A Kindle Paperwhite is a great device for e-book lovers, offering a high-resolution display and a long …
Read Article
The Nintendo Switch is a popular handheld game console that allows you to play your favorite games anywhere, anytime. However, in order to achieve the highest quality network connection, some users may find it useful to set up a wired internet connection. In this detailed instruction, we will show you how to perform this operation on Nintendo Switch.
The first step to set up a wired connection on your Nintendo Switch is to connect an electrical Ethernet cable to your router or modem. Make sure your Switch is close to your router or use a long enough ethernet cable to reach the proper distance. Then, plug the other end of the cable into the USB-Ethernet port on the adapter.
Next, plug the USB-Ethernet adapter into the USB port on the Nintendo Switch dock. If you have a recent Nintendo Switch model with a built-in Ethernet port, you can skip this step and connect the Ethernet cable directly to your console.
The Nintendo Switch wired connection can be useful if you’re looking for a more stable and faster internet connection. By following these simple instructions, you can set up a wired connection for your Nintendo Switch console.
After completing these steps, your Nintendo Switch console will be connected to the wired internet, providing a more stable and faster connection for online gaming and downloading content.
Please note that you will need to purchase a USB Ethernet adapter separately to use your Nintendo Switch’s wired connection. Once the wired connection is set up, you can enjoy the benefits of a more reliable and faster internet connection on your Nintendo Switch console.
Before you begin setting up your Nintendo Switch wired connection, you will need the following components and information:
Before you begin setting up your Nintendo Switch wired connection, make sure your router or modem is set up and working correctly. Make sure you have access to a Wi-Fi network and enter the correct username and password during initial setup.
The docking station is an essential part of the Nintendo Switch, as it allows you to connect your gaming console to your TV and enjoy your games on the big screen. There are a few steps you need to follow to properly connect your Nintendo Switch to the docking station:
Your Nintendo Switch is now successfully connected to the docking station and you can enjoy your games on your TV. Make sure all cable connections are tight and properly connected to avoid signal loss or other problems while playing games.
Read Also: The 10 best profiles for Tasker newbies: maximize your productivity
Connecting an Ethernet cable to the Nintendo Switch Dock allows for a more stable and faster internet connection. To do this, you will need to purchase an Ethernet accessory for Nintendo Switch beforehand.
Follow the steps below to connect the Ethernet cable to the dock:
Read Also: A checklist for fixing the Xbox One microphone problem
Connecting the Ethernet cable to the Nintendo Switch Dock provides a more stable and reliable internet connection, which is especially useful for online gaming. Use and enjoy the improved connection quality!
Nintendo Switch’s wired Internet connection can be more stable and faster than a wireless connection. To set up a wired connection to your Nintendo Switch console, follow these steps:
Your Nintendo Switch is now set up with a wired internet connection. You can play online games, download updates, and download new games with a stable and fast connection.
To connect Nintendo Switch to a wired network, you’ll need an Ethernet adapter, which you’ll need to plug into the USB port on the back of the console. Then connect the Ethernet cable to the adapter and router.
To set up a wired connection on Nintendo Switch, go to the console’s settings, select “Internet” and then “Connection Settings”. Then select “Wired Connection” and follow the on-screen instructions to complete the setup.
A wired connection provides a more stable and reliable internet connection speed on Nintendo Switch. This is especially useful for online gaming, where a stable internet connection is an important factor.
To check if the wired connection is working on Nintendo Switch, go to the console’s settings, select “Internet” and then “Connection Test”. The console will run the test and show the results of the download and upload speeds.
Yes, you can use an adapter from another console to connect Nintendo Switch wired, as long as it is compatible with the USB port on the console. However, it is recommended that you use the original Ethernet adapter from Nintendo for optimal performance.
5 Best Screen Protectors For Kindle Paperwhite A Kindle Paperwhite is a great device for e-book lovers, offering a high-resolution display and a long …
Read Article
4 growing social media platforms you should be utilizing Social media platforms have become an integral part of our daily lives. They allow us to stay …
Read Article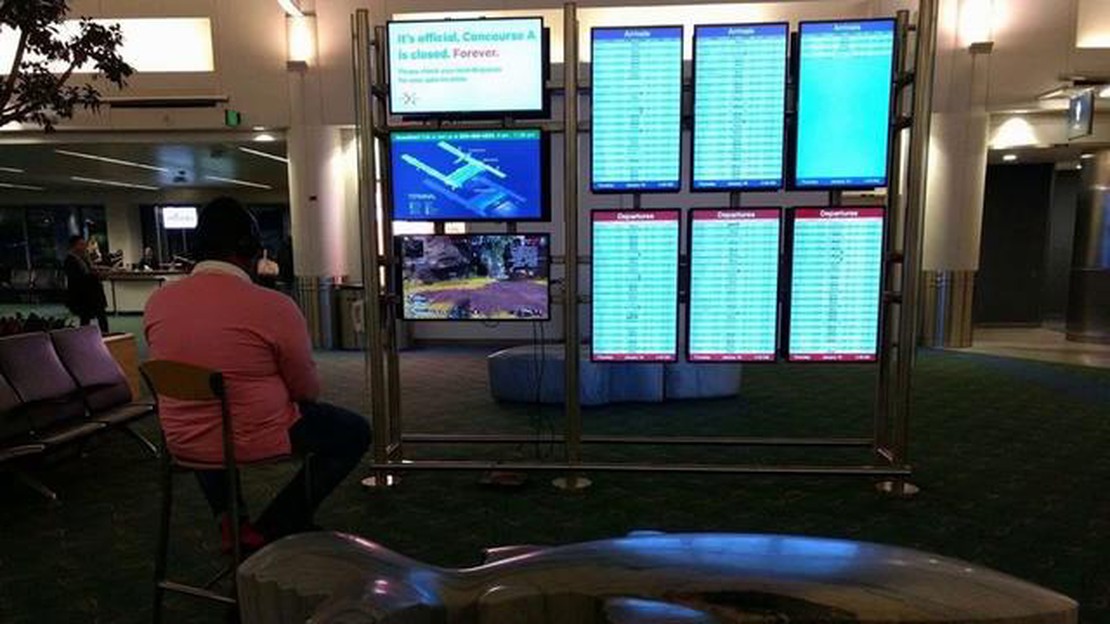
Gamer captures airport screen to play ‘apex legends’ on ps4 Gamers everywhere! One day, at the airport, an amazing event happened: one of the players …
Read Article
How to Fix One Airpod Not Working Issue If you own Apple Airpods, you may have encountered the frustrating issue of having one Airpod not working. …
Read Article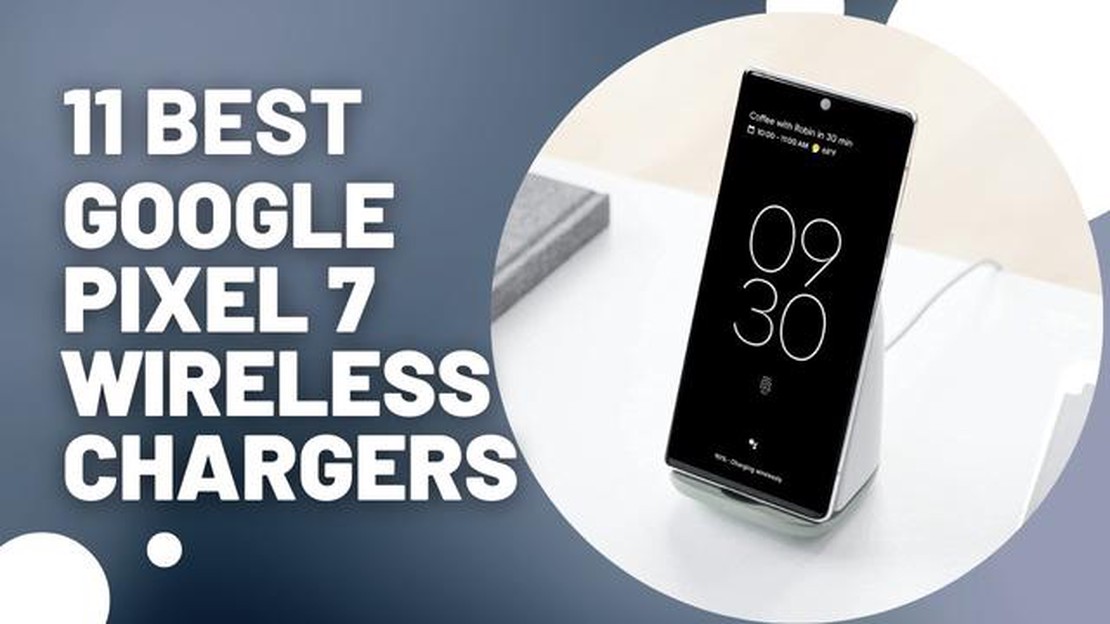
11 Best Wireless Charger for Pixel 6 in 2023 Looking for the best wireless charger for your Google Pixel 6? We’ve got you covered! With the increasing …
Read Article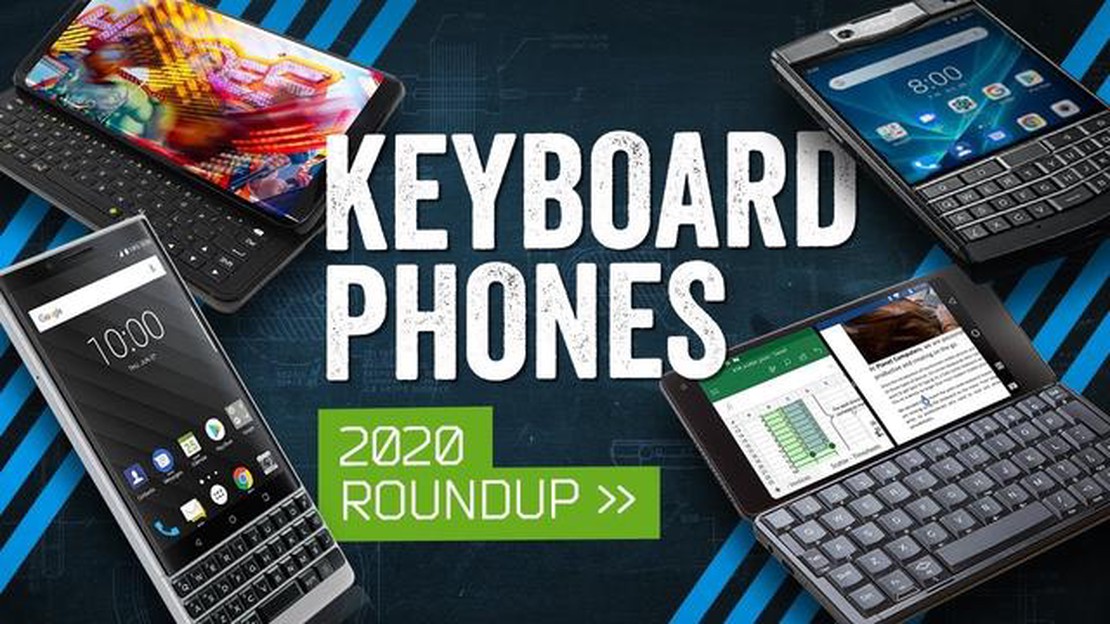
5 Best Phones With Physical QWERTY Keyboard For Text Messaging or Emails Whether you’re a professional constantly on the go or someone who just …
Read Article


