


Top 10 best online games to play in 2023: expected hits and popular projects
The best online games to play in 2023 Online gaming is becoming more and more popular every year and in 2023 offers an incredible range of …
Read Article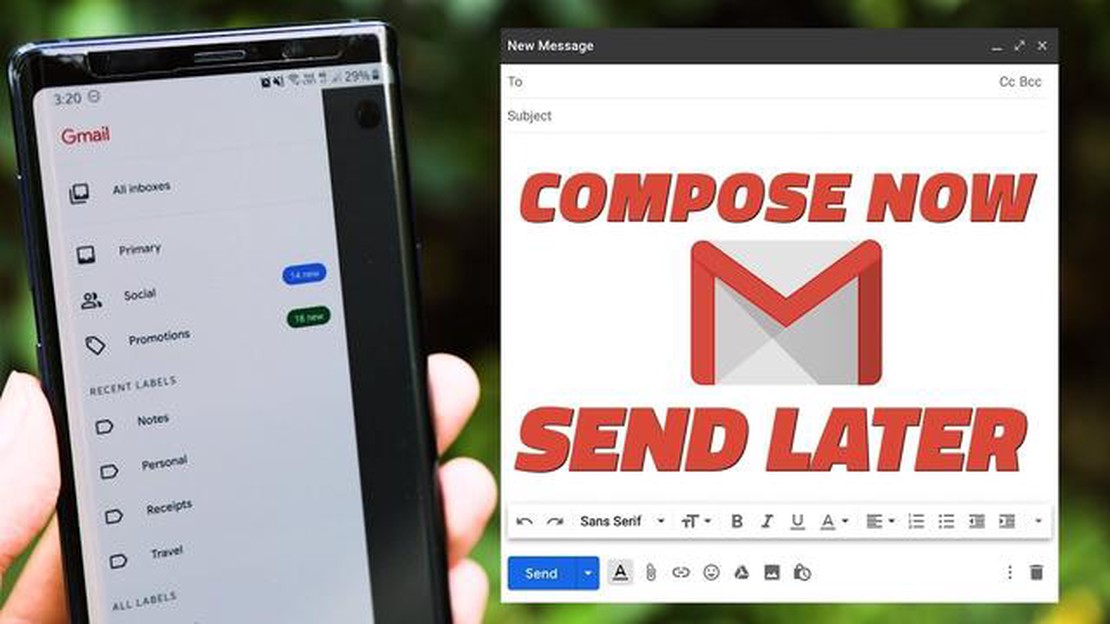
One of the most popular email services is Gmail, which offers a wide range of functionalities. One of these features is scheduling emails to be sent. This is a very useful feature that allows you to send an email at a certain time, even if you are not at your device. For example, you can compose an important email in the evening and schedule it to be sent the next morning. This is handy in case you need to send an email at a specific time or want to save time and resources.
In this article, we will look at how to schedule emails to be sent in Gmail on Android and iPhone devices. We will provide step-by-step instructions that will help you use this feature without any problem.
To schedule an email to be sent in Gmail on Android and iPhone, you will need a Gmail account and the Gmail app installed on your device. This feature is available on both Android and iPhone, so you can use it regardless of your device’s operating system. Continue reading to learn how to use this feature and schedule emails in Gmail.
Sending emails for a specific time can be a very useful feature if you want your message to be delivered at a specific time or keep it at your convenience. In this guide, I will show you how to schedule email sending in Gmail on Android and iPhone devices.
Your email will now be automatically sent at the specified time and date.
Your email will now be automatically sent at the specified time and date on your iPhone device.
With these simple steps, you can easily and conveniently schedule emails in Gmail on Android and iPhone devices. This feature can be very useful for those who want to precisely control the time of sending their emails.
Before you can send scheduled emails in Gmail on Android and iPhone devices, you will need to follow these steps:
Read Also: How To Deactivate Your Viber Account - A Step-by-Step Guide7. Familiarize yourself with the Send Later feature in the Gmail app. This feature allows you to schedule your email to be sent at a specific time and date.
After following these steps, you’ll be ready to send scheduled emails in Gmail on your Android device or iPhone.
When using the Gmail app on Android devices, you need to follow these steps to set up delayed sending of email:
Your email will automatically be sent at the time and date you set. You can also cancel the deferred sending by clicking on the “Cancel Send” option in the email menu.
Read Also: How To Fix NBA 2K21 Server Error Code 727E66AC - A Comprehensive Guide
Delayed email sending in the Gmail app on Android allows you to schedule and control when your messages are delivered, which can be useful when sending emails at a more convenient time for the recipient or when preparing email greetings for holidays or birthdays.
The built-in email application on the iPhone gives the user the ability to send emails on a set time delay. This is useful if you want to write an email in advance but send it later.
To send a delayed email on iPhone, follow the steps below:
Initially, the “Schedule Send” option may not be available to you. In this case, check for the latest update of the Email app on your iPhone and install it if necessary. You may also need to install the latest version of the iOS operating system.
Now that you know how to send delayed email on iPhone, you can use this feature for your business and personal purposes. It will help you to be more organized and efficient in your communication through email.
Yes, you can schedule emails to be sent at a specific time in the future. The Gmail app on Android and iPhone has a “Schedule Send” feature that allows you to select a date and time to send an email. You can specify any time you like and the email will automatically be sent at that time.
The maximum amount of time you can schedule an email to be sent in Gmail depends on your account and settings. Under normal circumstances, you can schedule an email to be sent on any date in the future. However, in some cases, such as if your account is locked or restricted, there may be a time limit specified by your organization’s administrator.
The best online games to play in 2023 Online gaming is becoming more and more popular every year and in 2023 offers an incredible range of …
Read Article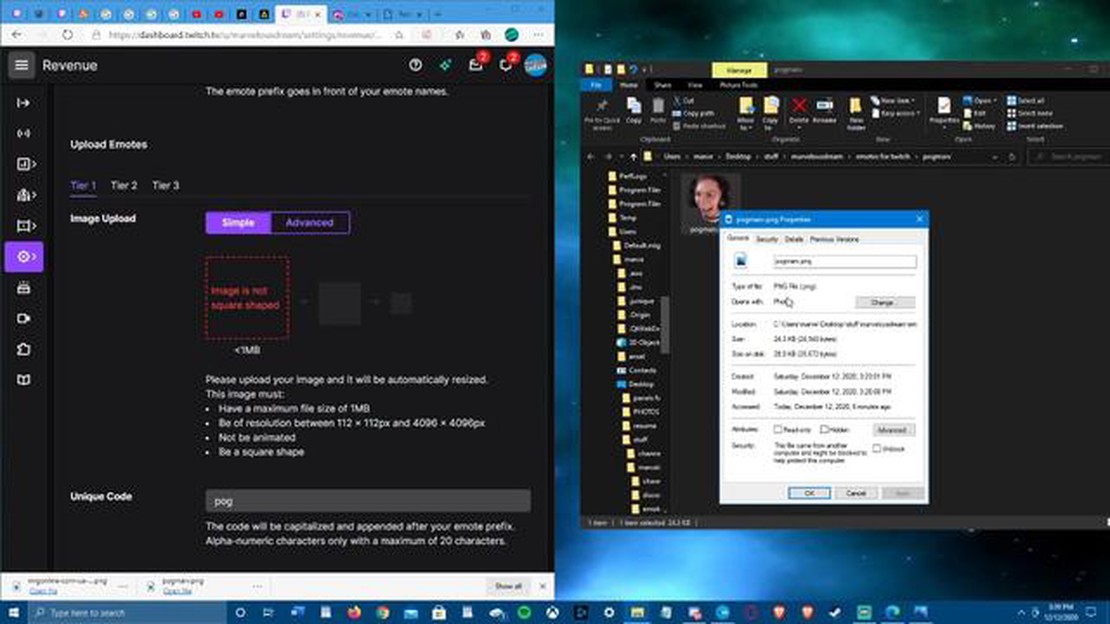
How To Fix Twitch Profile Picture Upload Error If you’re a Twitch user looking to update your profile picture, you may encounter an error during the …
Read Article
Fix Google Pixel 6 Screen Flickering Issue If you are experiencing screen flickering issues on your Google Pixel 6, you are not alone. Many users have …
Read Article
Remove icon from search bar windows 10/11 The search bar in Windows 10/11 operating system is often used by users to quickly search for files, …
Read Article
Gears of war 6 will release on day zero for xbox series x? One of the most anticipated events for fans of the Gears of War series is the release of …
Read Article
How to Take a Screenshot on Galaxy S23 Are you the proud owner of a brand new Galaxy S23 smartphone from Samsung? If so, you’re probably eager to …
Read Article


