

The 10 best free cloud storage services for backup and file storage 2021
The 10 best free cloud storage services for backing up and storing files Nowadays, more and more people are facing the problem of storing and backing …
Read Article
Blizzard Entertainment is a renowned game developer known for creating popular titles such as World of Warcraft, Overwatch, and Diablo. Like any other software, Blizzard games can sometimes encounter issues or corrupt files that can affect their performance. To address these issues, Blizzard has provided a built-in feature in their Battle.net launcher that allows users to easily scan and repair their game files. In this guide, we will walk you through the step-by-step process of scanning and repairing Blizzard game files.
Step 1: Launch the Battle.net Launcher
The first step is to open the Battle.net launcher on your computer. This launcher acts as a central hub for all Blizzard games and provides access to various features and settings.
Step 2: Select the Game
Once you have launched the Battle.net launcher, you will see a list of all the Blizzard games you have installed. Click on the game that you want to scan and repair. This will open the game’s settings and options.
Step 3: Open the Scan and Repair Tool
Within the game settings, you will find a “Options” menu. Click on it and look for the “Scan and Repair” option. Click on “Scan and Repair” to initiate the scanning process. This tool will automatically check the game files for any corrupted or missing files.
Step 4: Wait for the Scan to Complete
Once you have clicked on “Scan and Repair,” the tool will start scanning your game files. This process may take some time, depending on the size and complexity of the game. It is important not to interrupt or cancel the scan to ensure a thorough inspection.
Step 5: Repair the Game Files
After the scanning process is completed, the tool will present the results. If any corrupt or missing files are detected, the tool will give you the option to repair them. Click on the “Repair” button to begin the repair process. The tool will automatically download and replace the problematic files.
Step 6: Launch the Game
Once the repair process is finished, you can close the Scan and Repair tool and launch the game. The repaired files should now ensure smooth gameplay and eliminate any issues that may have occurred due to corrupted files.
By following these simple steps, you can scan and repair Blizzard game files using the Battle.net launcher. Regularly scanning and repairing game files can help maintain the optimal functionality and performance of your favorite Blizzard games.
Disclaimer: The information in this guide is accurate as of 2023 and is subject to change based on future updates and improvements by Blizzard Entertainment.
If you’re experiencing issues with your Blizzard games on Battle.net, such as crashes, freezing, or glitches, it may be due to corrupted game files. Fortunately, Blizzard provides a built-in tool that allows you to scan and repair these files to ensure smooth gameplay. Here’s a step-by-step guide on how to scan and repair Blizzard game files:
By following these steps, you can easily scan and repair Blizzard game files using the Battle.net app. This will help ensure that your games run smoothly and without any technical issues. If you continue to experience problems, you may need to contact Blizzard’s customer support for further assistance.
Are you experiencing issues with your Blizzard game files? Don’t worry, we’ve got you covered! Follow the step-by-step guide below to scan and repair your Blizzard game files using the Battle.net client.
Read Also: How to Troubleshoot and Fix an LG Fridge Not Cooling Issue3. Access Game Options After selecting the game, click on the options icon (represented by three vertical dots) located next to the Play button. A drop-down menu will appear. 4. Choose Scan and Repair In the drop-down menu, click on “Scan and Repair” to initiate the scanning and repairing process for your game files.
5. Wait for the Process to Complete The Battle.net client will now start scanning your game files. This may take some time depending on the size of the game and the speed of your computer. Be patient and let the process complete. 6. Review and Repair Files Once the scanning process is finished, the Battle.net client will display a list of files that need repair. Review the list and click on the “Repair” button to initiate the repairing process.
Read Also: How to Troubleshoot COD Warzone 2.0 Won't Launch Issues7. Wait for the Repair to Finish The Battle.net client will now repair the files that were identified as corrupted or missing. Again, this may take some time, so be patient and let the process complete. 8. Launch the Game After the repair process is finished, you can launch the game and see if the issues you were experiencing have been resolved. Enjoy playing your Blizzard game without any further disruptions!
Following these steps should help you scan and repair your Blizzard game files successfully. If the issues persist, you may need to contact Blizzard Support for further assistance.
As technology evolves and software updates are released, it is important to stay up-to-date with the latest methods for scanning and repairing Blizzard game files. This updated guide will provide you with the most recent steps to ensure the optimal performance and functionality of your favorite Blizzard games.
By following these updated steps for scanning and repairing Blizzard game files, you can ensure the smooth operation of your games and avoid any potential issues or errors. Regularly scanning and repairing game files is recommended to maintain the best gaming experience.
Scanning and repairing Blizzard game files is important because it helps to detect and fix any corrupted or missing game files. This can improve the overall performance and stability of the game, and ensure that you have the latest and most up-to-date files necessary for optimal gameplay.
To scan and repair Blizzard game files, open the Battle.net app and navigate to the game you want to scan. Click on the options menu (three dots), then select “Scan and Repair.” The app will then start scanning for any corrupted or missing files and automatically repair them if possible.
No, scanning and repairing game files should not cause any data loss. The process is designed to detect and repair game files without affecting your personal data or game progress. However, it is always a good idea to regularly back up your game saves, just in case.
The duration of the scanning and repairing process depends on various factors such as the size of the game and the speed of your internet connection. It can range from a few minutes to an hour or more. During the process, it is recommended to have a stable internet connection and avoid interrupting the process.
No, scanning and repairing Blizzard game files is not a one-time process. It is recommended to regularly scan and repair game files to ensure that your games are running smoothly and to prevent any issues caused by corrupted or missing files. You can perform this process whenever you suspect there may be an issue with your game or if it is recommended by Blizzard.
The 10 best free cloud storage services for backing up and storing files Nowadays, more and more people are facing the problem of storing and backing …
Read Article
How To Record Valorant With OBS Valorant is a popular online multiplayer first-person shooter game developed by Riot Games. With its fast-paced …
Read Article
How to Set Up and Manage Emails on the LG G5: A Comprehensive Guide for Setting Up POP3/IMAP, Exchange, and Gmail Accounts Setting up and managing …
Read Article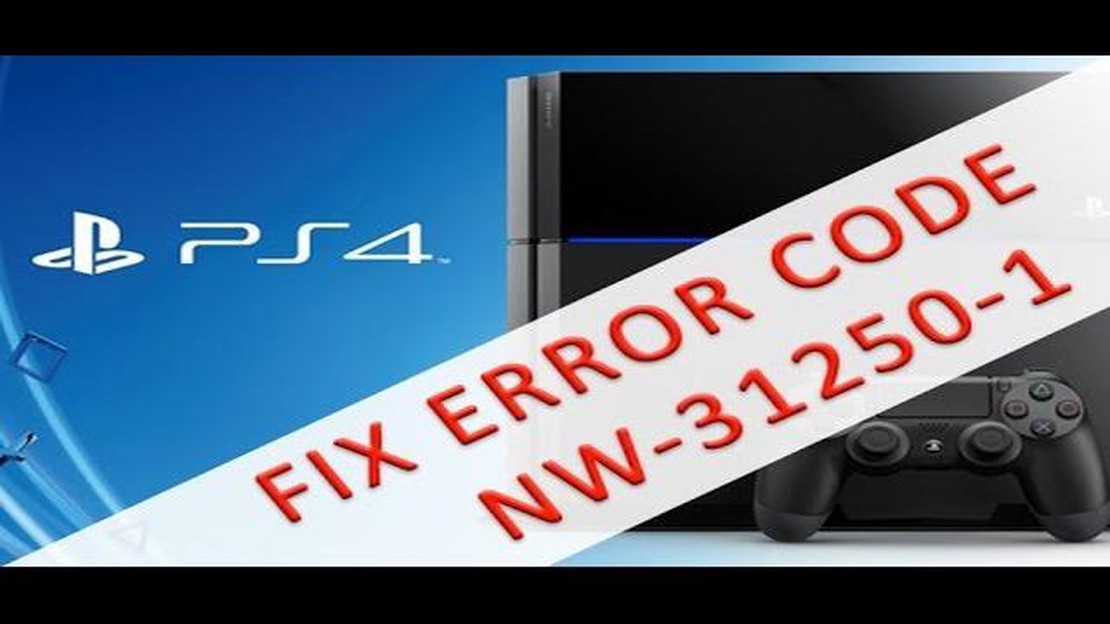
How To Fix PS4 NW-31250-1 Error | NEW & Updated in 2023 If you’re a PlayStation 4 user and you’ve encountered the NW-31250-1 error code when trying to …
Read Article
The 15 best ticktock trends and challenges to go viral In recent years, TikTok has become one of the most popular social platforms, connecting …
Read Article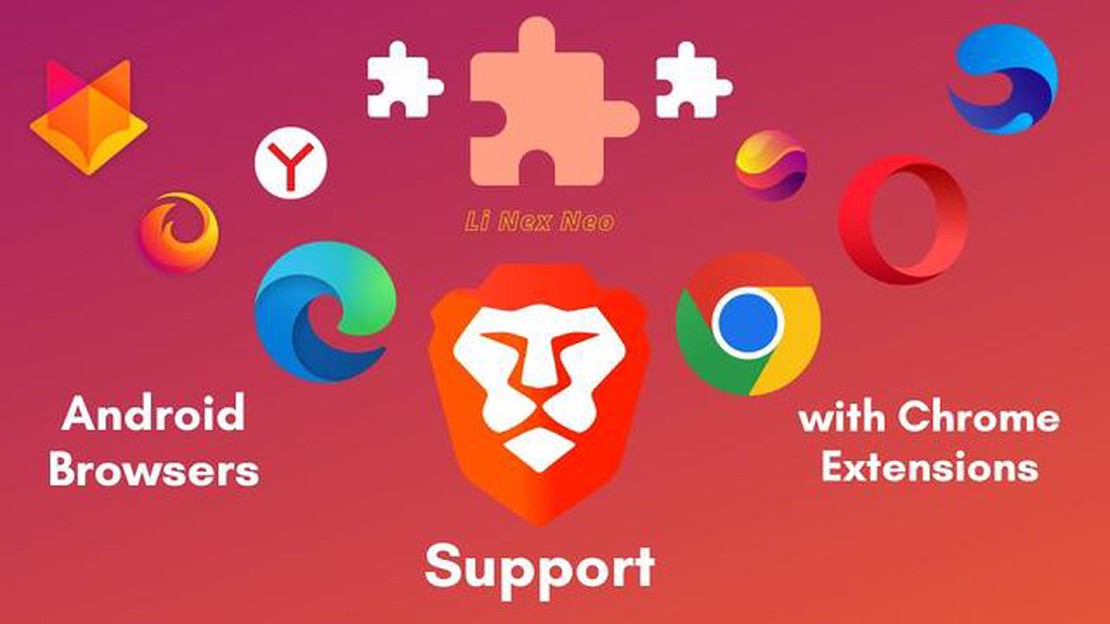
6 Best Android Browsers With Extension Support Choosing the right web browser can greatly enhance your mobile browsing experience. With the vast …
Read Article


