

How to Block or Unblock a Phone Number on Galaxy S20 - Easy Steps
How to Block or Unblock a Phone Number on Galaxy S20 Do you receive unwanted calls or messages from a specific phone number on your Samsung Galaxy …
Read Article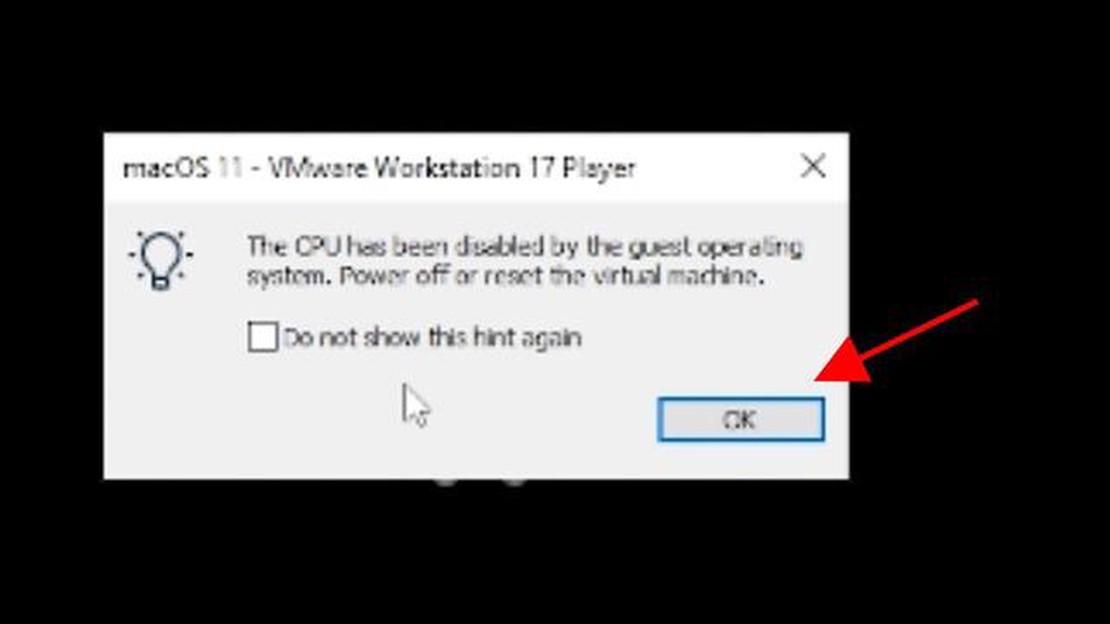
The problem of a disabled processor in a guest operating system can cause inconvenience and limit what you can do on your computer. However, there is an easy way to get it back on and restore normal operation of the system.
First of all, you need to open the installed virtual machine and enter the guest OS settings. To do this, you need to find the “Settings” or “Settings” section in the menu of the program that is used to work with the virtual machine.
Then you need to find the “Processor” or “Processor” section in the guest OS settings. It is usually located in the main system settings or in the “System” section. When you find the right section, you should check if the processor is enabled. If it is turned off, you should turn it on by setting the corresponding option.
After enabling the processor, it is recommended to save the changes and reboot the guest OS to make sure that the changes are applied. After rebooting the system, the processor should be enabled and running normally.
If these steps do not resolve the disabled processor issue, it may be worth seeking help from technical support or consulting with experienced users. They will be able to provide more detailed instructions or suggest alternative ways to solve the problem.
If your guest OS has one of its processors disabled, you can make it available using the following steps:
After completing these steps, the selected processor should become available in the guest OS.
If the virtual processor has been disabled in the guest OS, the first step is to determine the cause of the problem. There are several possible causes that can cause a CPU to be disabled in a guest OS. Here are some of them:
Read Also: Solved Samsung Galaxy J7 Connected Charger Is Incompatible Error - Tips and Solutions
After determining the cause of the problem, you can try to resolve it in one of the following ways:
If, after following these steps, the problem with enabling the CPU in the guest OS is not resolved, it is recommended that you contact a virtualization specialist or technical support for the respective virtualization software for further assistance.
Once you have enabled the processor in the guest OS, the next step is to check for updates and install the necessary drivers. This section will describe how to perform this step.
After completing these steps, your processor should be fully enabled in the guest OS.
If you have your processor enabled in the guest OS but it still shows up as disabled, you may need to check your BIOS settings and enable virtualization. Enabling this feature allows the guest OS to utilize the full capabilities of the processor.
Here are step-by-step instructions on how to check BIOS settings and enable virtualization:
Read Also: 4 amazing tips for buying emi without a credit card New ways to make installment payments without credit
Now reboot the guest operating system and check to see if the processor shows up as enabled. If not, try restarting the computer again and check the BIOS settings again.
Note that access to BIOS settings may be restricted in some cases. If you cannot access these settings, consult the documentation or support for your computer or motherboard for further assistance.
If the processor in the guest OS has been disabled, there are a few steps to get it back on. First, you need to open the “Task Manager” menu. Then go to the “Processes” tab. Find the process with the name of your guest OS, right-click on it and select “Enable Process”. The processor should now be enabled again in the guest OS.
If the enabled processor in the guest OS has stopped working, there are a few things to check. First, make sure that the processor is physically powered on and connected to the system correctly. Second, reboot the guest OS and check if the processor works after the reboot. If the problem persists, you may need to contact a technician to diagnose and repair the processor.
There are a few simple steps to enable the processor in a guest OS. First, you need to open “Control Panel” and select the “System and Security” category. Then, select “System” and click on the “Advanced System Settings” tab. In the window that opens, select the “Processor” tab and check the “Enable Processor” option. Click “OK” to save the settings. The processor should now be enabled in the guest OS.
Yes, you can return the enabled processor to the guest OS without rebooting the system. To do this, open “Task Manager” and go to the “Processes” tab. Find the process with the name of your guest OS, right-click on it and select “Enable Process”. The processor should then be enabled again in the guest OS without rebooting the system.
How to Block or Unblock a Phone Number on Galaxy S20 Do you receive unwanted calls or messages from a specific phone number on your Samsung Galaxy …
Read Article
What to expect from windows 11? The appearance of a new operating system always arouses the interest of users, and Windows 11 was no exception. …
Read Article
3 Best Radio Apps To Listen To Local AM/FM Radio Without Data For Galaxy S9 Are you a fan of listening to local radio stations on your Galaxy S9? …
Read Article
How To Turn On Hisense TV Without Remote If you find yourself in a situation where your Hisense TV remote is missing or not working, don’t worry! …
Read Article
How To Fix COD Vanguard DirectX Unrecoverable Error On PC | New in 2023 If you’re an avid gamer, you may have encountered various error messages while …
Read Article
Fixing Galaxy S3 that Automatically Reboots and Powers Up If you own a Samsung Galaxy S3 smartphone and have been experiencing frequent rebooting and …
Read Article


