

Online tools for converting pdf drawings to dwg and dxf for AutoCAD
Online tools to convert pdf drawings to autocad compatible dwg and dxf formats AutoCAD is one of the most popular programs for designing and creating …
Read Article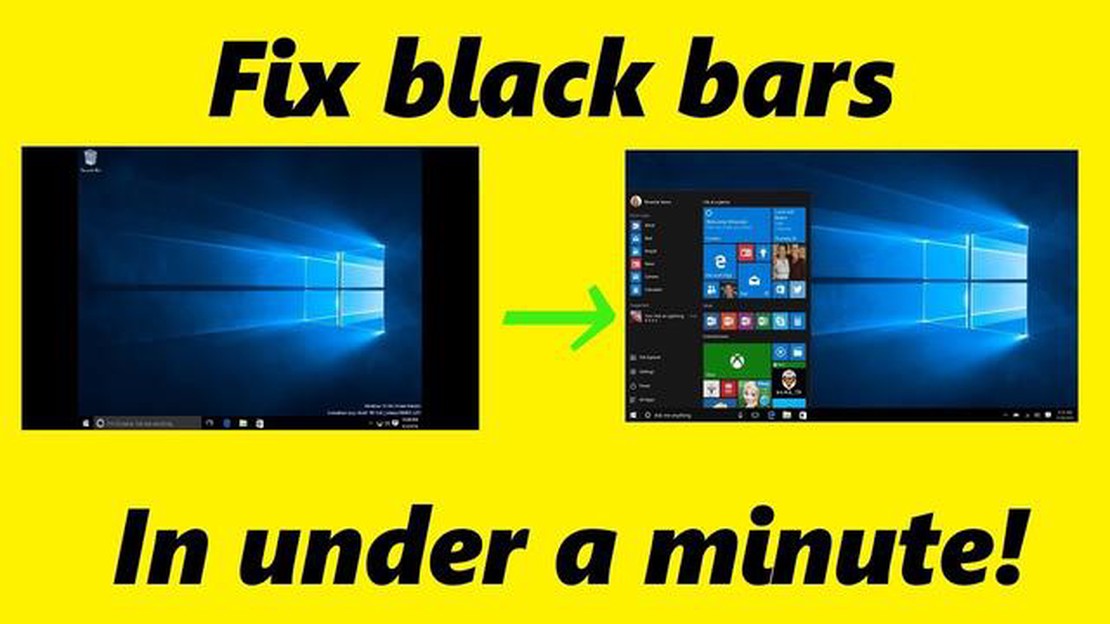
Windows 10 is one of the most popular operating systems in the world, but on some computers, users face the problem of black border around the screen. This band can be annoying and interfere with the comfort of working or playing games on the computer. In this article, we will tell you how to remove the black border around the PC screen in Windows 10.
There are several ways to solve this problem. One of them is to adjust the screen resolution. If the black border occurred due to an incorrect resolution, you should change it to the most suitable one for your monitor. To do this, go to the screen settings, select the “Display” section and adjust the resolution according to the recommendations of the manufacturer of your monitor.
If changing the screen resolution did not help to get rid of the black border, then you can try to update the graphics card drivers. Often black border problems are caused by outdated or incorrectly installed drivers. To update the drivers, you need to go to “Device Manager”, find your graphics card in the list and right-click to select “Update Driver”. Then follow the on-screen instructions.
Adjusting the zoom settings in Windows 10 may also help. In some cases, the black border appears due to incorrect zoom settings. To change these settings, go to Settings -> System -> Display and change the zoom settings to a more appropriate setting. Try increasing or decreasing the scaling and see how it affects the black border around the screen.
If all the above methods did not help to solve the black border problem, then perhaps the problem lies in the monitor itself or its settings. In this case, it is recommended to contact the monitor manufacturer or look at the monitor’s instruction manual for more information on how to set up the screen and fix the problem.
Sometimes, after installing the Windows 10 operating system or when you change the screen resolution, a black border may appear on your PC screen. This can be annoying and interfere with the full use of your computer. The following methods will help you remove the black border on your Windows 10 PC screen.
Read Also: Top 5 Weather Stations for Home Use in 2023: Find the Perfect One3. Set the screen resolution that matches your monitor and restart your computer.
4. Check if the black border has disappeared.
Read Also: Samsung Galaxy S8 Overheating Issue: How to Fix and Turn On
If none of the above methods worked to remove the black border on Windows 10 PC screen, it is recommended to contact a professional or the manufacturer of your computer or monitor for further assistance.
In Windows 10 on PC, you may experience the problem of black border around the screen which can degrade the user experience and visual perception. This black border can appear due to improper screen resolution setting or video card driver. In this article, we will discuss a few ways to get rid of black border around the screen in Windows 10.
The first step to get rid of black border around the screen in Windows 10 on PC is to set the screen resolution properly. To do this, follow the steps below:
If the black border problem still persists after adjusting the screen resolution, you may need to update your video card driver. To update the video card driver, follow the steps below:
If certain monitor settings are causing a black border around the screen, you may need to check and change those settings. To do this, follow the steps below:
In most cases, following these simple steps will help you get rid of the black border around the screen in Windows 10 on PC. If the problem still persists, however, it may be worth contacting the technical support of your monitor or graphics card manufacturer.
The black border around the PC screen in Windows 10 can be annoying, especially when playing PC games. It can degrade the gaming experience and reduce user comfort. However, with the help of gaming remove-black-border-around-pc-screen-in-windows-10, you can get rid of this black border and customize the screen according to your preferences.
Gaming remove-black-border-around-pc-screen-in-windows-10 provides various methods to change the resolution and scaling of your PC screen. With their help, you can increase the size of the image so that it fills the screen completely without black bars.
Here are some ways that you can use with game remove-black-border-around-pc-screen-in-windows-10:
Note that each game remove-black-border-around-pc-screen-in-windows-10 may offer different methods to remove the black border. So, if one method doesn’t work, try another. Also, don’t forget to save your changes after customization so that they apply to your gaming experience.
In summary, gaming remove-black-border-around-pc-screen-in-windows-10 are useful tools to get rid of black border on PC screen when playing PC games. They allow you to adjust the resolution, scaling and aspect ratio so that your gaming experience is as comfortable and fun as possible.
Black bars around the screen may appear due to incorrect screen resolution settings. To remove them, you need to open the screen settings, select the screen resolution section and choose the optimal resolution that matches your monitor.
To change the screen resolution in Windows 10, you need to go to screen settings. Right-click on an empty area of the desktop, select “Display Settings” and find the screen resolution section. There you will be able to select the optimal resolution for your monitor.
The appearance of black bars around the PC screen may be due to incorrect screen resolution settings or an inappropriate aspect ratio. If the screen resolution does not match your monitor or the wrong aspect ratio is set, black bars may appear. Black bars can also be caused by the monitor’s settings or the graphics card drivers.
Besides changing the screen resolution, there are other ways to solve this problem. Some monitors have an “Auto Adjust” or “Auto Image Adjust” feature that automatically adjusts the image size. You can also try updating your video card drivers or using image adjustment programs that offer additional size and aspect ratio correction features.
Online tools to convert pdf drawings to autocad compatible dwg and dxf formats AutoCAD is one of the most popular programs for designing and creating …
Read Article
Fix Google Play Store keeps stopping or crashing on your Nokia 6 2019 Google Play Store is an essential application for Android users, as it allows …
Read Article
The definitive guide to video marketing. Video marketing is becoming increasingly popular among companies and entrepreneurs around the world. It is an …
Read Article
5 Best Free VPN For PC In today’s digital world, privacy and security are of paramount importance. With the increasing number of cyber threats and …
Read Article
How To Fix Facebook Messenger Keeps Crashing On Android And iPhone If you’re experiencing constant crashes on Facebook Messenger, you’re not alone. …
Read Article
The most popular and impressive platform for watching hd anime: gogoanime . GoGoAnime is a platform that is deservedly considered to be the most …
Read Article


