


Best internet providers to consider in 2023
Best isps to consider in 2023. Every year, more and more people pay attention to the quality of their internet connection. Fast and reliable internet …
Read Article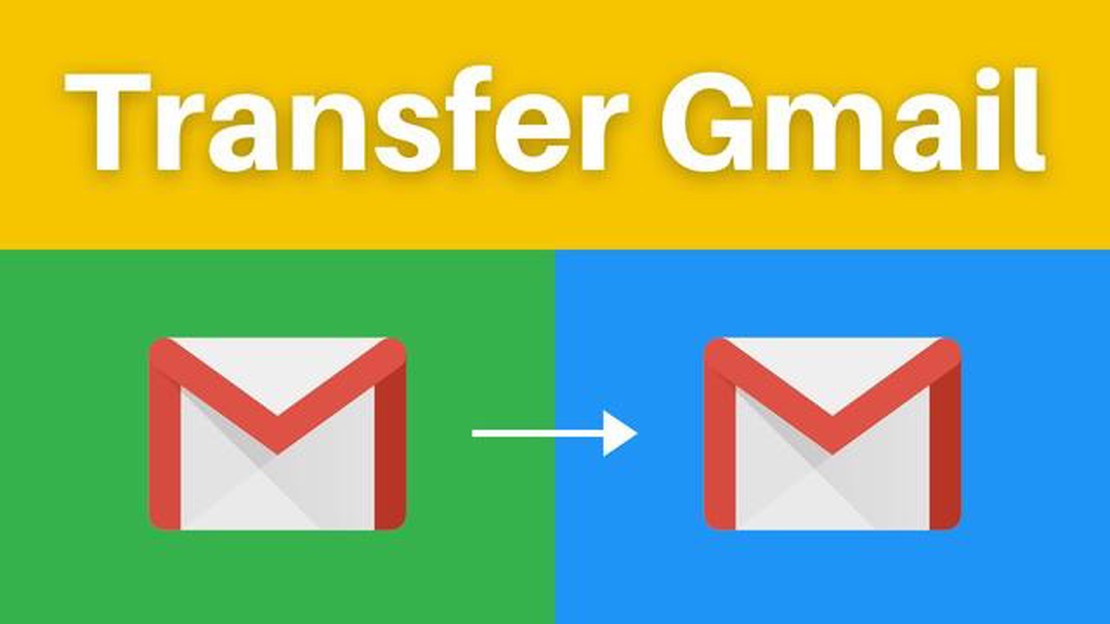
Gmail is one of the most popular and convenient email services in the world. But what if you have multiple Gmail accounts and you want to forward emails from one account to another? The problem seems complicated, but it’s actually very simple.
Forwarding emails between Gmail accounts allows you to have access to all your important messages in one place, and makes it easier to manage multiple inboxes. To set up email forwarding, you’ll need to follow a few simple steps.
First, go to the settings for your first Gmail account. Open the “Forwarding and POP/IMAP” tab and find the “Forward Emails” section. Enter the email address you want to forward emails to. You can also choose to “Save a copy of forwarded messages in your inbox” so that you can read them on your first account as well.
Once you’ve set up forwarding in your first Gmail account, move on to your second account. Open the “Check email from other accounts” tab and click “Add email account”. Enter the email address of the first account and follow the instructions to connect.
Forwarding emails from one Gmail account to another can be useful if you want to consolidate all your emails in one place, or access all the information from different accounts without having to open them separately. Here are the detailed instructions on how to set up email forwarding in Gmail.
Open your Gmail account where you want to forward emails to. Enter your email address and password and click the “Sign In” button.
Click on the gear icon in the top right corner of the screen and select “Settings” from the drop-down menu.
In the Gmail settings window that opens, select the “Forwarding and POP/IMAP” tab.
Once you’ve set up email forwarding from one Gmail account to another, make sure everything is working correctly. Send a test email to the original account and check that it is successfully forwarded to the specified forwarding account.
Now you know how to forward emails from one Gmail account to another. This is a convenient way to consolidate all your emails in one place and have access to all the information from different accounts.
Step 1: Open a web browser and go to the Gmail homepage by typing https://www.gmail.com/ in the address bar.
Step 2: Click on the “Create Account” button located in the upper right corner of the Gmail homepage.
Step 3: Fill in all the required fields to create a new account. Enter your first and last name in the appropriate fields.
Step 4: Select a username for your new Gmail account. This will be your email address.
Read Also: How to free up space on your xbox and maximize its capacity
Step 5: Create a password for your new Gmail account. Enter your password in the appropriate field and repeat it to confirm.
Step 6: Complete the security check by clicking on the “Create Account” link. You may be prompted to enter your phone number to confirm your account.
Step 7: Read and accept Gmail’s privacy policy and terms of use. Click on the appropriate links to read the full text of these documents.
Step 8: Click on the “Next” button to proceed to the settings of your new Gmail account. Here you can add additional details such as your phone number, date of birth, and other information.
Step 9: Once you have finished setting up your new Gmail account, you will be redirected to the Gmail homepage where you will see your inbox and account settings. You can now receive and send emails from your new Gmail account.
Forwarding emails from one Gmail account to another allows you to receive all incoming emails from one address to another. This can be useful if you want to consolidate all of your email accounts in one place, or if you want to access all of your messages from different addresses in one Gmail account. Here’s how to set up email forwarding:
Read Also: How to Restart Fitbit Charge 5: A Step-by-Step Guide
All incoming emails from the specified address will now be forwarded to your new email address. You can repeat this process for each address you want to add to the forwarding list.
Note that if you forward emails to another Gmail account, those emails will appear in the Inbox section of the new account. If you want to distinguish these emails from others, you can create a filter or apply a label to the forwarded emails.
After setting up email forwarding from one Gmail account to another, it’s important to verify that everything is working properly. To do this, you can run the following tests:
If the forwarding works correctly and passes all of the above tests, then your email forwarding setup from one Gmail account to another is ready to use and will work reliably in the future!
To forward an email from one Gmail account to another, you need to open the email, click the “Forward” icon and enter the recipient’s address in the “To” field. Then click the “Send” button.
Yes, you can send all emails from one Gmail account to another. To do so, you can use the “Import Emails and Contacts” feature, which is tabbed in your Gmail settings. Follow the on-screen instructions to import all your emails to the new account.
To set up automatic forwarding of emails from one Gmail account to another, you need to open your account settings, select the “Forwarding and POP/IMAP” tab, and then click the “Add Forwarding Address” button. Enter the recipient’s address and click “Next Step” to finalize the settings.
Yes, you can forward emails from one Gmail account to multiple other Gmail accounts. To do so, you can use the “Add Forwarding Address” feature in your Gmail account settings to add multiple recipient addresses. You just need to enter all the addresses separated by comma and complete the setup.
To find out if emails have been successfully forwarded from one Gmail account to another, you should check your Sent Items folder in your new account, which should show all of your sent emails. You can also check your inbox in the other account, which should show all the emails you’ve sent.
Best isps to consider in 2023. Every year, more and more people pay attention to the quality of their internet connection. Fast and reliable internet …
Read Article
How to install macos mojave on parallels desktop. Parallels Desktop is software that allows users to run the macOS operating system on Windows …
Read Article
How To Troubleshoot / Fix A Galaxy Note 3 That Won’t Turn On (Troubleshooting Guide) If you’re experiencing the frustrating problem of your Samsung …
Read Article
How To Fix Payday 2 Won’t Launch Issue If you’re a fan of heist-based video games, chances are you’ve heard of Payday 2. This popular co-op shooter …
Read Article
Call of duty: modern warfare sbmm is causing problems. Call of Duty: Modern Warfare is one of the most popular first-person shooter games, offering …
Read Article
Bioshock 3 may be coming soon. Bioshock series of games has long won the hearts of many players with its unique atmospheric world, exciting story and …
Read Article


