


11 Best Bluetooth Aux Adapter in 2023 | Find the Perfect Adapter for Your Devices
11 Best Bluetooth Aux Adapter in 2023 If you’re tired of dealing with wires and want to enjoy the convenience of wireless audio streaming, a Bluetooth …
Read Article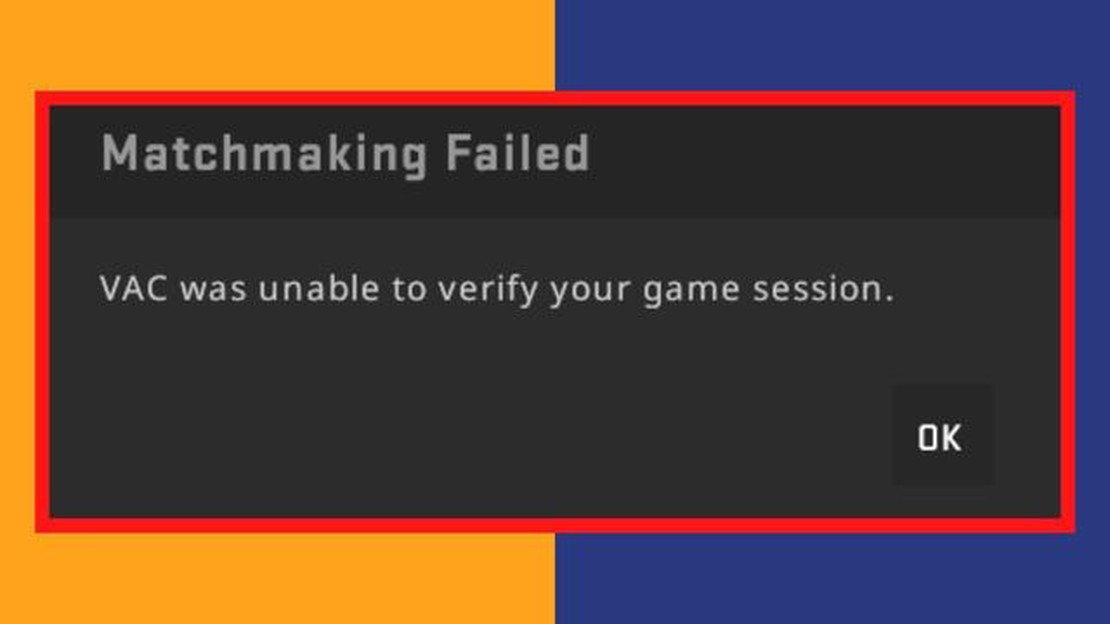
If you’re a Windows 10 user who enjoys gaming, you may have encountered the frustrating “Vac was Unable to Verify your Game Session” error while playing your favorite games. This error is common in games like CS:GO and can prevent you from connecting to game servers or playing online multiplayer.
In this complete guide, we will walk you through the steps to fix the “Vac was Unable to Verify your Game Session” error in Windows 10. Whether you’re a casual gamer or a serious e-sports enthusiast, these solutions will help you get back in the game in no time.
First, we’ll explain what causes the error and why it occurs. Then, we’ll provide step-by-step instructions on how to troubleshoot and fix the problem. From verifying the integrity of game files to disabling unnecessary background processes, we’ll cover everything you need to know to resolve this frustrating error.
So, if you’re tired of being kicked out of game sessions and want to get back to enjoying your favorite games, read on to learn how to fix the “Vac was Unable to Verify your Game Session” error in Windows 10.
If you are encountering the “Vac was Unable to Verify your Game Session” error in Windows 10 while playing games like CS:GO, you can try the following methods to resolve the issue.
Note: Proceed with caution as turning off your antivirus and firewall can leave your system vulnerable to malware and security threats.
If none of the above methods work, you can contact Steam Support for further assistance. They may be able to provide you with specific troubleshooting steps or solutions to resolve the “Vac was Unable to Verify your Game Session” error.
Hopefully, one of these methods helped you resolve the “Vac was Unable to Verify your Game Session” error in Windows 10 and get back to enjoying your favorite games without any issues.
If you are encountering the “VAC was Unable to Verify your Game Session” error on your Windows 10 computer while trying to play games like CS:GO, follow the steps below to troubleshoot and fix the issue.
Simple as it may seem, restarting your computer can often resolve various software-related issues. Close any running games and applications, then restart your computer and try launching the game again.
Sometimes, the game files may become corrupted or incomplete, leading to the VAC verification error. Verify the game cache to ensure that all game files are in a valid state. Here’s how:
Firewall or antivirus software on your computer may sometimes interfere with the VAC verification process, resulting in the error. Temporarily disable any third-party antivirus and firewall software you have installed, then try launching the game again. If the error no longer occurs, you can configure your antivirus or firewall to allow the game through.
Running Steam with administrator privileges can help resolve permission-related issues that may cause the VAC verification error. Here’s how:
Read Also: Quick Fix For Nintendo Switch Black Screen Issue New in 2023
If all else fails, you can try reinstalling the game to fix any underlying issues with the game files. Follow these steps:
By following these troubleshooting steps, you should be able to fix the “VAC was Unable to Verify your Game Session” error on your Windows 10 computer and enjoy playing your favorite games without any interruptions.
Read Also: How to Troubleshoot Instagram Couldn't Refresh Feed Issue: Step-by-Step Guide
If you encounter the “Vac was Unable to Verify your Game Session” error in Windows 10, one of the potential solutions is to update your Windows operating system and Steam client. Here are the steps:
After updating both your Windows operating system and Steam client, try launching your game again and see if the “Vac was Unable to Verify your Game Session” error is resolved.
If you are encountering the “Vac was Unable to Verify your Game Session” error in Windows 10, one of the possible solutions is to verify the game files and reinstall the game. Here are the steps to follow:
Verifying game files and reinstalling the game can often fix issues related to the “Vac was Unable to Verify your Game Session” error in Windows 10. If the error still persists after following these steps, you may need to try other troubleshooting methods or seek further assistance from the game’s support team.
The “Vac was Unable to Verify your Game Session” error is an error message that appears when the Valve Anti-Cheat system (VAC) is unable to verify the integrity of your game files. It usually occurs when there is a problem with the game files or the Steam client.
There are several possible reasons why you might be getting the “Vac was Unable to Verify your Game Session” error. It could be due to a problem with the game files, the Steam client, or even your antivirus software interfering with the VAC system.
There are several steps you can take to fix the “Vac was Unable to Verify your Game Session” error. First, try verifying the integrity of your game files through Steam. If that doesn’t work, try restarting your computer and launching the game again. If the error still persists, you may need to reinstall the game or contact Steam support for further assistance.
Yes, antivirus software can sometimes interfere with the VAC system and cause the “Vac was Unable to Verify your Game Session” error. To troubleshoot this issue, try temporarily disabling your antivirus software and see if the error still occurs. If the error goes away, you may need to add your game and Steam folders to the exclusions list of your antivirus software.
No, the “Vac was Unable to Verify your Game Session” error can occur in any game that uses the Valve Anti-Cheat system (VAC). Some popular games that have been reported to experience this error include Counter-Strike: Global Offensive, Dota 2, and Team Fortress 2.
The “Vac was Unable to Verify your Game Session” error is an error message that appears when the Valve Anti-Cheat system (VAC) is unable to verify the integrity of a game session on Windows 10. It often occurs when there is a problem with the VAC system or when a file in the game installation is corrupted or missing.
11 Best Bluetooth Aux Adapter in 2023 If you’re tired of dealing with wires and want to enjoy the convenience of wireless audio streaming, a Bluetooth …
Read Article
15 offline shooting games for android (like pubg). Shooter fighting games have gained immense popularity among gamers on the Android platform. Shooter …
Read Article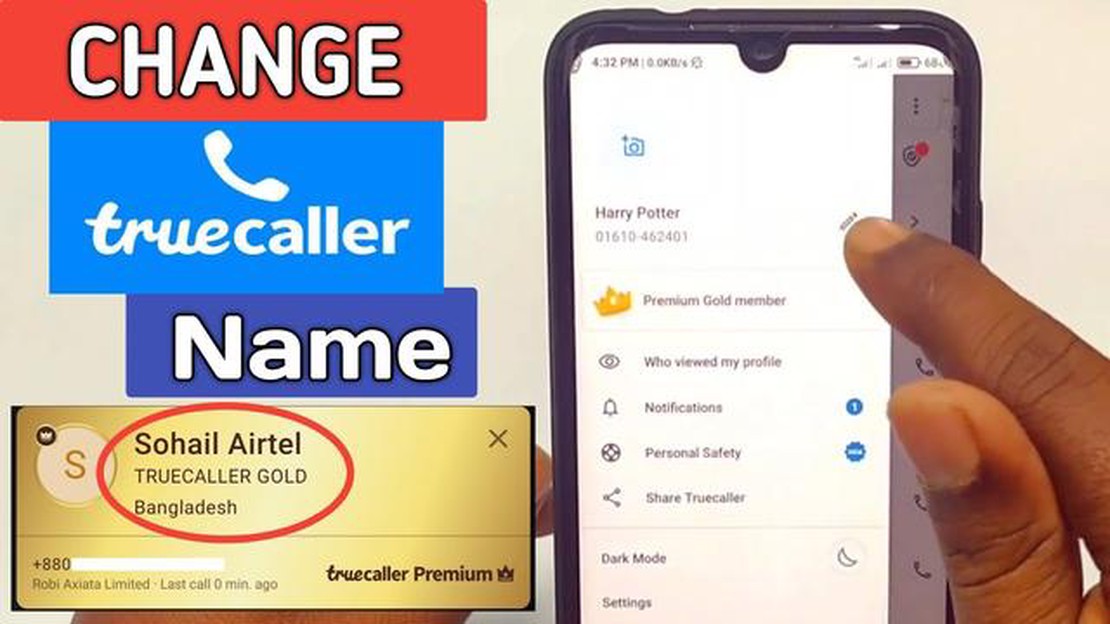
How to change the wrong name in true caller. Truecaller is a mobile app that provides information about the calling phone number. However, sometimes …
Read Article
The 10 best tasker profiles for beginners Tasker is a powerful automation app on Android that allows you to create various automatic actions based on …
Read Article
Electronic wallets - are they safe? In the modern world, more and more people prefer electronic wallets to store their financial resources. It is …
Read Article
How to Fix Phantasy Star Online 2 has stopped responding error in Windows 10 If you’re an avid gamer, you may have encountered the frustrating “has …
Read Article


