


Solved Samsung Galaxy S8 Connects And Disconnects From Charger - Tech Solutions
Solved Samsung Galaxy S8 Connects And Disconnects From Charger Are you experiencing problems with your Samsung Galaxy S8 constantly connecting and …
Read Article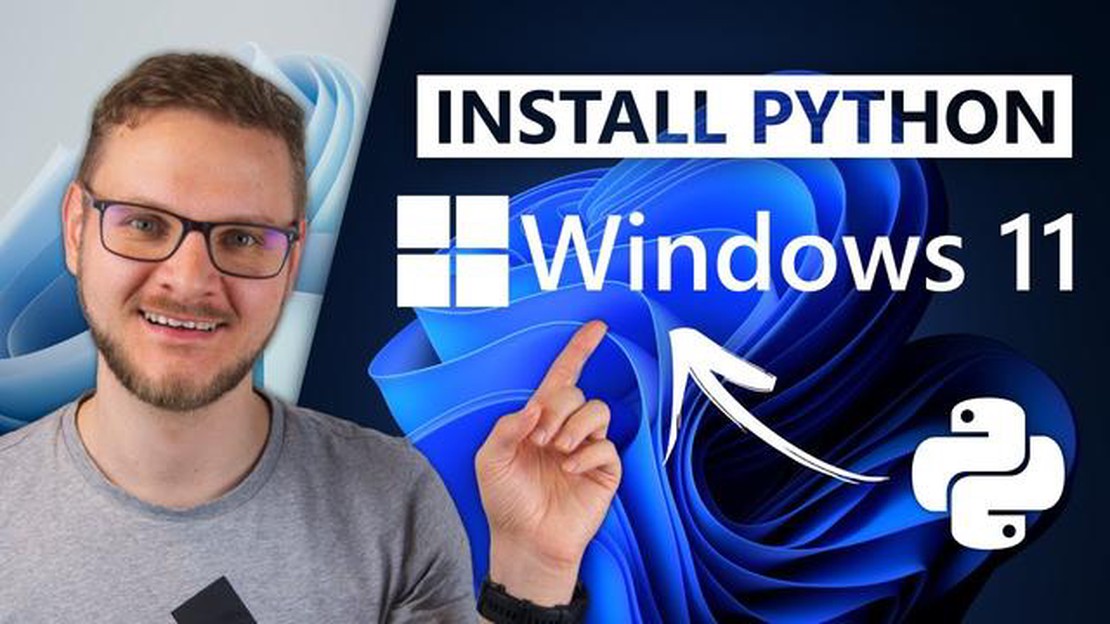
Python is one of the most popular programming languages and installing it is an integral part of running on Windows 11/10. However, sometimes users may face an issue where Python is not detected on their computers. In this article, we will cover a few ways to solve this problem.
The first step to try is to check if Python is present on your system. To do this, open a command prompt and type the command “python”. If Python is installed, you will see the Python version and the interactive shell. If Python is not detected, however, you must proceed to install it.
To install Python on Windows 11/10, you can use the official Python website to download the installer for Windows. When choosing a version, consider the operating system (32-bit or 64-bit) and the requirements of the applications to be installed. The Python installer also offers an “Add Python to PATH” option. Make sure this option is enabled to add Python to the PATH environment variable and use it from any directory on your system.
If Python is still not detected after installation, there may be a problem with the PATH environment variable. In this case, you should manually add the Python installation directory to the PATH environment variable.
If this doesn’t help either, you can try using special tools such as the “Python Launcher for Windows”. This tool ensures that installed versions of Python are properly activated on Windows and helps you manage Python versions for different projects. Installation of “Python Launcher for Windows” is also done through the official Python website.
In conclusion, if you are facing the problem of Python not being available on your Windows 11/10 computer, don’t despair. Try to check its presence, install it using the official installer and additional tools, and don’t forget to add Python to your PATH environment variable. Hopefully, these tips will help you successfully install Python on your system.
Python is a popular programming language that is widely used for application development, task automation, and data analysis. In this article, we will look at how to install Python on Windows 11 and 10 operating systems.
Follow the steps below to successfully install Python:
Python is now successfully installed on your Windows 11 or 10 computer. You can verify the installation by opening a command prompt and typing the python --version command to verify that Python is installed and running.
Now you’re ready to start using Python for your projects or tasks! Good luck learning and using Python!
Before you start installing Python on a computer running Windows 11 or Windows 10, you need to make sure that Python is not installed on your computer. To do this, follow these steps:
After executing the command, the command prompt should display information about the version of Python, if it is installed on your computer. If an error message or nothing appears instead, Python is not installed.
If Python is already installed, you won’t need to perform the installation again. In this case, just skip to the next step.
To install Python on a Windows 11/10 computer, you need to first download the Python installation file from the official Python website.
Once the Python installation file has been downloaded, you are ready to move on to the next step - installing Python on your computer.
Installing Python on your computer will allow you to utilize all the features of this programming language. This section will show you how to properly install Python on a Windows 11/10 computer.
Read Also: How to Troubleshoot and Fix Random Lagging and Freezing Issues on Galaxy A33
To install Python, you will need the installation file, which can be downloaded from the official Python website.
Python is now installed on your computer. You can check the installation by running the command “python –version” at the command prompt. If you see the version of Python, then the installation was successful.
Read Also: Top 5 Fitbit Versa Watch Bands for 2023 | Best Fitbit Bands
Once you have finished installing Python on your Windows 11/10 computer, you need to verify that the installation was successful. To do this, you can follow a few simple steps.
1- Open a command prompt. To do this, press the Win + R key, type cmd, and press Enter. 2. At the command prompt, type python –version and press Enter.
If Python is successfully installed, you will see the version of Python you installed, such as “Python 3.9.7”. If you see the Python version, then the installation was successful.
You can also perform other checks to make sure Python is running as expected:
print("Python works!")
If your checks show that Python runs successfully, then the installation of Python on your Windows 11/10 computer is complete and you can start using Python to develop and run programs.
To install Python on Windows 11, you need to download the Python installation file from the official Python website and run it. During the installation process, you should select “Add Python to PATH” and click on the “Install Now” button. Once the installation is complete, you can check for the presence of Python by running “python” at the command line.
If your Windows 11 system does not have Python installed, you need to download the Python installation file from the official Python website and run it. During the installation process, you should select “Add Python to PATH” and click on the “Install Now” button. Once the installation is complete, you can check if Python is available by running “python” at the command line.
To install Python on Windows 10, you need to download the Python installation file from the official Python website and run it. During installation, you should select “Add Python to PATH” and click on the “Install Now” button. Then you need to wait for the installation to complete. After that, you can check if Python is available by running “python” at the command line.
If you have a problem installing Python on Windows 10, you can try the following solutions: 1. Check that you have enough free disk space to install Python. 2. Check that you have administrator rights to install programs on your computer. 3. Check that you do not have any antivirus programs or firewalls blocking the installation of Python. If the problem still occurs after these steps, you can try downloading an alternative Python installation file or consult the Python documentation for more information.
Yes, you can install Python on Windows 11 without Internet access. To do this, you need to download the Python installation file from another computer with Internet access and transfer it to a computer without Internet access. You can then run the Python installation file on the computer without Internet access and follow the installation instructions.
To install Python on Windows 11, you need to go to the official Python website and download the installation file for Windows. Then run the downloaded file and follow the instructions of the installation wizard. Once the installation is complete, you will be able to use Python on your computer.
Solved Samsung Galaxy S8 Connects And Disconnects From Charger Are you experiencing problems with your Samsung Galaxy S8 constantly connecting and …
Read Article
Extract text from images using powertoys in windows 11 Windows 11 has a new utility called Powertoys that provides many useful features to improve …
Read Article
How To Fix Samsung Galaxy S4 No Sound Issues Having sound issues with your Samsung Galaxy S4 can be frustrating, especially if you rely on your phone …
Read Article
How To Fix LG TV WiFi Keeps Turning Off If you have an LG TV and you’re experiencing the frustration of constantly having your WiFi connection turned …
Read Article
3 best ways to download youtube videos to android (in 2023) YouTube has become one of the most popular platforms for watching and downloading videos …
Read Article
Legends apex has finally added a shooting range. Starting today, Apex Legends players will be able to diversify their training sessions and thoroughly …
Read Article


