


Minecraft login error: how to fix in Windows 11?
Minecraft login error: how to fix in windows 11? Windows 11 owners who love to play Minecraft may encounter a problem while logging into the game. …
Read Article
Windows 11 and Windows 10 offer many useful features to work efficiently with files and folders. However, some users may face the problem of missing “disk space usage” line in file explorer. This line allows you to quickly estimate how much space files and folders are taking up on your hard disk.
The absence of this line can be caused by various reasons, such as improper File Explorer settings or problems with operating system updates. Fortunately, there are several methods that will help you fix this problem and bring back the “disk space usage” line in File Explorer.
One method to fix the problem is to change your File Explorer settings. To do this, open File Explorer, right-click on an empty area in the File Explorer window and select “View Settings”. In the “View” tab, make sure that the “Disk Space Usage” option is enabled.
The “disk space usage” line in Windows 11/10 File Explorer allows you to quickly see how much space files and folders are taking up on your hard disk. However, sometimes this line may be hidden or missing in Explorer. In this article, we will look at several ways to fix this problem.
1. Enabling the “disk space usage” line through File Explorer settings
After performing these steps, the “disk space usage” line should appear in File Explorer.
2. Enabling “disk space usage” via folder settings
The “disk space usage” line should appear in all File Explorer folders after performing these steps.
3. Using third-party programs or File Explorer extensions
If you can’t solve the problem of missing “disk space usage” line using the built-in Windows File Explorer settings, you can try using third-party programs or File Explorer extensions that add this feature. Some of them are available online for free.
In conclusion, the problem of no “disk space usage” line in File Explorer on Windows 11/10 can be solved by using Explorer settings or by using third-party programs. Try all the suggested methods and choose the one that suits you the most conveniently.
The problem of missing “Disk Space Usage” line in File Explorer on Windows 11/10 can be caused by several reasons. The following list summarizes the possible causes and troubleshooting suggestions:
If none of the above methods helped you to recover the “Disk Space Usage” line in File Explorer, it is recommended to seek support from experts or the official Windows community forum.
The absence of “Disk Space Usage” line in File Explorer on Windows 11/10 can be caused by various reasons. Below are a few possible solutions for this problem:
Read Also: Call of duty latency: how to improve network performance with these tips?5. Update the operating system 6. Right-click on the Start button and select Options.
7. In the Settings window, select Update and Security. 8. From the left menu, select the “Windows Update” tab.
Read Also: How to Forget Wi-Fi Network on Mac OS and Fix Connection Problems9. Click on “Check for updates” and wait for the process to complete. 10. Install all available updates and restart your computer. 11. Modify the system registry 12. Press the Win + R key combination to open the Run window. 13. Type “regedit” and click “OK” to open the registry editor. 14. In the registry editor, navigate to the following path: HKEY_LOCAL_MACHINE\SOFTWARE\Microsoft\Windows\CurrentVersion\Explorer\Advanced\Folder\Size. 15. Make sure that the following values are present on the right side of the window: Value data: {b725f130-47ef-101a-a5f1-02608c9eebac} and Type: REG_SZ. If they are missing, create them by right-clicking in an empty area and selecting New -> String Value. 16. After creating the values, right-click on each of them and select “Modify”. 17. Enter the appropriate values for each of the fields and click “OK”. 18. Close the registry editor and restart your computer for the changes to take effect.
If none of the suggested solutions helped to restore the “Disk Space Usage” line in File Explorer, it is recommended to contact Microsoft Support or try additional diagnostic procedures.
The absence of the “disk space usage” line in File Explorer on Windows 11 may be due to several reasons. This feature may have been disabled in the Explorer settings or in the system registry. To enable this line, you should follow some steps, which are detailed in the article.
If you are missing this line in File Explorer on Windows 10, you should follow some simple steps. First, open File Explorer, then right-click on any of the column headers and select “More…” from the context menu. In the window that appears, select the “Disk Space Usage” line and check the box next to it. After that, click “OK” and the “disk space usage” line should appear in File Explorer.
The setting to display disk space usage in File Explorer on Windows 11 is different than on Windows 10. To enable this feature, open File Explorer and click on the “View” icon at the top of the window. From the drop-down menu, select “Preferences” and then click on the “View” tab. In this tab, find “Show disk information as a column” and check the box next to it. After that, click “OK” and the “disk space usage” row will be displayed in File Explorer.
If disk space information is not displayed in File Explorer on Windows 11, the problem may be related to a setting or a bug in your system. Try the following steps: 1) Make sure that Disk Space Usage Display is enabled as described in the previous answers. 2) Restart your computer and check again. If the problem persists, you may need to upgrade Windows or contact technical support for further assistance.
Minecraft login error: how to fix in windows 11? Windows 11 owners who love to play Minecraft may encounter a problem while logging into the game. …
Read Article
How to fix Galaxy Watch Active won’t turn on | watch has No Power issue If you find that your Samsung Galaxy Watch Active is not turning on or …
Read Article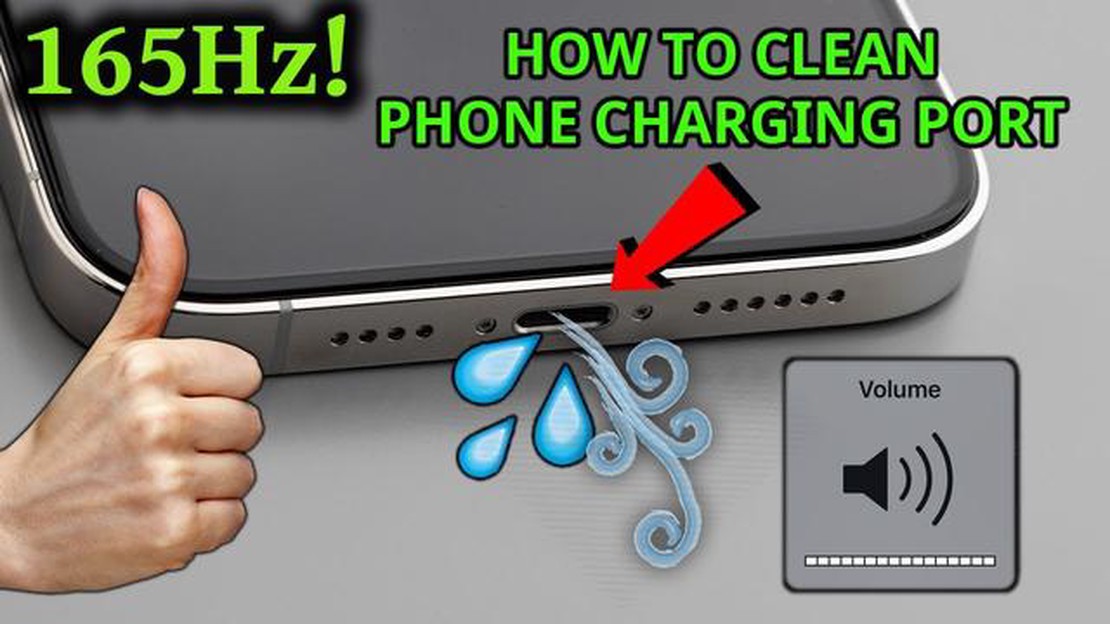
Best Way To Get Water Out Of Charging Port Accidentally getting water in your smartphone’s charging port can be a stressful situation. Water can cause …
Read Article
How To Fix Dead by daylight Keeps Lagging On PC If you’re a fan of the popular multiplayer horror game Dead by Daylight and you’re experiencing lag …
Read Article
5 Best Free Online Photo Storage Services in 2023 In today’s digital age, storing and sharing photos has become an essential part of our lives. With …
Read Article
Gaming laptop vs macbook pro, which one to choose? When choosing a powerful computer for gaming and work, you may face a dilemma: gaming laptop or …
Read Article


