

Fix Printer Not Responding Error on Windows 10 - Step by Step Guide
How To Fix Printer Not Responding Error On Windows 10 Printing documents is an essential task for many computer users, but it can be frustrating when …
Read Article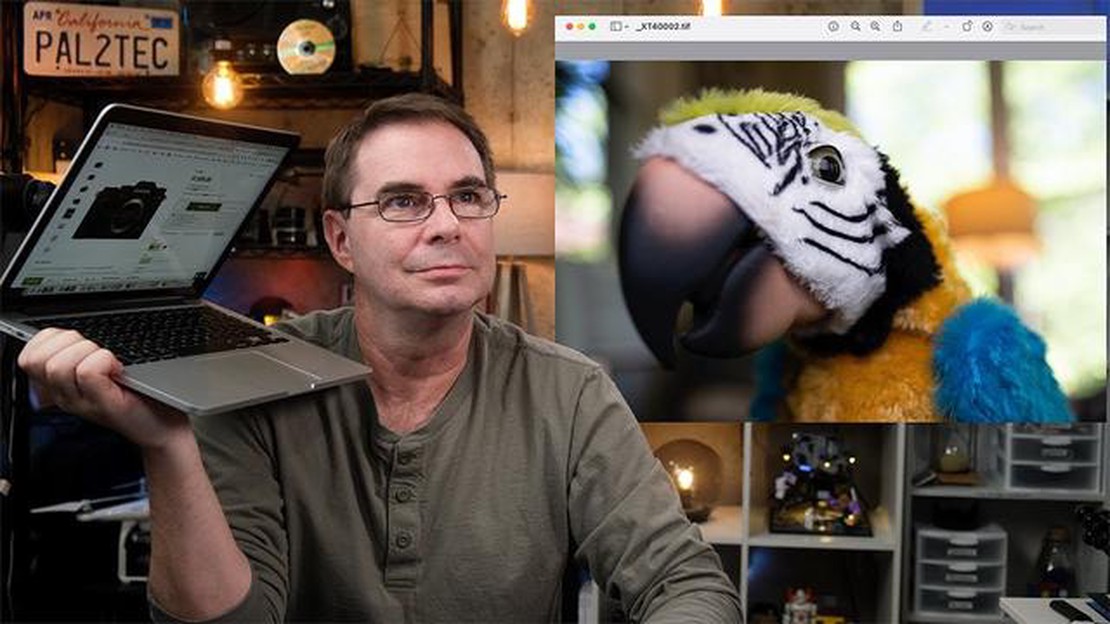
WebP images have become popular on websites due to their resource efficiency and compression. However, sometimes you may need to convert these images to JPG format. For example, for use in programs that do not support the WebP format.
If you have a Mac, you have a few easy ways to accomplish this task. One of those ways is to use the standard tool pre-installed on your Mac, Picture Viewer. This is an easy and convenient way to perform the conversion.
First of all, locate the WebP image that you want to convert to JPG format. Then right click on the image and select “Open with” -> “View Images”.
In the “Image Viewer” window, open the “File” menu and select “Export”. You will be prompted to select the name and format of the file to be saved. Set the file name and choose the format “JPEG”. Then click the “Save” button.
Once you click “Save”, the image will be converted from WebP format to JPG format. Now you can easily use this image on your Mac or share it with others.
WebP is an image compression format developed by Google that provides high quality with small file size. However, in some cases, you may need to convert WebP images to a more common format such as JPG. If you have a Mac, you can use special programs to convert WebP images to JPG format. This guide shows you how to do that.
The first step is to install the image converter on your Mac. The following programs are recommended:
Launch the image converter program of your choice and select the option to open a file or image. Find the WebP format image you want to convert and open it in the program.
After opening the image, select the “Save As” or “Export” option from the program menu. In the dialog box that appears, select “JPG” or “JPEG” as the target conversion format.
Some image converters allow you to customize the conversion settings to achieve optimal image quality. You can adjust settings such as resolution, compression quality, and color space. However, if you are not familiar with the values of these parameters, it is recommended that you leave them at their default values.
After configuring the conversion settings, select the save file option and choose the folder or location where you want to save the converted image in JPG format. Make sure you select the correct file extension (.jpg) and click “Save” or “OK” button.
Once the conversion process is complete, you can open the converted image in any image viewer to verify that it has been successfully converted to JPG format. You can also compare the file size of the converted image with the original image to see if the conversion was effective.
That’s it! Now you have a step-by-step guide on how to convert WebP images to JPG format on Mac. Don’t forget that keeping a copy of the original WebP image can be useful if you need to use it in the future.
Before you begin the process of converting WebP format images to JPG format on Mac, there are a few preparatory steps to follow:
Once you’ve completed these preparatory steps, you’ll be ready to start converting WebP to JPG images on your Mac.
WebP is a compressed image format developed by Google. However, in some cases it becomes necessary to convert WebP images to the more popular JPG format. In this article, we will look at how you can perform the conversion without using third-party programs on your Mac operating system.
Read Also: How to convert a website into a mobile app with firstwireapps
Step 1: Select the WebP image you want to convert.
Step 2: Open the Mac image viewer by double-clicking on the WebP image.
Read Also: Easy Steps: How to Enable Unknown Sources on Samsung Galaxy A52 5G
Step 3: Press the key combination Cmd + Shift + 4 + space bar on your keyboard. Your cursor should turn into a camera icon.
Step 4: Press the space bar on your keyboard and click on the image viewer window. This will take a screenshot of the viewer screen.
Step 5: Open the Viewer program on your Mac and select File -> Open.
Step 6: In the window that appears, select the WebP viewer screenshot you just took and click “Open”.
Step 7: In the screen shot window that opens, press the key combination Cmd + Shift + 4 and select the area where the image is located with no surrounding elements.
Step 8: Press Enter on your keyboard to save the selection area as an image.
Step 9: In the window that appears, select the folder where you want to save the converted image and click the “Save” button.
Step 10: Open the selected folder to find the converted image in JPG format.
That’s it!!! You now have a converted image in JPG format that you can use without any additional programs on your mac. Keep in mind that this uses a screenshot and image cropping method, so the final image may have slight changes in quality and size compared to the original WebP image.
Apart from using online tools, there are several software tools that allow you to convert WebP images to JPG format on Mac computers. Here are some of them:
These are just some of the possible alternative ways to convert WebP images to JPG format on Mac computers using software tools. You can choose any of these methods depending on your preferences and needs.
On a Mac, you can use the GIMP program to convert webp to jpg images.
Yes, on a Mac you can use the built-in Terminal program to convert images. Just run the command sips -s format jpeg “file_name.webp” –out “file_name.jpg”.
You can use ImageOptim to compress a webp image when converting it to jpg on a Mac. It automatically optimizes images and compresses their size.
Webp images can contain transparency, but jpg images do not support transparency. If you convert a webp image to jpg on a Mac, the transparency will be lost. If transparency is important, it is better to use the png format.
One easy way to convert webp images to jpg on Mac is to use an online converter. Choose a reliable web service, upload webp images, specify the conversion format (in this case jpg) and click “Convert” button. Once the conversion process is complete, you will be able to download the converted images in jpg format.
Yes, besides using an online converter, there are other ways to convert webp images to jpg format on Mac. For example, you can use image editing programs such as Photoshop, GIMP or Adobe Illustrator. In these programs, you can download webp images, open them, and save them in jpg format. There are also specialized programs for converting images, which can be found in the App Store or downloaded from the official websites of the developers.
How To Fix Printer Not Responding Error On Windows 10 Printing documents is an essential task for many computer users, but it can be frustrating when …
Read Article
Samsung’s Tri-Fold Smartphone: The Future of Foldable Devices In the ever-evolving landscape of smartphone technology, Samsung has once again shown …
Read Article
How to Program a Universal Remote to Emerson TV Universal remotes are a convenient way to control multiple devices without the need for separate …
Read Article
Facebook Freezes on Galaxy S20 Plus Samsung Galaxy S20 Plus is a powerful smartphone that offers a great user experience. However, some users have …
Read Article
How To Fix Valorant Packet Loss Issue (Proven Solutions) Valorant is a popular online multiplayer game that is enjoyed by millions of players around …
Read Article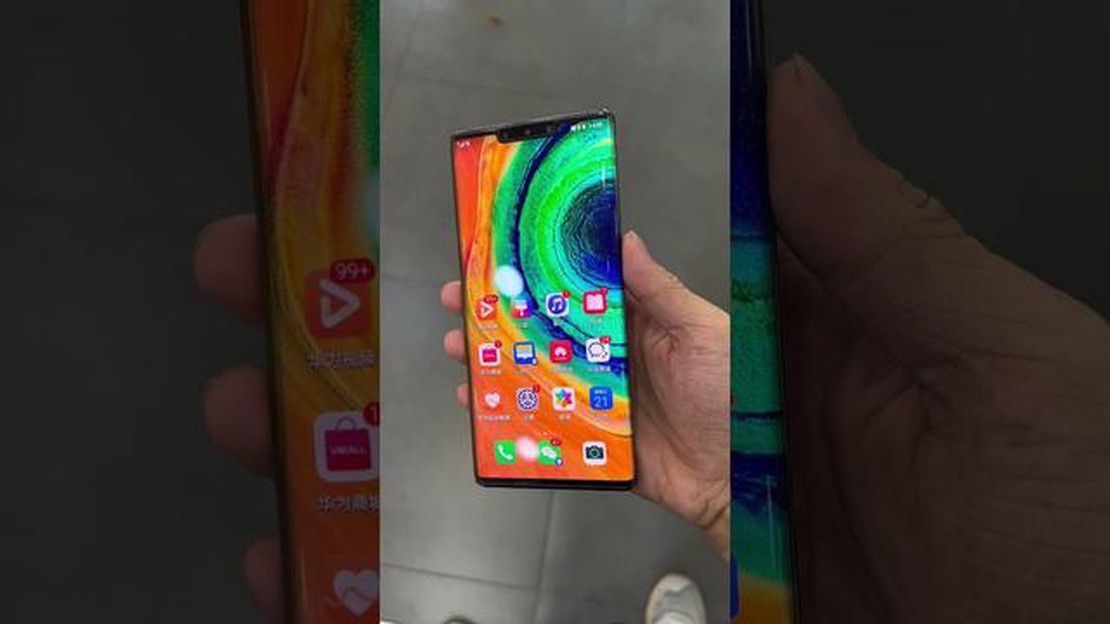
Huawei mate 30 pro leaks four cameras 5g support A new smartphone from Huawei, the Huawei Mate 30 Pro, has recently been leaked on the web. The leak …
Read Article


