


How to Access Instagram Photos without an Account: Step-by-Step Guide
How to view Instagram photos without account? Instagram is undoubtedly one of the most popular social media platforms, allowing users to share their …
Read Article
DirectX shader caches are small files that are stored on your computer and are used to optimize the performance of graphics applications. However, over time, these files can accumulate and take up valuable disk space and cause problems with the performance of games and other applications.
Windows 11 has a special tool that you can use to quickly and easily clear the DirectX shader cache. This step by step instruction will describe the process of removing the cache using this tool.
Step 1: Open Windows 11 Settings. To do this, right-click on the Start icon in the lower left corner of the screen, and then select Settings.
Step 2: In the Settings window, select System and then click on the Storage tab.
Step 3: On the Storage tab, find the Other Storage section and click the Clear button.
Step 4: Confirm the removal of the DirectX shader cache by clicking the Clear button.
Once these steps are completed, the DirectX shader cache will be completely removed from your computer, which can help fix problems with your graphics applications and improve system performance. And don’t forget to periodically clear the shader cache to prevent it from accumulating and to conserve free disk space.
Note: Clearing the DirectX shader cache will not affect the operating system or other programs. It is a safe procedure that can be performed at any time.
Shaders are special programs that run on the graphics processor to process images and create effects in computer games and other graphics applications. The DirectX shader cache is designed to temporarily store compiled versions of shaders to speed up their reuse and improve performance.
However, over time, the shader cache can become full and begin to slow down the shader loading process, which can cause performance degradation and other problems when starting and running graphics applications.
Clearing the DirectX shader cache in Windows 11 is recommended in the following cases:
Clearing the shader cache can help fix these problems by removing outdated or corrupted versions of shaders, and recompiling them using the latest drivers and settings.
The procedure to clear the DirectX shader cache in Windows 11 usually does not take much time and does not require any special knowledge or skills. It can be performed with the help of a special utility or by manually deleting files from a specific directory on the computer.
Important to remember:
The shader cache in DirectX is an important component of the system that is responsible for computer performance. Shaders are small programs that are used to process graphics data and create visual effects in games and applications.
When a shader cache is used, DirectX stores compiled versions of the shader programs on your computer’s hard disk. When you restart a game or application, these compiled versions can be loaded much faster than recompiling them each time.
Read Also: Iphone stuck in headphone mode? 5 effective ways to solve the problem
Having a shader cache avoids the additional overhead of processing and compiling shader programs, which has a positive effect on computer performance.
However, sometimes there are situations when the shader cache can have a negative impact on computer performance. For example, if too many outdated versions of shaders are accumulated in the cache, they take up additional disk space and can slow down the loading of new shaders.
Read Also: Simple Solutions for PS4 Not Reading Discs or Unrecognized Disc Error
Also, if the shader cache files are corrupted or damaged, it can cause games and applications to crash or malfunction, even displaying incorrectly or crashing.
Therefore, it is important to regularly clear the shader cache to ensure optimal computer performance and stable operation of games and applications that use DirectX.
The DirectX shader cache is a special repository where the Windows operating system stores and uses data about previously loaded shaders. Shaders are software components responsible for displaying graphics and effects in computer games and applications.
Clearing the DirectX shader cache can be useful if you are experiencing graphics-related problems with your games or applications, such as poor performance or visual artifacts. In such cases, clearing the shader cache can help fix the problem.
To clear the DirectX shader cache in Windows 11, follow these steps:
After the reboot, the DirectX shader cache will be completely cleared and your system will use the new shaders when loading games and applications. If graphics problems persist, you may need to update your graphics card drivers or make additional adjustments to graphics settings in games or applications.
Keep in mind that clearing the shader cache may take some time and may not be available or named differently on some versions of DirectX and Windows operating systems. Make sure you perform the steps carefully and follow the instructions provided by the appropriate programs and components on your computer.
Before you can clear the DirectX shader cache in Windows 11, you need to open a command prompt in administrator mode. Follow the instructions below:
This will open a command prompt with administrator privileges, which we will use to perform the following steps.
After opening the command prompt in Windows 11, you can enter a command to clear the DirectX shader cache. Follow these steps:
dxcache delete and press the Enter key.dxcache delete command will delete all DirectX shader cache files on your computer.Please note that the cache delete process may take some time, depending on the amount of data stored in the cache. Once the process is complete, you will receive a message stating that the DirectX shader cache has been successfully deleted.
Clearing the DirectX shader cache in Windows 11 can be useful in several ways. First, it can help resolve performance issues with games or applications caused by improperly compiled or outdated shaders. Second, it can help update shaders to the latest version if the video driver vendor has released an update. Third, clearing the shader cache can help fix graphics display problems in games or applications.
In some cases, clearing the DirectX shader cache may cause temporary graphics display problems in games or applications. This is because after clearing the shader cache, the computer must recompile all the shaders again, which can take some time. In most cases, the problem is resolved automatically after restarting the game or application.
If you are having performance problems with your games or applications, if you are having problems displaying graphics, or if you want to update your shaders to the latest version, then clearing the DirectX shader cache may be helpful. However, if you have no performance or graphics display issues, then clearing the shader cache is probably not necessary.
Clearing the DirectX shader cache can be useful if you are experiencing graphics or performance issues with games or other graphics applications. Clearing the shader cache can help you avoid possible conflicts and graphics display problems.
How to view Instagram photos without account? Instagram is undoubtedly one of the most popular social media platforms, allowing users to share their …
Read Article
Moondrop chu review: this is quality and clarity of sound at this price! We all want to enjoy high quality sound, but we are often faced with the …
Read Article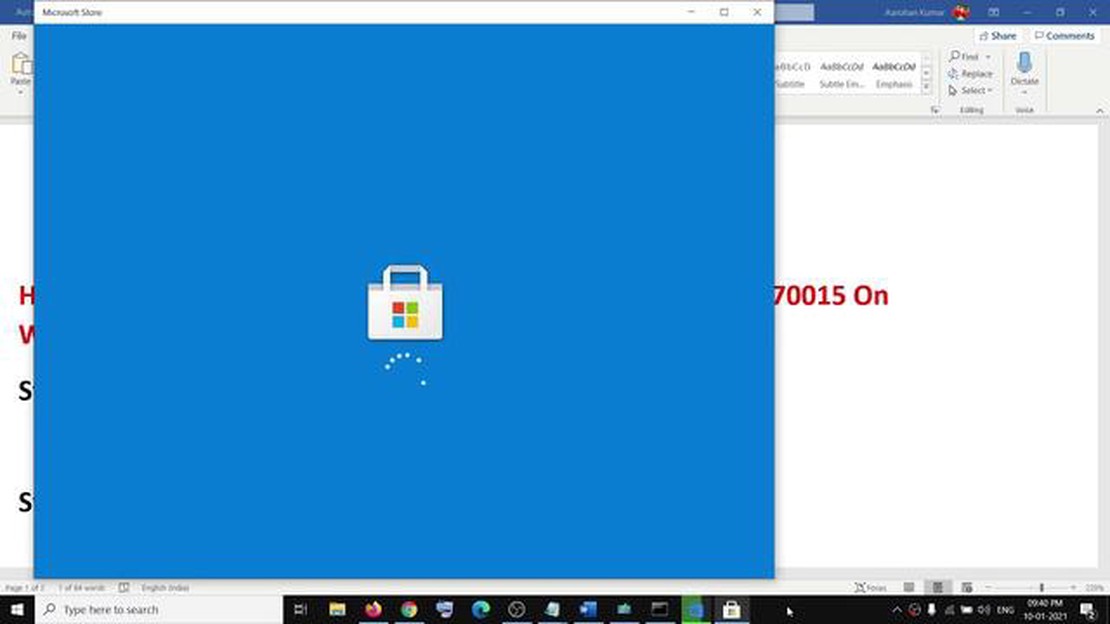
How To Fix Windows Store Install Error 0x80070015 Problem If you’ve encountered the Windows Store install error 0x80070015, you’re not alone. Many …
Read Article
How to Reset Camera App Settings on Samsung Galaxy S21 | Restore Camera Defaults The Samsung Galaxy S21 is equipped with an advanced camera system …
Read Article
Planetside 3 announced by daybreak games. Daybreak Games, one of the leading companies in the gaming industry, has announced the release of a new game …
Read Article
Building a website in 2023: how much does it cost? Creating a website is an important step for any business or organization in today’s world. In 2023, …
Read Article


