


How To Fix PS4 Warzone Pacific Content Package Is No Longer Available
Troubleshooting Guide: What to Do When the PS4 Warzone Pacific Content Package is Unavailable If you’re a PS4 user and you enjoy playing Call of Duty: …
Read Article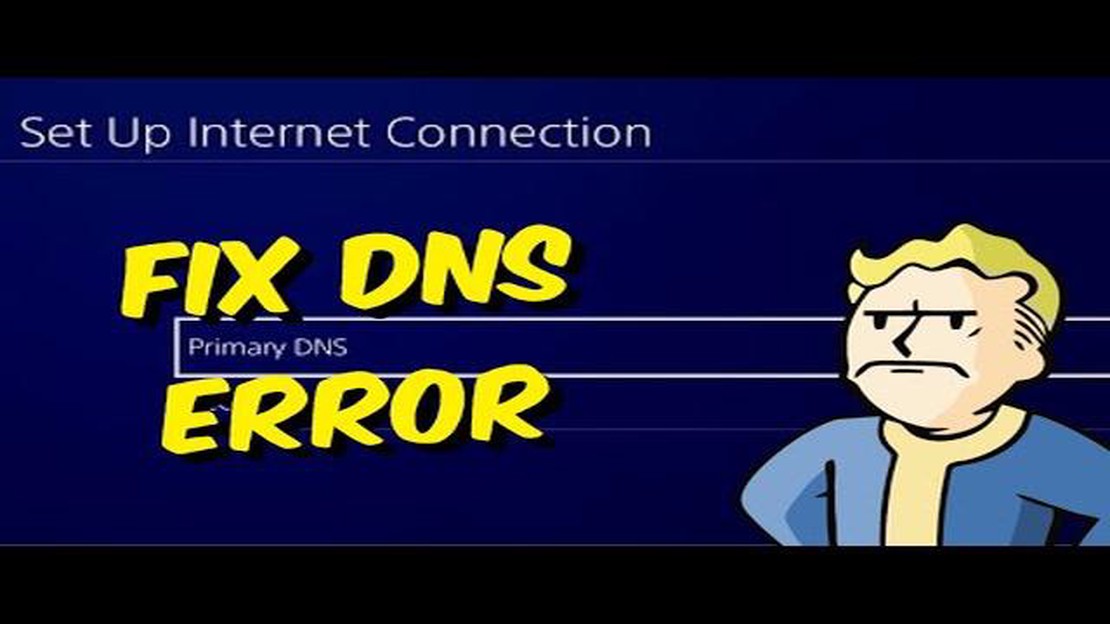
PlayStation 4 (PS4) is a popular gaming console that allows you to enjoy a multitude of games and applications. However, like any other device, it can run into network issues that can slow down or completely interrupt your user experience. One way to solve these problems is to change the DNS on your PS4.
DNS, or Domain Name System, plays an important role in your console’s network connection to the Internet. It translates text-based domain names, such as “google.com,” into IP addresses that are used to communicate with servers. Sometimes using alternative DNS servers can improve the speed and stability of your Internet connection, as well as solve problems with the accessibility of certain websites or services.
To change the DNS on your PS4, you’ll need to go to your console’s network settings. Notably, you can use either the DNS provider provided by your internet service provider or alternative DNS servers such as Google DNS, OpenDNS or Cloudflare DNS. It is only important to make sure that you are using the correct IP address of the DNS server.
PlayStation 4 is a powerful gaming platform, but sometimes users may encounter network connectivity problems. One way to solve these problems is to change the DNS on your PS4. DNS (Domain Name System) is a service that translates domain names into IP addresses and allows devices to connect to the network.
In this article, we will look at how to change DNS on PS4 and solve PlayStation 4 network problems.
Changing DNS on the PS4 can help solve many network problems you may encounter on the console. Here are some of the possible problems you can solve by changing DNS:
If you’re experiencing one of these issues, try changing the DNS on your PS4 using the steps above. You can also try using public DNS servers such as Google Public DNS (8.8.8.8.8 and 8.8.8.4.4) or OpenDNS (208.67.222.222 and 208.67.220.220).
Changing the DNS on your PS4 can help improve your network connectivity and solve various network issues you may encounter on your PlayStation 4 console.
DNS (Domain Name System) is a service that translates domain names into corresponding IP addresses. When you enter a web address, such as “www.google.com ”, your device sends a request to a DNS server to determine the IP address that matches that name.
DNS servers play an important role in the operation of the PlayStation 4. They perform several functions:
Changing the DNS server on your PlayStation 4 can be helpful when experiencing network issues such as delayed connection to game servers, slow loading of online content, or inability to access certain resources. The process of changing the DNS server is simple and can greatly improve the performance of your PlayStation 4.
When there are network issues on your PlayStation 4, one possible solution is to change the DNS settings. DNS (Domain Name System) is a service that translates domain names into IP addresses and allows your device to connect to the Internet.
By following this guide, you will be able to change the DNS settings on your PS4 and configure them manually:
After completing these steps, your PlayStation 4 will use the new DNS settings. If the network problem was due to incorrect DNS settings, it can be fixed after changing the DNS server.
Read Also: Information about the new Operation Shifting Tides update to Rainbow Six Siege is available here
Note that changing DNS settings does not always solve all network problems. Other possible causes of network problems on PlayStation 4 may include problems with your router, ISP, or network connection in general.
DNS (Domain Name System) is a service responsible for translating domain names into IP addresses. A properly working DNS server is an important component of a stable Internet connection. If you’re having trouble connecting to the network on your PlayStation 4, changing DNS servers can help solve the problem.
Read Also: The 12 best portable USB-enabled antivirus scanners in 2023
Here are some tips to help you choose the best DNS servers for your PlayStation 4:
Keep in mind that the optimal DNS servers may depend on your geographic location and Internet Service Provider. So experiment with different options and choose the ones that best suit your needs and provide a stable and fast network connection on PlayStation 4.
PlayStation 4 (PS4) is a popular gaming console that allows players to enjoy a variety of games and entertainment. However, sometimes PS4 may encounter network problems such as lags in online games or network connectivity issues.
One possible cause of the problems could be your DNS server, which is a server that translates domain names into IP addresses, allowing devices to connect to the network. Changing the DNS server on your PS4 can help solve some network problems.
The following steps will allow you to change the DNS server on PS4:
After completing these steps, your PS4 will use the new DNS server. If you continue to have problems with Internet connection or lags in games, try changing the DNS server to another one from the list of public DNS servers or contact your Internet Service Provider.
Changing the DNS server on your PlayStation 4 can be a helpful step in resolving network issues. We hope this information will help you enjoy gaming and entertainment on your PS4 without network problems.
To change DNS on PS4, go to system settings and select network settings. Then select the network connection you are using and select the IP setting. Select “Manual” and enter the new DNS servers you want to use. Click “Auto Search” to determine the network settings, and looks…
It is recommended that you use public DNS servers such as Google Public DNS or OpenDNS. These servers usually have high speed and reliability, which can help resolve network issues on your PlayStation 4. Alternatively, you can contact your internet service provider or use DNS servers recommended by the game’s developers.
DNS problems on PlayStation 4 can include network connection errors, slow loading speeds for pages and games, inability to connect to online services, and problems with online play. Changing your DNS servers can help resolve these issues and improve the overall performance of your console.
To choose the best DNS servers for PlayStation 4, you can use special tools and test servers to determine their speed and reliability. You can find detailed instructions and recommendations online and contact your Internet Service Provider to find out which servers are recommended for your connection.
Yes, you can use DNS servers from another country for PlayStation 4. However, please note that this may affect the speed and performance of your network, as network traffic will be going through the remote server. If you are experiencing speed or connectivity issues, it is recommended that you use the servers closest to you or those recommended by your Internet Service Provider.
To change DNS on PS4, you need to go to system settings, select “Network” and choose network setup mode. After that, you need to select the connection type, then select “Wi-Fi Connection” or “LAN Cable Connection”, then select “Custom Settings” and enter the new DNS address.
Troubleshooting Guide: What to Do When the PS4 Warzone Pacific Content Package is Unavailable If you’re a PS4 user and you enjoy playing Call of Duty: …
Read Article
Tips for finding the best online casino. In today’s world of entertainment, online casinos are extremely popular. However, it is important to choose a …
Read Article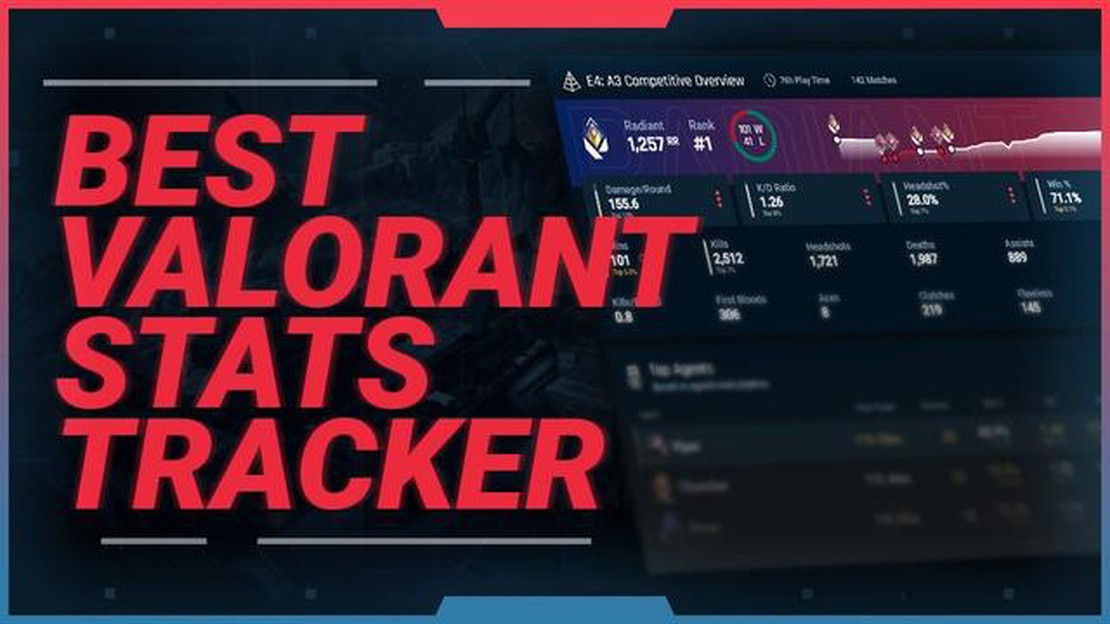
7 Best Valorant Stat Trackers As a Valorant player, it’s important to keep track of your performance and progress in the game. One way to do this is …
Read Article
Top 5 tools and apps to help students do better in college A successful college education is not only about hard work and diligence, but also about …
Read Article
How To Fix Hisense TV Volume Not Working Hisense TVs are known for their quality and reliability, but sometimes users may experience issues with the …
Read Article
How to Activate the Adaptive Power Saving Mode on the Samsung Galaxy Tab S6 and Extend Battery Life The Samsung Galaxy Tab S6 is a powerful and …
Read Article


