


12 tips: how to speed up your Windows 11 computer in 2023
12 tips to make your windows 11 computer run faster (2023 update) Windows 11 is the newest version of the operating system created by Microsoft. It …
Read Article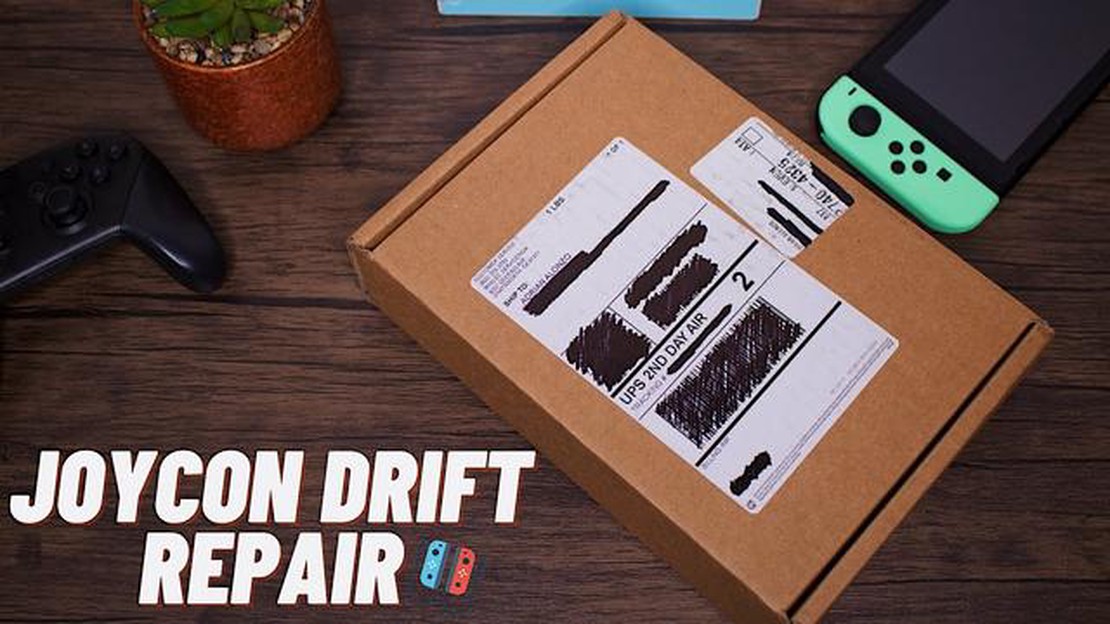
If you are experiencing issues with your Nintendo Switch and are in need of repairs, it’s important to know how to properly send in your console for service. In this guide, we will provide you with step-by-step instructions on how to send your Nintendo Switch for repair in 2023.
Step 1: Contact Nintendo Support
The first step in sending your Nintendo Switch for repair is to contact Nintendo Support. You can reach them by phone or through their online support portal. Explain the issues you are facing with your console and they will guide you through the repair process.
Step 2: Provide Necessary Information
Once you have contacted Nintendo Support, they will ask for some necessary information. This may include your console’s serial number, purchase date, and details about the issues you are experiencing. Make sure to have this information ready before contacting them.
Step 3: Follow Shipping Instructions
After providing the necessary information, Nintendo Support will provide you with shipping instructions. This may include packaging guidelines and the address to which you should send your console. Make sure to follow these instructions carefully to ensure your console is shipped safely.
Step 4: Pack Your Console Securely
When packaging your Nintendo Switch for shipping, it’s important to pack it securely to protect it during transit. Use a sturdy box and wrap the console in bubble wrap or packaging material to prevent any damage. Also, make sure to remove any game cartridges or accessories before packing.
Step 5: Send Your Console
Once your console is securely packaged, send it to the address provided by Nintendo Support. It’s recommended to use a reliable and trackable shipping service to ensure your console reaches its destination safely. Keep a copy of the shipping receipt for reference.
Step 6: Wait for Repairs
After sending your Nintendo Switch for repair, you will need to wait for the repairs to be completed. Nintendo will inform you of the estimated repair time during the support process. Be patient and avoid contacting them for updates unless necessary.
By following these step-by-step instructions, you can easily send your Nintendo Switch for repair in 2023. Remember to contact Nintendo Support for any further guidance or queries you may have throughout the repair process.
Image source: TheDroidGuy
Before sending your Nintendo Switch for repair, it is important to take a few steps to ensure that it is properly prepared. Follow these instructions to make sure your console is ready to be serviced:
Following these steps will help ensure that your Nintendo Switch is properly prepared for repair and that it arrives safely at the repair center. Once your console is ready, you can proceed with sending it in for repair according to the instructions provided by Nintendo.
Before sending your Nintendo Switch for repair, it’s important to properly disconnect and package it to ensure its safe transport.
Once you have properly disconnected and packaged your Nintendo Switch, you are ready to proceed with sending it for repair. Follow the remaining steps in this guide to ensure a smooth repair process.
Read Also: How to learn online trading by playing games: tips and advice
Before sending your Nintendo Switch for repair, it is important to backup and save your data to prevent any loss or damage. Follow these steps to backup and save your data:
8. Games: 9. Go back to the home menu and select “All Software.” 10. Choose each game individually and check if they have cloud backup options. 11. If yes, enable cloud backup for those games. 12. If no cloud backup options are available, insert a microSD card and transfer the game data to the card.
Read Also: Top 5 Noise Cancelling Earbuds of 2023: The Ultimate Buyer's Guide13. SD Card: 14. If you have an SD card inserted, remove it from your Nintendo Switch. 15. Label the SD card with your name and contact information for easy identification. 16. Purchases: 17. Note down any purchases you have made on the Nintendo eShop, including games and DLC. 18. This will help you to reinstall them easily after the repair. 19. User Profile: 20. Go to “System Settings” and select “Users.” 21. Select your user profile and choose “Delete User” or “Unregister.” 22. This will remove your profile from the Nintendo Switch, but your save data will still be available after the repair.
| Important Note: |
|---|
| It is essential to back up your data before sending your Nintendo Switch for repair. While most repairs are usually safe, there is a possibility of data loss during the repair process. Taking these precautionary steps will ensure that your data is protected and can be restored easily after the repair. |
When your Nintendo Switch needs repair, it’s crucial to find a reliable and trustworthy repair service. Here are some steps to help you find the right one:
By following these steps, you can find a reliable repair service for your Nintendo Switch and ensure that your device is in capable hands. Remember to do thorough research and consider all the factors discussed to make an informed decision.
When it comes to sending your Nintendo Switch for repair, it’s important to choose a reliable and authorized service center. Doing proper research before sending your device can ensure that you get the best service and support.
Here are some steps to follow when researching authorized service centers:
By following these steps and researching authorized service centers thoroughly, you can ensure a smooth and reliable repair process for your Nintendo Switch.
When looking to send your Nintendo Switch for repair, it’s important to read customer reviews to ensure you are choosing a reputable service provider. Customer reviews can provide valuable insights into the quality of service offered by a repair company and can help you make an informed decision.
Here are some tips on how to effectively read and analyze customer reviews:
By thoroughly reading and analyzing customer reviews, you can gain insights into the quality of service offered by a repair company and make a more informed decision when sending your Nintendo Switch for repair.
Yes, Nintendo offers a warranty for repaired Nintendo Switch consoles. The standard warranty period is usually 90 days or 1 year, depending on the region. However, it’s always recommended to check the terms and conditions of the specific repair service you are using.
The repair duration for a Nintendo Switch can vary depending on the issue and the repair service. Typically, it can take anywhere from a few days to a few weeks. However, you can always check with Nintendo Customer Support for an estimated timeline for your specific repair case.
Yes, you can track the progress of your Nintendo Switch repair by contacting Nintendo Customer Support and providing them with your repair request number. They will be able to provide you with updates on the status of your repair.
If your repaired Nintendo Switch is still not working properly after you receive it, you should contact Nintendo Customer Support immediately. They will guide you through the next steps, which may include sending the console back for further repairs or offering a replacement.
12 tips to make your windows 11 computer run faster (2023 update) Windows 11 is the newest version of the operating system created by Microsoft. It …
Read Article
How to fix a Samsung Galaxy Note 5 that keeps rebooting or randomly shuts down plus other power problems If you own a Samsung Galaxy Note 5 and have …
Read Article
How to Fix Ixion Won’t Launch Are you having trouble launching Ixion, the popular gaming app? Don’t worry, we’re here to help! In this troubleshooting …
Read Article
The main competitor of xiaomi mi band 5 has appeared: the first oneplus smart bracelet is presented Chinese company OnePlus has announced the release …
Read Article
Apex legends wingman tricks. The Wingman is one of the most powerful weapons in the Apex Legends game. The uniqueness of this gun lies not only in its …
Read Article
How to grow local businesses in 2023 Local business has always been a heightened interest for entrepreneurs focused on a specific geographic location. …
Read Article


