

How to Troubleshoot and Fix WiFi Won't Turn On for Android Phones
How To Fix WiFi Won’t Turn On For Android Phones If you’re having trouble connecting to WiFi on your Android phone, it can be frustrating and …
Read Article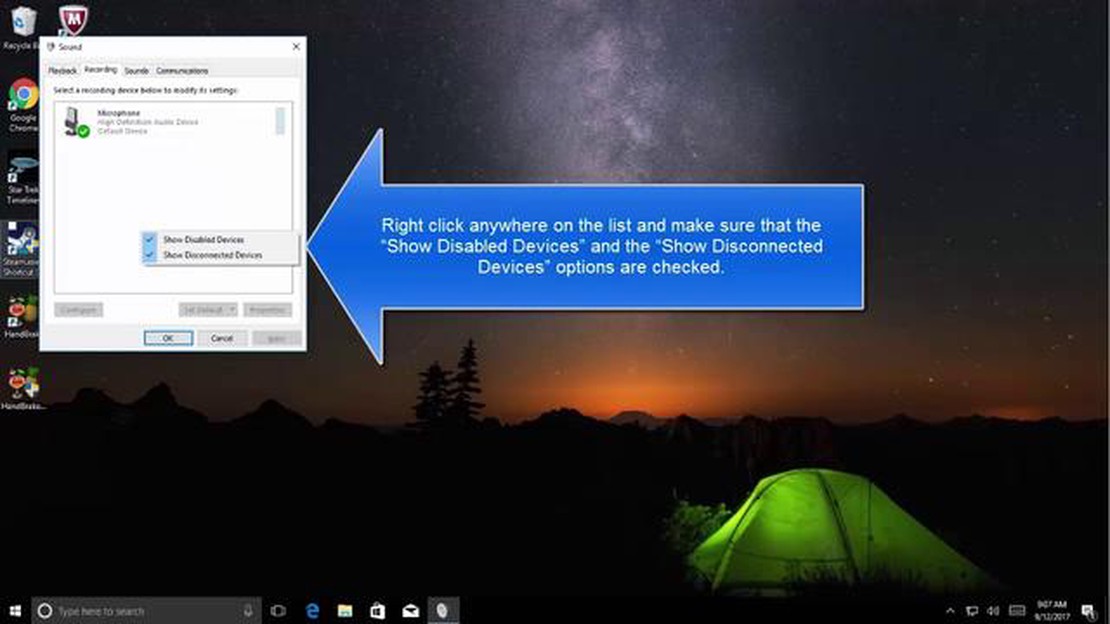
If you are experiencing issues with your HyperX Cloud 2 microphone not working on Windows, you’re not alone. Many users have encountered this problem and it can be frustrating when you can’t communicate with your teammates or use voice chat in games. Fortunately, there are several troubleshooting steps you can take to resolve this issue and get your microphone working again.
Step 1: Make sure the microphone is properly connected.
The first thing you should do is check the connection between your HyperX Cloud 2 headset and your computer. Ensure that the microphone is securely plugged into the mic port on your computer. You can also try unplugging and re-plugging the microphone to ensure a good connection. Additionally, make sure that your headset is properly connected to your computer’s audio jack.
Step 2: Check your Windows audio settings.
Next, you’ll want to check your Windows audio settings to ensure that the microphone is selected as the default recording device. To do this, right-click on the speaker icon in the taskbar and select “Sounds.” Go to the “Recording” tab and make sure that your HyperX Cloud 2 microphone is set as the default device. You can also adjust the microphone’s volume and levels from this menu.
Step 3: Update or reinstall drivers.
If the above steps didn’t resolve the issue, it’s possible that your microphone drivers are outdated or corrupted. You can try updating the drivers by going to the device manager, finding the microphone in the list of devices, right-clicking on it, and selecting “Update driver.” If that doesn’t work, you can try uninstalling the drivers and then reinstalling them. To do this, right-click on the microphone in the device manager and select “Uninstall device.” After that, restart your computer and the drivers should be automatically reinstalled.
Step 4: Test the microphone on another device.
If none of the above steps have worked, it’s possible that there is a hardware issue with your HyperX Cloud 2 microphone. To determine if this is the case, you can try testing the microphone on another device, such as a different computer or a smartphone. If the microphone works on another device, then the issue is likely with your computer settings or drivers. However, if the microphone doesn’t work on any device, you may need to contact HyperX support for further assistance or consider getting a replacement microphone.
Read Also: Develop your math potential with these 5 fun hobbies
By following these step-by-step instructions, you should be able to resolve the issue of your HyperX Cloud 2 microphone not working on Windows. Remember to check the connection, adjust your Windows audio settings, update or reinstall drivers, and test the microphone on another device. With a little troubleshooting, you’ll be back to using your headset and communicating with others in no time.
If you’re experiencing issues with your HyperX Cloud 2 microphone not working on Windows, you’re not alone. Many users encounter this problem, but fortunately, there are several troubleshooting steps you can take to resolve the issue. This step-by-step guide will walk you through the process of fixing your HyperX Cloud 2 microphone.
Read Also: How to Factory Reset Redmi Note 8 - Step-by-Step Guide to Erase All User Data and Settings
By following these steps, you should be able to fix the HyperX Cloud 2 microphone not working issue on Windows. If the problem persists, it’s recommended to contact HyperX support for further assistance.
The HyperX Cloud 2 microphone not working issue on Windows can be caused by a variety of factors. Here are some of the possible causes:
Identifying the underlying cause of the microphone not working issue is important in order to implement the appropriate solution. By troubleshooting these potential causes, you can resolve the problem and get your HyperX Cloud 2 microphone working again on Windows.
If you are experiencing issues with your HyperX Cloud 2 microphone not working on Windows, follow these steps to troubleshoot and fix the problem:
By following these steps, you should be able to troubleshoot and fix the issue with your HyperX Cloud 2 microphone not working on Windows.
There could be several reasons why your HyperX Cloud 2 mic is not working on Windows. It could be due to incorrect audio settings, outdated drivers, or hardware issues.
To check if your HyperX Cloud 2 mic is enabled on Windows, you can go to the “Sound” settings in the Control Panel or the “Sound” menu in the taskbar. Look for the HyperX Cloud 2 microphone in the list of recording devices and make sure it is set as the default device.
Yes, the HyperX Cloud 2 headset comes with a limited warranty. The length of the warranty may vary depending on the region and the specific model of the headset. It is recommended to check the warranty information provided by HyperX or contact their support team for more details.
How To Fix WiFi Won’t Turn On For Android Phones If you’re having trouble connecting to WiFi on your Android phone, it can be frustrating and …
Read Article
How To Fix PS4 Controller Won’t Connect Or Sync | Easy Steps If you’re experiencing issues with your PS4 controller not connecting or syncing to your …
Read Article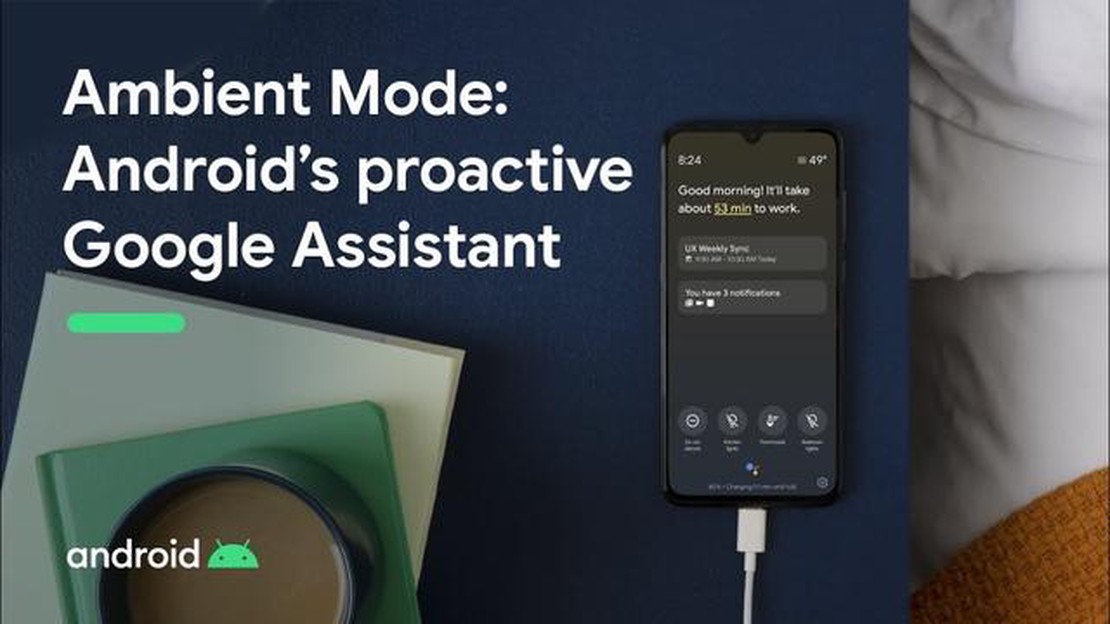
Android’s New ‘Ambient Mode’ Feature Turns Your Phone into a Smart Display While Charging Android users have recently been treated to a new feature …
Read Article
Overview of ozwin Ozwin is an online casino that offers players a wide range of gambling entertainment. The platform is known for its reliability and …
Read Article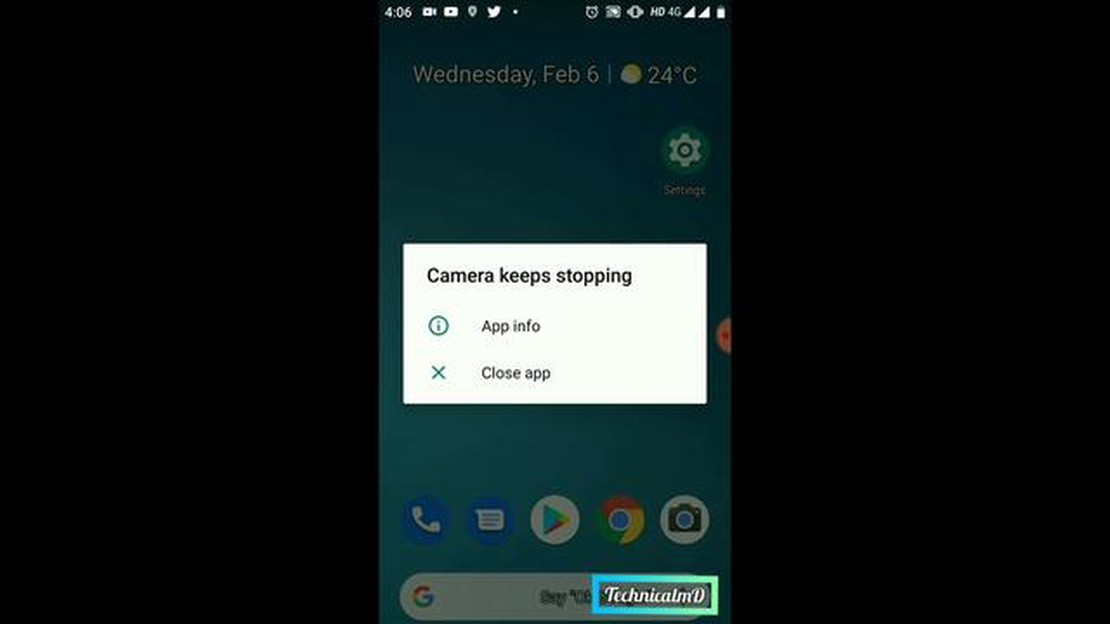
What to do when you encounter ‘Unfortunately, camera has stopped’ error on your HTC U11? (Troubleshooting Guide) Are you having trouble with your HTC …
Read Article
How to close more sales with social media advertising. Social media has become an integral part of our daily lives. Millions of people around the …
Read Article


