


The best game remasters of the last 5 years: top updates of classic games
The best game remasters of the last 5 years. Game remasters are a way to revitalize and reimagine classic projects, adapting them to modern technology …
Read Article
If you’re experiencing issues with Google Drive on your Galaxy S20, such as slow performance or files not syncing properly, it may be time to clear the cache. Clearing the cache can help resolve these problems and improve the overall performance of the app. In this step-by-step guide, we’ll walk you through the process of clearing the Google Drive cache on your Galaxy S20.
Step 1: Open Settings
To begin, open the Settings app on your Galaxy S20. You can do this by swiping down from the top of your screen and tapping on the gear icon at the top right corner, or by finding the app in your app drawer.
Step 2: Navigate to Apps
In the Settings menu, scroll down and tap on the “Apps” option. This will bring up a list of all the apps installed on your device.
Step 3: Find Google Drive
In the Apps menu, scroll through the list until you find “Google Drive”. Tap on it to open the app’s settings.
Step 4: Clear Cache
In the Google Drive settings, tap on the “Storage” option. This will bring up information about the app’s storage usage.
Step 5: Clear Cache
On the Storage screen, tap on the “Clear Cache” button. A confirmation message will appear asking if you want to clear the cache. Tap “OK” to proceed.
Step 6: Restart Google Drive
After clearing the cache, exit the Google Drive settings and restart the app. This will ensure that the changes take effect.
By following these steps, you should now have successfully cleared the Google Drive cache on your Galaxy S20. This can help resolve any performance issues you were experiencing and ensure that the app is running smoothly. If you continue to have problems, you may want to consider reinstalling the app or contacting Google support for further assistance.
If you’re experiencing issues with Google Drive on your Samsung Galaxy S20, clearing the cache can help resolve these problems. Clearing the cache will remove temporary files and data that may be causing errors or glitches. Here’s a step-by-step guide on how to clear Google Drive cache on your Galaxy S20:
Once you’ve cleared the cache, restart your Galaxy S20 and open Google Drive again. The app should now function properly without any cache-related issues. If the problems persist, you can also try clearing the app data or reinstalling Google Drive.
Read Also: Fix Roblox 266 Error Code in 2023 - 5 Easy Steps to Solve the Problem
Note that clearing the cache will not delete any of your files or data stored in Google Drive. It will only remove temporary files and data that may be causing issues with the app.
To clear the Google Drive cache on your Samsung Galaxy S20, you will first need to access the settings menu of your device. Follow the steps below to do so:
By following these steps, you will be able to access the Settings menu and locate the Google Drive app on your Samsung Galaxy S20.
After opening the Settings app, scroll down until you find the “Apps” section. This section might be labeled differently depending on the version of Samsung Experience or One UI that is installed on your Galaxy S20.
Read Also: Manually installing the latest Realtek network driver for Windows 11
Note: On some devices, you may need to tap on the “Apps & notifications” or “Applications” option before you can access the Apps section.
Once you’ve located the Apps section, tap on it to open the list of all installed applications on your device.
Alternatively, you can also access the Apps section by swiping left or right on the home screen of your Galaxy S20 until you find the “Settings” icon, and then tapping on it. From there, you can follow the same steps to locate the Apps section.
After accessing the Settings menu, scroll down and tap on the “Apps” option. This will open a list of all the apps installed on your Galaxy S20.
Scroll through the list until you find “Google Drive,” then tap on it to access the app’s settings.
If you can’t find “Google Drive” in the list, try tapping on the three-dot menu icon in the top-right corner of the Apps screen and select “Show system apps.” This will display all the system apps installed on your device, including Google Drive.
Once you have located Google Drive, tap on it to proceed to the app settings.
If you are experiencing issues with Google Drive on your Samsung Galaxy S20, clearing the cache can help resolve them. The cache stores temporary data that can sometimes become corrupted or outdated, causing problems with the app’s functionality. Follow the steps below to clear the cache for Google Drive:
Once you have cleared the cache, you can open the Google Drive app again and see if the issues have been resolved. If not, you may need to try other troubleshooting steps or contact Google support for further assistance.
Clearing the Google Drive cache can help resolve issues such as lag, slow performance, or syncing problems on your Galaxy S20. It can also free up storage space on your device.
You can clear the Google Drive cache on your Galaxy S20 by going to the device’s Settings, then Apps, finding Google Drive, and selecting the “Clear Cache” option.
No, clearing the Google Drive cache will not delete any of your files. It will only remove temporary data and files that are stored locally on your device.
Regularly clearing the Google Drive cache on your Galaxy S20 is not necessary, but it can help improve the performance of the app and free up storage space on your device.
If clearing the Google Drive cache doesn’t resolve your issues on your Galaxy S20, you can try force stopping the app, clearing its data, or even reinstalling the app to see if that helps resolve the problem.
The best game remasters of the last 5 years. Game remasters are a way to revitalize and reimagine classic projects, adapting them to modern technology …
Read Article
Top 20 Android-Compatible Wearables Better Than The Apple Watch In the world of wearables, the Apple Watch may be the most well-known device, but …
Read Article
How to Delete PSN Account in 2023 Are you ready to move on from your PSN account? Deleting your PlayStation Network (PSN) account is a straightforward …
Read Article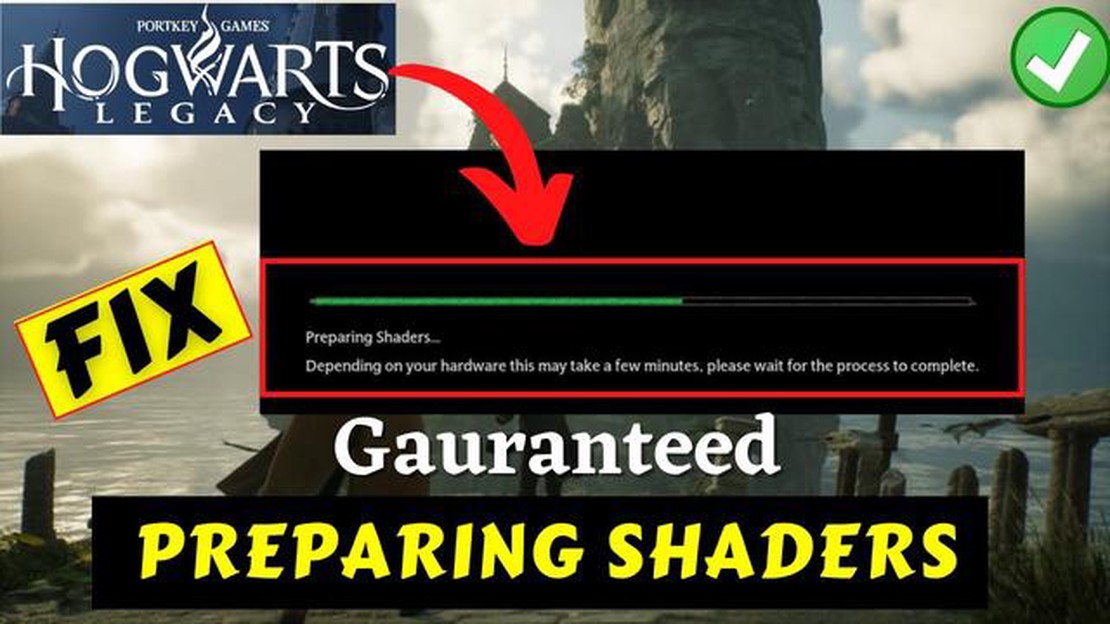
How to Fix Hogwarts Legacy Compiling Shaders Issue Are you a fan of the Harry Potter series and excited to dive into the magical world of Hogwarts …
Read Article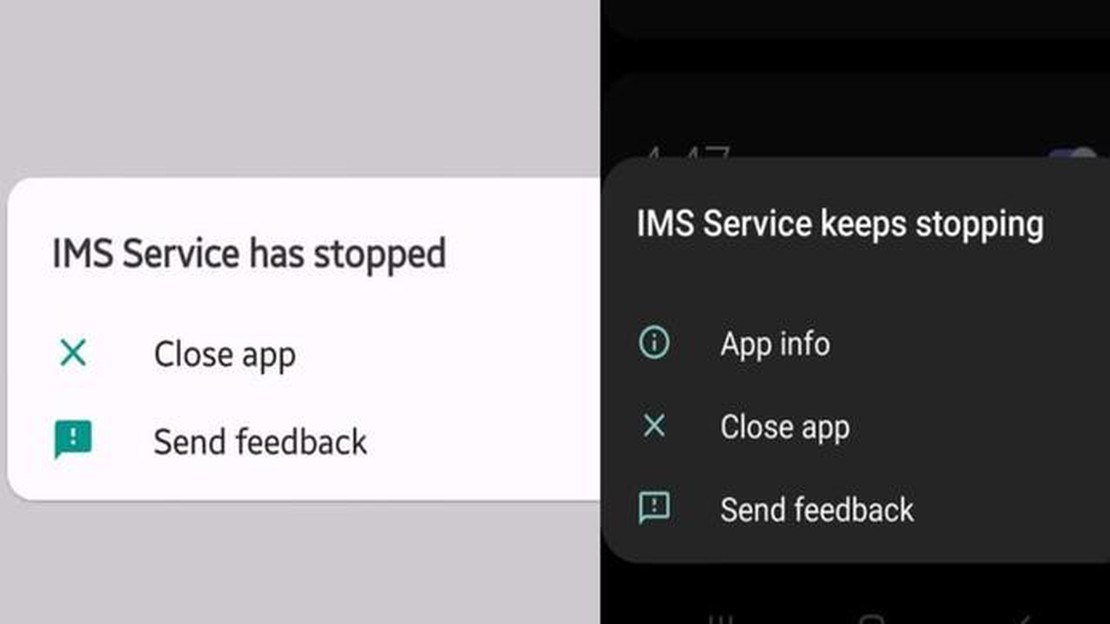
How To Fix “Unfortunately, IMS Service Has Stopped” On Galaxy J7 Many Samsung Galaxy J7 users have reported encountering the error message …
Read Article
How To Fix Hisense TV Won’t Connect To WiFi Hisense TVs are known for their great picture quality and multitude of features, but sometimes you may …
Read Article


