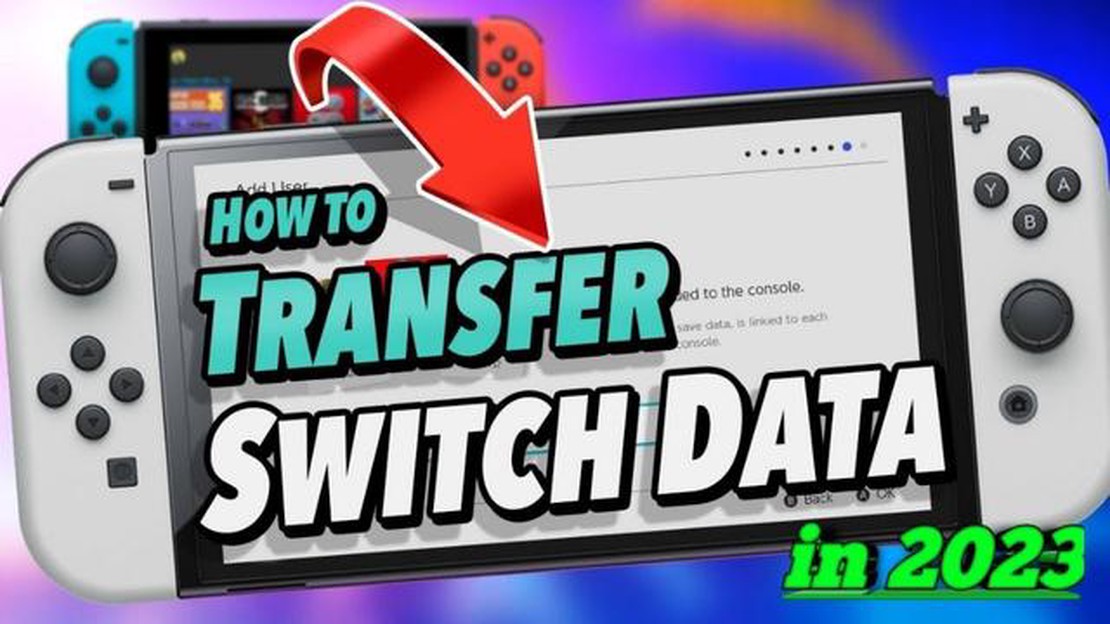
How To Transfer All Data To A New Nintendo Switch | NEW in 2023
Are you planning to upgrade to a new Nintendo Switch in 2023? Transferring all your data to a new console can be a daunting task, but with our step-by-step guide, the process will be a breeze. Whether you’re a seasoned gamer or a casual player, this guide will ensure that all your game progress, saves, and data are seamlessly transferred to your new Nintendo Switch.
First, let’s start with the basics. Before you begin the transfer process, make sure both your old and new Nintendo Switch consoles are updated with the latest firmware. This will ensure compatibility and a smooth transfer. Additionally, ensure both consoles are connected to the internet to facilitate the transfer process.
Table Of Contents
Next, let’s talk about the transfer method. Nintendo offers two options: a wired transfer using a LAN cable, or a wireless transfer. The wired transfer is faster and more reliable, so we recommend using this method if possible. However, if a LAN cable is not available, the wireless transfer option is a viable alternative.
To initiate the transfer, start by powering on both consoles and placing them close to each other. On the old console, go to System Settings, then Data Management, and select “Transfer Your Save Data.” On the new console, go to System Settings, then Data Management, and select “Transfer Your Save Data” as well. Follow the on-screen instructions on both consoles to establish a connection and begin the transfer process.
Once the transfer is initiated, the consoles will transfer all your game saves, profiles, screenshots, and other data. Depending on the amount of data, the transfer process may take some time, so be patient. Do not turn off or disconnect either console during the transfer process to avoid data corruption.
After the transfer is complete, you can verify that all your data has been successfully transferred by checking your game saves, profiles, and other data on the new Nintendo Switch. Congratulations! You are now ready to enjoy your new console with all your favorite games and data intact.
In conclusion, transferring all your data to a new Nintendo Switch in 2023 is a straightforward process when following our step-by-step guide. Remember to update both consoles’ firmware, choose the appropriate transfer method, and be patient during the transfer process. With these tips in mind, you can confidently upgrade to a new Nintendo Switch without losing any of your precious game progress or data.
3 Guide: How to Transfer All Data to a New Nintendo Switch
Transferring all your data to a new Nintendo Switch can be a simple process if you follow these steps:
Backup your data
Before transferring your data, it is important to create a backup of all your games, saves, and settings. You can do this by going to the System Settings on your current Nintendo Switch and selecting “Data Management” and then “Save Data Cloud Backup” to back up your saves. You can also remove the microSD card from your current Switch and insert it into a computer to manually backup game data if needed.
Prepare your new Nintendo Switch
Make sure your new Nintendo Switch is fully charged and connected to the internet. If you haven’t already, create a Nintendo Account and link it to your new Switch. This will allow you to access your digitally purchased games on the new console.
Begin the data transfer
Step
Actions
Step 1
Turn on your new Nintendo Switch and go through the initial setup process.
Step 2
Select “System Settings” from the Home menu.
Step 3
Scroll down and select “Data Management”.
Step 4
Select “Transfer Your User and Save Data”.
Step 5
Select “Next” and then “Continue”.
Step 6
Select “Source Console” and choose “Send from this Console”.
Step 7
Select “Target Console” and choose “Receive from a Nintendo Switch”.
Step 8
Follow the on-screen instructions to generate a transfer key on your new Nintendo Switch and enter it on your current Switch.
Step 9
Select the data you want to transfer, such as user accounts, save data, and downloaded software.
Step 10
Select “Transfer” to begin the data transfer process.
Step 11
Wait for the transfer to complete. The time it takes will depend on the amount of data being transferred.
Step 12
Once the transfer is finished, you can disconnect the old Switch and start using your new Nintendo Switch with all your data intact!
By following these steps, you can ensure a smooth transition to your new Nintendo Switch without losing any of your important game data. Enjoy your gaming experience on your new console!
Step-by-Step Instructions for Transferring Your Data
Transferring your data from one Nintendo Switch to another is a simple process that can be completed in just a few steps. Follow the instructions below to ensure a smooth and successful transfer.
Step 1: Set Up Your New Nintendo Switch
Before you can transfer your data, you will need to set up your new Nintendo Switch. Follow the on-screen instructions to choose your language, connect to Wi-Fi, and create a new user account.
Step 2: Update Your Old Nintendo Switch
Make sure your old Nintendo Switch is connected to the internet and update it to the latest system software. This will ensure that both consoles are running the same version of the operating system.
Note: It is recommended to have both consoles on the same version of the system software for a smooth and successful transfer.
Step 3: Prepare Your SD Card
If you have an SD card inserted in your old Nintendo Switch, remove it and insert it into your new console. This will ensure that any game data stored on the SD card will be transferred to your new console.
Step 4: Begin the Data Transfer
On your new Nintendo Switch, go to “System Settings” and select “Data Management.” Choose the option for “Transfer Your Save Data” and follow the on-screen instructions to begin the data transfer process.
Once the data transfer process begins, it may take some time to complete, depending on the amount of data being transferred. Do not turn off either console or remove the SD card during the transfer.
After the transfer is complete, verify that all of your data, including game saves, DLC, and downloaded games, has been successfully transferred to your new Nintendo Switch. Go through your games and saved data to ensure everything is as it should be.
Step 7: Keep Your Old Nintendo Switch
Once you have confirmed the success of the data transfer, it is recommended to keep your old Nintendo Switch for a few days in case there are any issues or missing data. This will allow you to easily transfer any missing data or troubleshoot any problems that may arise.
Step 8: Factory Reset Your Old Nintendo Switch
After you are confident that all of your data has been successfully transferred, you can perform a factory reset on your old Nintendo Switch. This will erase all of your personal data and ensure that it is ready for a new user.
Congratulations! You have successfully transferred all of your data to your new Nintendo Switch. Enjoy your gaming experience on your new console!
Tips and Tricks for a Smooth Data Transfer Process
1. Ensure both Nintendo Switch consoles are fully charged: Before starting the data transfer process, make sure that both the old and new Nintendo Switch consoles have enough battery power to complete the transfer without any interruptions.
2. Connect both consoles to a stable Wi-Fi network: To transfer the data, both consoles need to be connected to the same Wi-Fi network. Make sure that the network is stable and has a strong signal to avoid any disconnections during the transfer.
3. Update both consoles to the latest firmware: It is recommended to update both the old and new Nintendo Switch consoles to the latest firmware version. This ensures that you have access to the latest features and improvements that may help with the data transfer process.
4. Clean up unnecessary data on the old console: Before transferring the data, it is a good idea to clean up any unnecessary data on the old console. Delete any unused games, screenshots, videos, or save data to free up space and make the transfer process faster and smoother.
5. Use a microSD card for additional storage: If the internal storage of the old console is running low, consider using a microSD card to expand the storage. This can help in transferring larger amounts of data without any space constraints.
6. Disconnect any external devices: Before starting the data transfer, disconnect any external devices such as headphones, controllers, or USB cables from both consoles. This ensures a smooth and uninterrupted transfer process.
7. Follow the step-by-step instructions provided by Nintendo: Nintendo provides detailed instructions on how to transfer data from one console to another. It is recommended to carefully follow these instructions to ensure a successful data transfer process.
8. Take note of any error messages: If you encounter any error messages during the data transfer process, make a note of them. These messages can provide valuable information that can help troubleshoot any issues and ensure a smooth transfer.
9. Double-check the transferred data: After the transfer is complete, double-check the data on the new console to ensure that everything has been transferred successfully. Verify that your games, save data, screenshots, and videos are all present and accessible on the new console.
10. Keep the old console as a backup: After the data transfer, it is recommended to keep the old console as a backup for a while. This allows you to easily retrieve any missing or accidentally deleted data from the old console in case of any issues on the new console.
Summary
Difficulty:
Medium
Time Required:
Varies depending on the amount of data to be transferred
Related Topics:
Nintendo Switch, data transfer, gaming, transfer process
FAQ:
Can I transfer all my data from my current Nintendo Switch to a new one?
Yes, you can transfer all your data from your current Nintendo Switch to a new one using the built-in data transfer feature.
Is it possible to transfer game save data to a new Nintendo Switch?
Yes, you can transfer game save data to a new Nintendo Switch by using the data transfer option in the Settings menu.
What is the process of transferring data to a new Nintendo Switch?
The process of transferring data to a new Nintendo Switch involves first backing up your current Switch, then performing a system transfer to the new Switch using the data transfer feature.
Can I transfer my digital game purchases to a new Nintendo Switch?
Yes, you can transfer your digital game purchases to a new Nintendo Switch by deactivating the old console and then logging in to your Nintendo account on the new console.
How To Fix SD Card Problems on Samsung Galaxy S5 (Part 1) Having a Samsung Galaxy S5 can be a great experience, but sometimes you may encounter issues …
Easy steps on how to insert or remove SIM card for Galaxy S9 The Samsung Galaxy S9 is a popular Android smartphone that offers impressive features and …
The 10 best repost apps for instagram page admins. Instagram is one of the most popular social networks, and many users are eager to create their own …